メインコンテンツにスキップ

このバージョンは誤った内容を含んでいる可能性があります。最新の承認済みスナップショットに切り替えてください。

必要な工具と部品

  1. この手順は未翻訳です。 翻訳を手伝う。

    : 手順 1、 1の画像 1
    • Before disassembling on the lamp, it MUST be unplugged!

  2. この手順は未翻訳です。 翻訳を手伝う。

    : 手順 2、 3の画像 1 : 手順 2、 3の画像 2 : 手順 2、 3の画像 3
    • If the bulb is worth keeping, this can be reused.

    • If the lamp has a lightbulb installed, remove it from the lamp.

  3. この手順は未翻訳です。 翻訳を手伝う。

    : 手順 3、 3の画像 1 : 手順 3、 3の画像 2 : 手順 3、 3の画像 3
    • MOST LAMPS WILL BE SIMILAR, but designs can vary.

    • Remove the switch handle. Note: While this can be optional, it was required on this lamp. If it looks tied into something, it probably has to be removed.

    • Remove the socket cover. Once removed, remove the bulb socket.

  4. この手順は未翻訳です。 翻訳を手伝う。

    : 手順 4、 2の画像 1 : 手順 4、 2の画像 2
    • Sockets that hold the cord in with a press-fit design are hard to reuse by design. Unless you can depress the cord, cut the cord at the socket and discard the bulb socket.

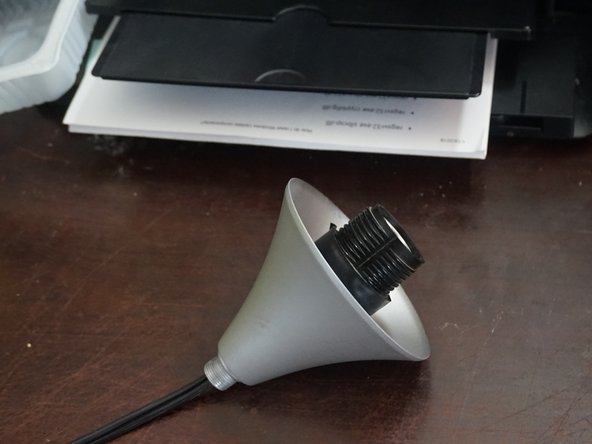
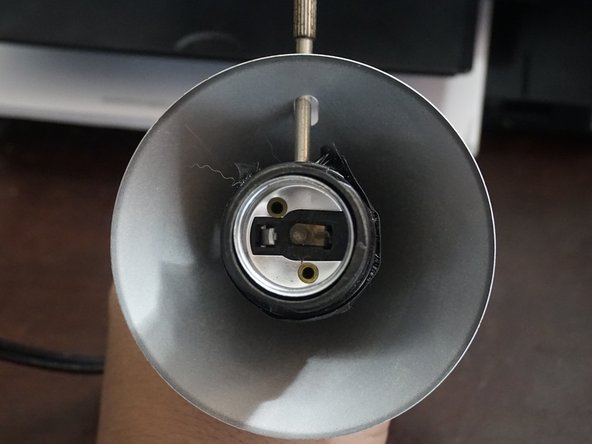
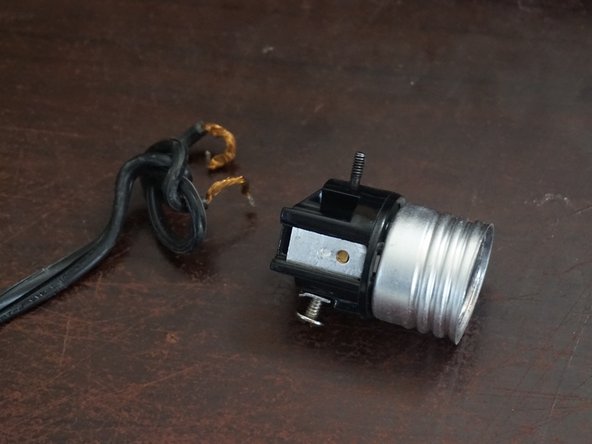
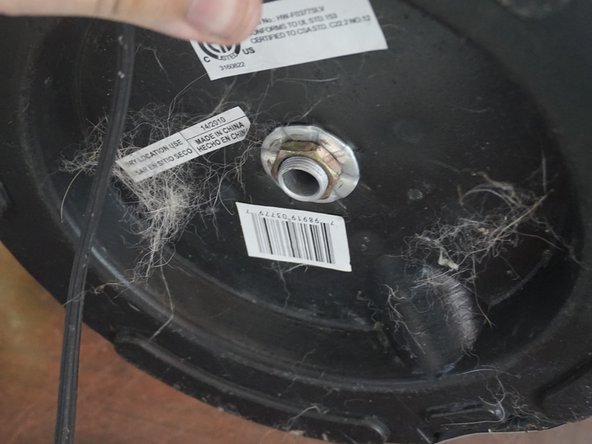
    • After removing the plastic cover and switch, remove the bulb socket with a Phillips #2 screwdriver. If your socket is press fit, these are generally not reusable. Cut the cord unless you can pull the cord and not compromise the socket.

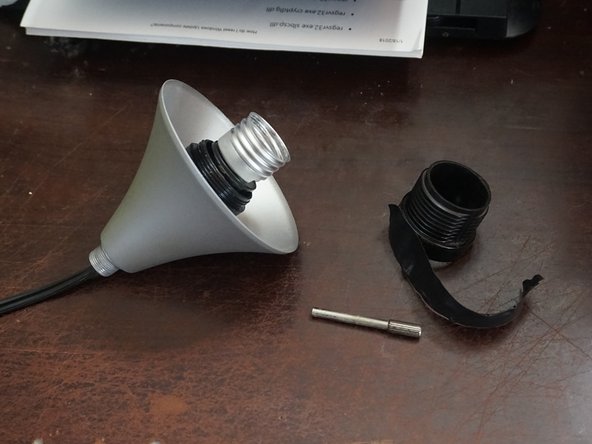
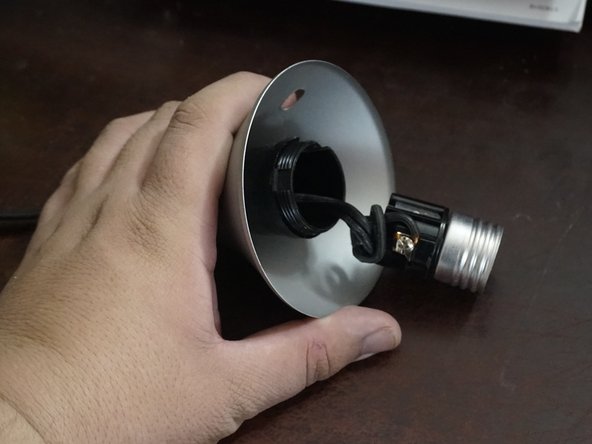
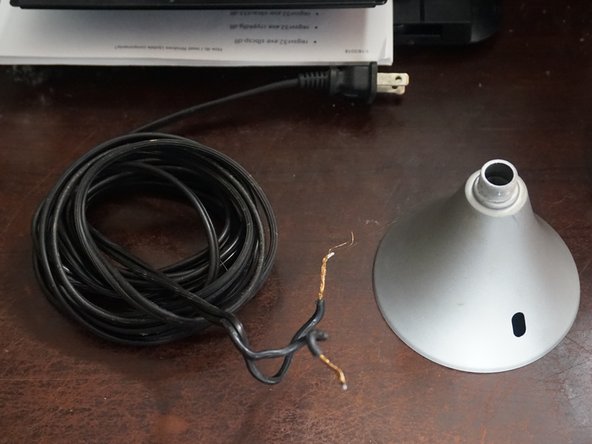
    • Discard any broken or unwanted components.

  5. この手順は未翻訳です。 翻訳を手伝う。

    : 手順 5、 3の画像 1 : 手順 5、 3の画像 2 : 手順 5、 3の画像 3
    • Keep the cord if it is in good shape. These are excellent to keep around to repair other lamps (or anything in need of a similar cord).

    • After removing the bulb socket, remove the power cord.

  6. この手順は未翻訳です。 翻訳を手伝う。

    : 手順 6、 1の画像 1
    • After gutting the lamp, find a good spot to clamp a workshop light on like the one shown. Additional changes like height reduction can also be done at this stage.

ゴール

作成者

2人の作成者と共同で作成されました。

Nick

メンバー登録日: 11/10/09

88,899 ポイント

49のガイドは作成済み

チーム

Master Techs Master Techs人のメンバー

Community

322 メンバー

2,539のガイドは作成済み

0 件のコメント

コメントを追加

統計データ:

過去 24時間: 0

過去 7 日: 7

過去 30 日: 11

今までの合計 454