はじめに
Use this guide to install a new hard drive in your MacBook Pro 17" Unibody for more storage space.
Warning! If you have an older 3.0 Gb/s (SATA II) based system you need to make sure the drive you use is able to run at this slower speed. Review your drives spec sheet, make sure it clearly lists compatibility with 3.0 Gb/s (SATA II) systems. Most drives sold today are fixed speed 6.0 Gb/s (SATA III) which won’t work in 3.0 Gb/s (SATA II) systems properly.
必要な工具と部品
-
-
-
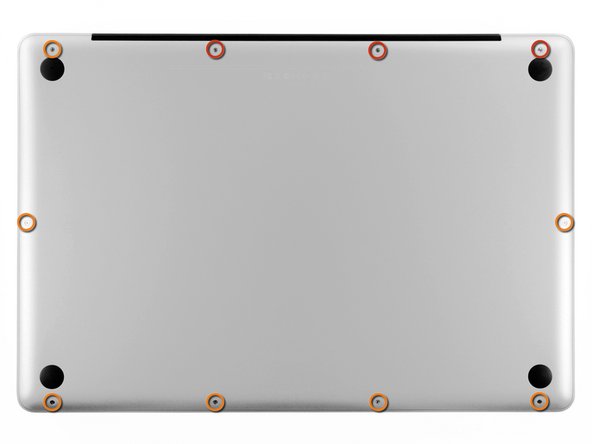
Remove the following ten screws securing the lower case to the upper case:
-
Three 13.5 mm Phillips screws.
-
Seven 3 mm Phillips screws.
 FixBotに聞いてみる
-
-
-
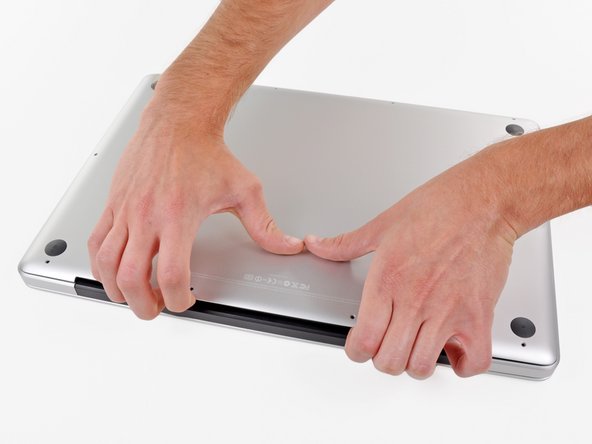
Wedge your fingers between the lower case and the vent, and lift upward to release the two clips holding the lower case to the upper case.
-
Remove the lower case.
-
-
-
-
-
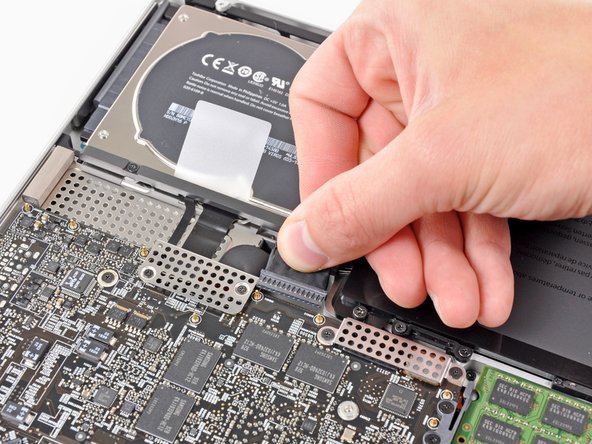
If present, grab the plastic tab attached to the battery connector and pull it toward the front edge of the device. For Late-2011 models the battery connector will not have a tab and is simply a plug that inserts straight down into the motherboard--to remove pry the plug straight up.
-
-
-
-
-
-
Remove the two Phillips screws securing the hard drive bracket to the upper case.
-
-
-
Pull the hard drive connector away from the body of the hard drive.
-
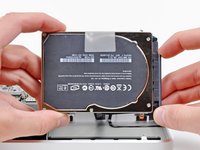
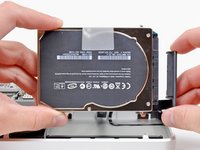
Remove the hard drive from your MacBook Pro.
-
-
-
-
-
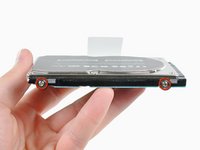
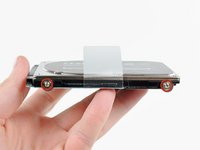
Remove the four T6 Torx screws around the outer edge of the hard drive.
-
-






To reassemble your device, follow these instructions in reverse order.
242 の人々がこのガイドを完成させました。

12件のガイドコメント
Very easy to follow. Replacing the HDD on these unibodies is super easy. Thanks for the guide.
tech4eleven - 返信 共有
Exceptional instructions. If you're struggling to restore from a backup... connect your backup drive via cable, start your macbook, choose disk utilities, choose the new hard drive from the list on the left, if first aide options (repair/verify) are not available, erase and name the new drive, and then you should be able to restore from backup. :)
Deanna Ashby - 返信 共有
Very easy, Thank you for this tremendous guide. Works perfectly and I directly connected my old HDD to USB and restore all my information using the Migration Assistant app. Fine!
