この翻訳は、ソースガイドの最新の更新を反映していない可能性があります。 翻訳の更新に協力してください。 または ソースガイドを参照してください。
はじめに
デバイスの正面全体に大きなひびが入っているにもかかわらず、どうやってディスプレイが機能を保てるのか疑問に思ったことはありませんか? おそらくLCDを覆う保護ガラスを割ったのでしょう。 このガイドを使って、破損、またはひび割れたディスプレイガラスを取り外します。
必要な工具と部品
-
-
この手順は未翻訳です。 翻訳を手伝う。
-
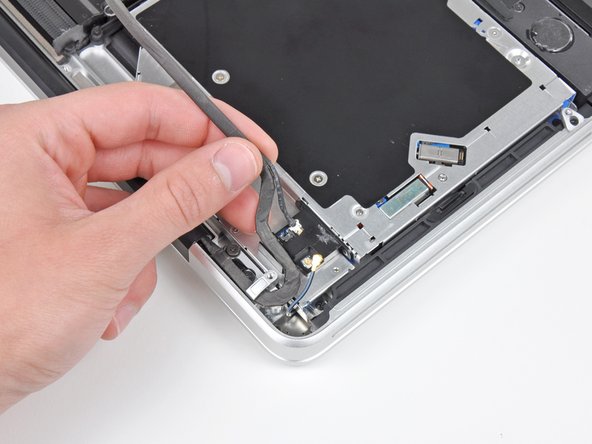
Insert a plastic opening tool underneath the black rubber gasket at the bottom left corner of the display assembly.
-
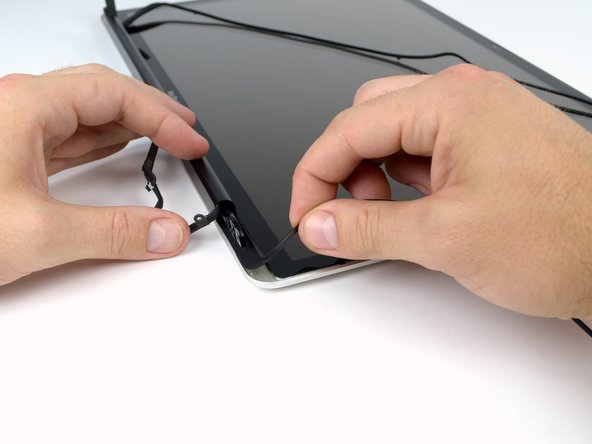
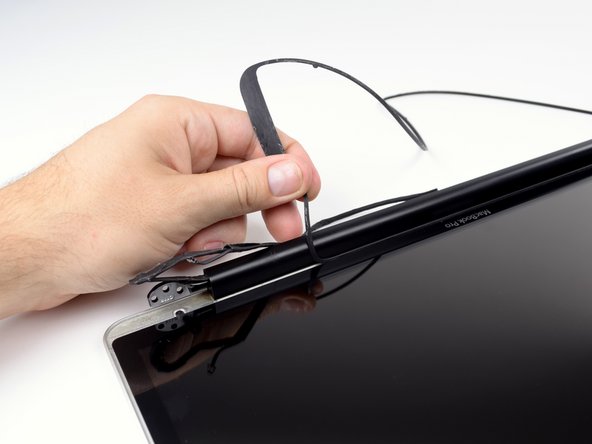
Gently pry the wide edge of the gasket up from the back case.
-
-
この手順は未翻訳です。 翻訳を手伝う。
-
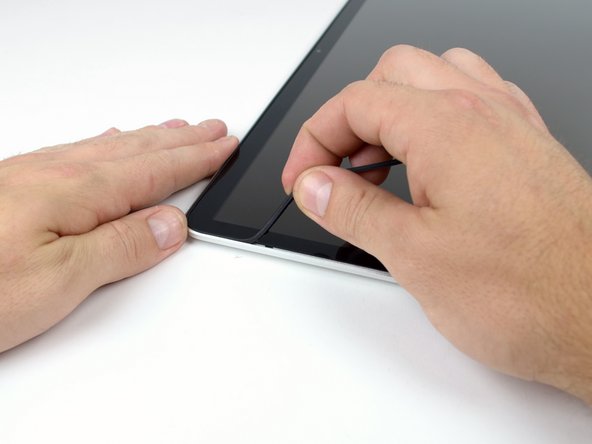
Before starting, be sure to clean the display glass with a lint-free cloth moistened with a mild solution; it will make the suction cup adhere better, and will make checking for dust on reassembly easier.
-
With the heat gun set to low, start by heating the outer black border near the upper right corner of the glass panel.
-
-
この手順は未翻訳です。 翻訳を手伝う。
-
With the panel sufficiently heated, fasten a heavy-duty suction cup near the lower right corner of the display glass.
-
To attach the suction cups we sell, first position the suction cup with the movable handle parallel to the face of the glass panel. While lightly holding the suction cup against the glass, raise the movable handle until it is parallel with the other handle.
-
Gently lift the corner of the display glass enough to insert a guitar pick between it and the display assembly.
-
Use the guitar pick to gently pry up the adhesive securing the front glass to the display.
-
Pry up the glass panel along the right edge of the display up to the halfway point.
-
Leave the guitar pick in place halfway up the right side of the display and remove the suction cup.
-
-
この手順は未翻訳です。 翻訳を手伝う。
-
Use a heat gun to soften the adhesive under the display glass along the right and top edges of the display.
-
Attach a suction cup to the upper right corner of the front glass panel.
-
Pull up on the glass panel while you use a second guitar pick to separate it from the rest of the display assembly.
-
Continue working along the right edge of the front display glass until it is separated from the display.
-


デバイスを再組み立てする際は、これらの手順を逆の順番に従って作業を進めてください。
デバイスを再組み立てする際は、これらの手順を逆の順番に従って作業を進めてください。
8 の人々がこのガイドを完成させました。
以下の翻訳者の皆さんにお礼を申し上げます:
26%

Midori Doiさんは世界中で修理する私たちを助けてくれています! あなたも貢献してみませんか?
翻訳を始める ›

