はじめに
このガイドを使って、壊れた左側スピーカーを交換します。左側スピーカーを交換するには、基板を取り出さなければなりません。
必要な工具と部品
-
-
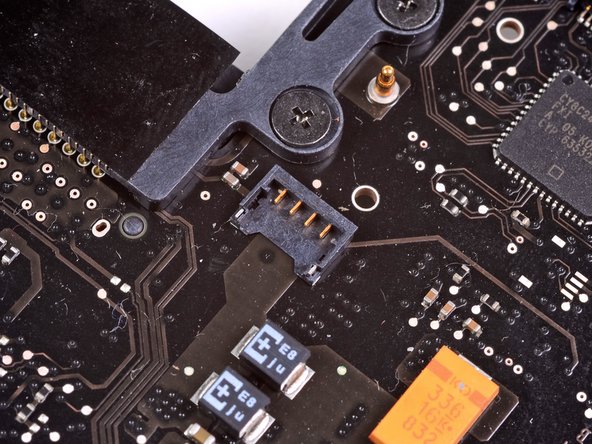
バッテリーケーブルコネクターにアクセスするために、ロジックボードからバッテリーを十分に傾けて下に隙間を作ってください。
-
バッテリーケーブルのコネクターをメイン基板のソケットから手前に引いて接続を切り、バッテリーを上部ケースから取り外します。
-
100%になるまで充電します。充電後も最低2時間はプラグを繋げたままにします。それからプラグを外して、通常通り使用しながら、自然に放電させます。バッテリー残量小のサインが表示されたら、これまでの作業を保存して、スリープ状態になるまで放置してください。スリープ状態に入ったら、少なくとも5時間置きます。それから一気に100%まで充電します。
-
新しいバッテリーを装着後、通常通り作動しない場合は、MacBook ProのSMCをリセットしなければならない可能性があります。
-
-
デバイスを再組み立てする際は、これらのインストラクションを逆の順番に従って作業を進めてください。
デバイスを再組み立てする際は、これらのインストラクションを逆の順番に従って作業を進めてください。
14 の人々がこのガイドを完成させました。
以下の翻訳者の皆さんにお礼を申し上げます:
100%
Midori Doiさんは世界中で修理する私たちを助けてくれています! あなたも貢献してみませんか?
翻訳を始める ›
3 件のコメント
I changed the left speaker with another one got on ebay. but still it has refused to work. what other methods can i try?
Stellar guide, easier than it looks at first, new left speaker from China, perfect sound once again in this 11-year old MBP.
I did this disassembly and reassembly in 2018 when I thought my GPU had another breakdown. Should have replaced the left speaker back then. In the end it was the RAM and replacing 4GB with 8GB did the job. Still have to do this again to replace the speaker, if I can get one on ebay. I brought it to a repair shop to fix the capacitor of the GPU board in 2019. Hopefully I will never again have to pay Apple 350€ again, to fix a problem they caused with areplacment of a faulty part with a NEW faulty part! Real Geniuses those people .. when it comes to making money. The company was better when Steve Jobs was still alive and shareholders got nothing for their shares!
Todays Macs are a nightmare to repair. What a difference my old Quicksilver PowerMac G4 is! You press one button and the whole chassis opens up for repair, maintenance or upgrades without removing one screw!


