はじめに
ディスプレイアセンブリ全体ではなく、LCDだけを交換すると、経費の節約にも繋がります。この修理ガイドは防眩ディスプレイには適用されません。
必要な工具と部品
-
-
-
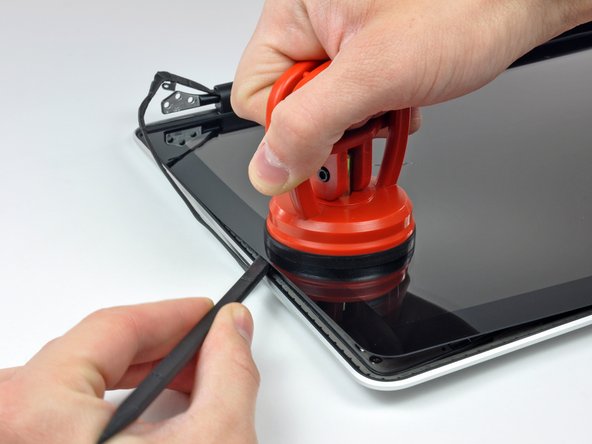
作業を始める前に、ディスプレイガラスを湿らせたリントフリーの布で綺麗に拭き取ってください。こうすることで、吸盤カップが装着しやすくなり、再組み立ての際、汚れチェックが簡単になります。
-
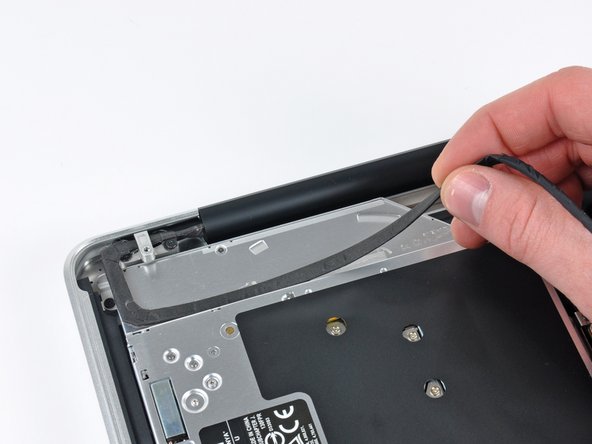
ヒートガンを弱にして、ガラスパネルの上部右側端附近の黒色ボーダーの外側から温めます。
-


デバイスを再組み立てする際は、これらの手順を逆の順番に従って作業を進めてください。
デバイスを再組み立てする際は、これらの手順を逆の順番に従って作業を進めてください。
34 の人々がこのガイドを完成させました。
以下の翻訳者の皆さんにお礼を申し上げます:
100%

Midori Doiさんは世界中で修理する私たちを助けてくれています! あなたも貢献してみませんか?
翻訳を始める ›

9 件のコメント
General : Is there instruction available if you have the anti-glare displays? Or do you officially recommand to change the LCD AND THE GLASS, if we want to keep the anti-glare displays? Can we order the anti-glare displays here? Thanks! =)
I have a Macbook Pro Unibody 15" (2009) can I switch the whole display and lid with a Macbook Pro 15" (2011)and is the airport card piece for both models in the display?...
No, you can’t, because of the camera cable connector, different from the 2011 model.
Where can i get the metal frame that runs through the LCD assembly.
Same question for me!