はじめに
このガイドを参照して、ヒートシンクを交換しましょう。
必要な工具と部品
-
-
-
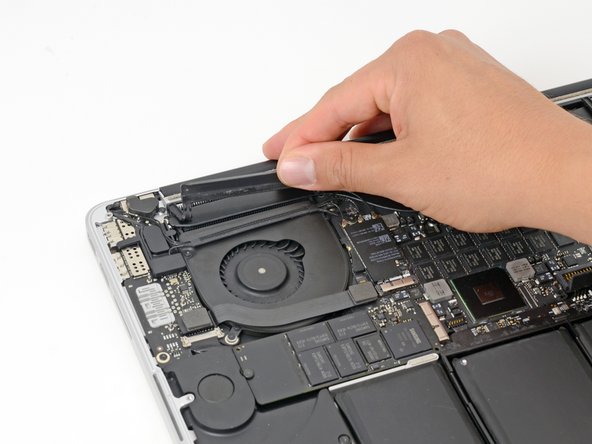
スパッジャーの平面側先端を、右側ファン上のゴム製ヒートシンクカバー下に差し込みます。
-
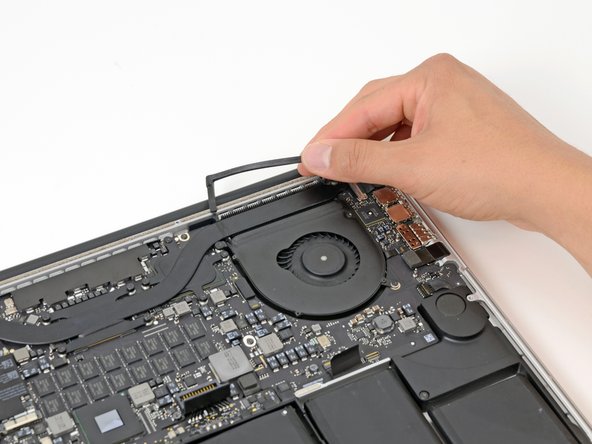
スパッジャーをカバー全体の下にスライドして、接着剤を剥がします。
-
カバーを持ち上げて、ヒートシンクから外します。
-


デバイスを再度組み立てるには、この説明書の逆の順番で組み立ててください。
デバイスを再度組み立てるには、この説明書の逆の順番で組み立ててください。
22 の人々がこのガイドを完成させました。

6 件のコメント
Half of photos are with mac that has only integrated graphics, half with one that has discrete GPU. This frustrates.
Because of fact that this is about heatsink, it's kinda important to point the difference out.
He could at least just add a note on the heatsink screw photo.
do one with the discrete gpu and integrated graphics please
For the discrete GPU, there are 4 screws surrounding a square copper plate, just unscrew those 4 and follow the steps above. It’s very similar to the integrated graphics board, but with 4 extra screws.