はじめに
The battery, keyboard, trackpad, and upper case are all stuck together. If you break one of these components, you will need to replace the entire assembly. Follow this guide to do so.
必要な工具と部品
-
-
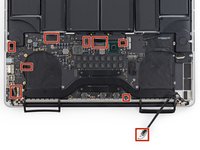
Remove the following P5 pentalobe screws securing the lower case to the MacBook Pro:
-
Eight 3.0 mm
-
Two 2.3 mm
-
-
この手順で使用する道具:Tweezers$4.99
-
Use a spudger or tweezers to pry the three AirPort antenna cables straight up off of their sockets on the AirPort board.
-
-
-
Use the flat end of a spudger to pry the rubber hinge covers up off the left and right hinges.
-
-
-
Remove the two 3.1 mm T5 Torx screws securing the aluminum hinge covers to the upper case.
-
Remove the two aluminum hinge brackets from the MacBook Pro.
-
-
-
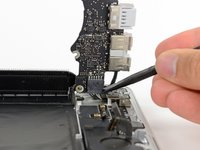
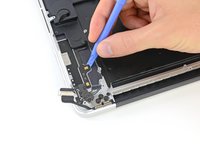
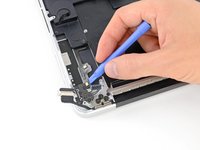
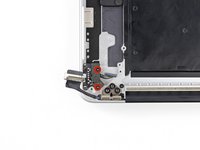
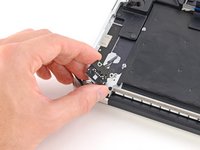
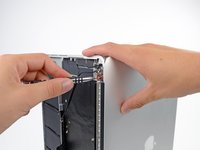
Using the flat end of a spudger, pry the I/O Board connector straight up out of its socket on the logic board.
-
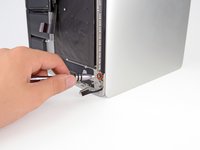
In a similar fashion, remove the I/O Board cable connector from its socket on the I/O Board.
-
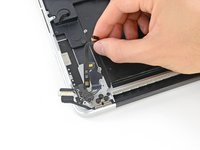
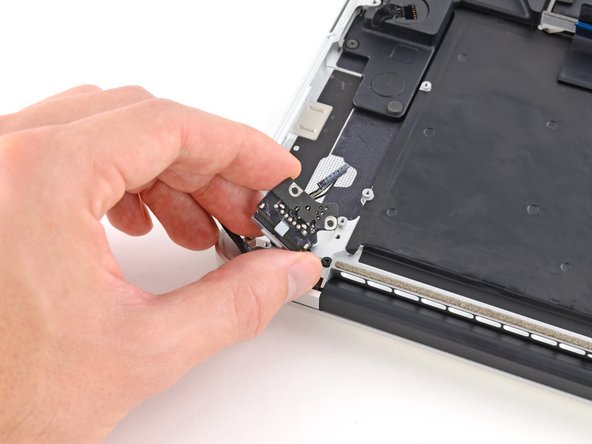
Remove the I/O Board cable from the MacBook Pro.
-
-
-
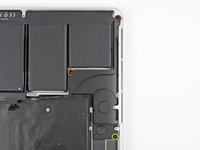
Remove the single 2.9 mm T5 Torx screw securing the AirPort card to the logic board.
-
-
-
-
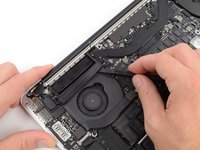
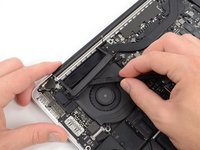
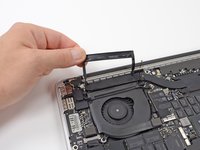
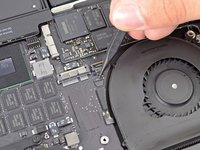
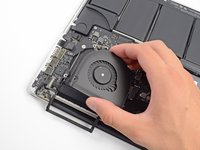
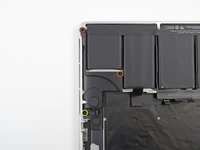
Use the flat end of a spudger to lift the rubber heat sink cover up off the left fan.
-
-
-
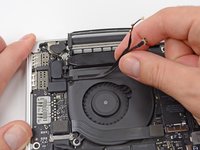
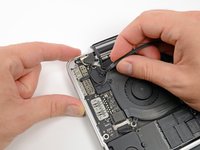
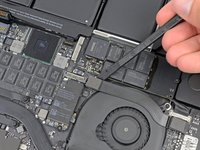
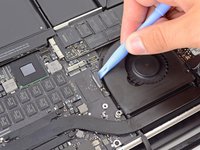
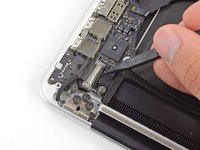
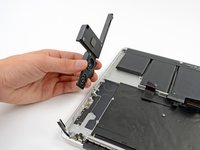
Use the tip of a spudger to flip up the I/O board data cable lock and rotate it toward the battery side of the computer.
-
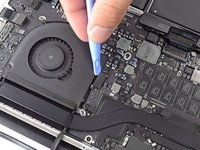
Use the flat end of a spudger to slide the I/O board data cable straight out of its socket on the logic board.
-
-
-
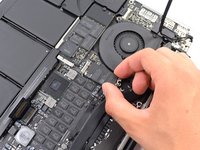
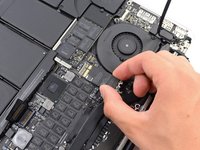
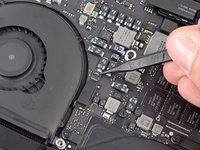
Use the flat end of a spudger to pry the left speaker connector up and out of its socket on the logic board.
-
Use the tip of a spudger to pry the right speaker connector up and out of its socket on the logic board
-
-
-
Peel back the tape covering the top of the keyboard ribbon cable connector.
-
Use the flat end of a spudger to flip up the retaining flap on the keyboard ribbon cable ZIF socket.
-
Use the flat end of a spudger to push the keyboard ribbon cable out of its socket.
-
-
-
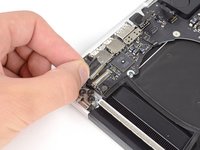
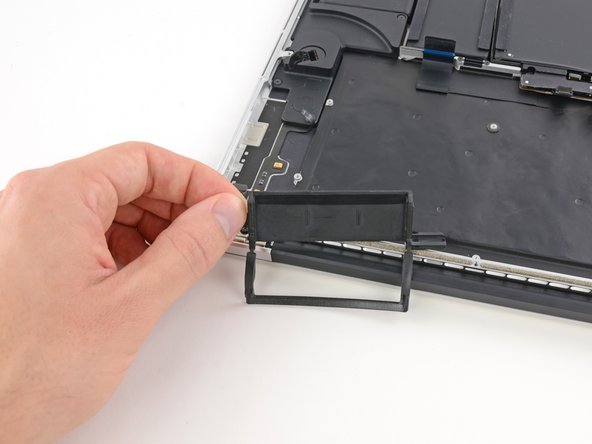
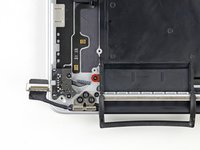
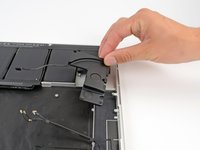
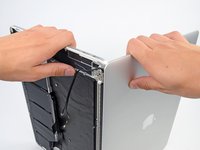
Remove the single 2.6 mm T5 Torx screw securing the left rubber hinge cover in place.
-
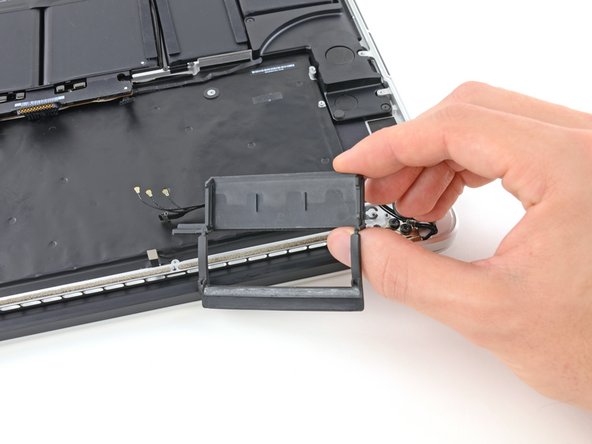
Slide the hinge cover out of its bezel, then lift it up and out of the device.
-
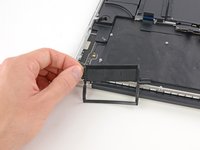
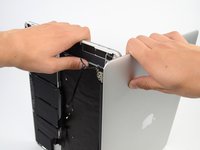
Slide the right cover out of its bezel, then lift it out of the device.
-


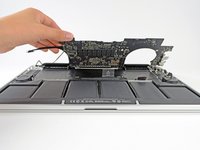


To reassemble your device, follow these instructions in reverse order.
To reassemble your device, follow these instructions in reverse order.
36 の人々がこのガイドを完成させました。

6 件のコメント
Is there anyway to fix a track pad that is sticking Not clicking and selecting things at randon
Un gros coup d’air comprimé m’a suffit à résoudre le problème. A big blow of compressed air was enough to solve the problem ( insists on the lower left level and gap)
If this needs to be done in order to replace a faulty battery pack... some nylon string, sprinkled with a generous amount of caution, will do the trick.
Once I removed the right speaker, it only took me 10 minutes to cut the glue holding the batteries.
It is very doable if one proceeds with caution.
what changes from the 2012-early 2013 upper case to the late 2013-2014?
Just make sure to remove the headphone jack from the body as well. It is fastened with two T5 screws. The connector is disconnected part of this guide already.