はじめに
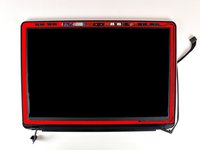
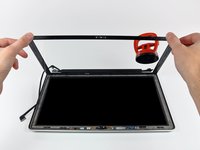
ディスプレイアセンブリ全体ではなく、LCDを交換して節約しましょう。
必要な工具と部品
-
-
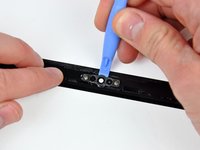
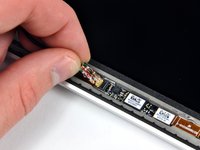
カメラケーブルを水平にスライドさせて、ソケットから外します。
-
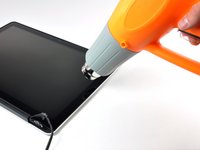
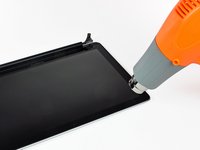
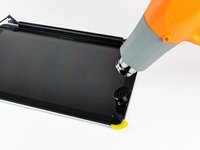
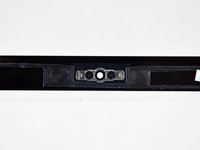
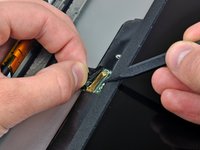
ロジックボードにカメラケーブルがスライドして外れないように小さなプラスチック製リテイナー が付けられている場合は、ロジックボードから慎重に剥がしてください。必要に応じて、ヘアードライヤーやヒートガンで少し熱を加え、固定されている接着剤を柔らかくしてください。リテイナーを付けたまま、無理にケーブルを外さないでください。
-
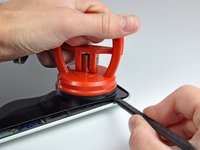
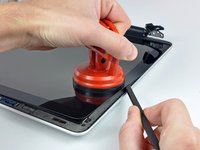
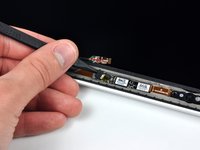
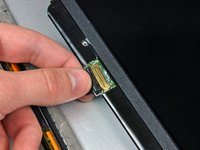
それでも問題がある場合は、スパッジャーの先でコネクタの両側を押し、ソケットからゆっくりと "歩く"ように外していきます。
-
-


デバイスを再組み立てする際は、これらのインストラクションを逆の順番に従って作業を進めてください。
デバイスを再組み立てする際は、これらのインストラクションを逆の順番に従って作業を進めてください。
116 の人々がこのガイドを完成させました。
以下の翻訳者の皆さんにお礼を申し上げます:
100%

Midori Doiさんは世界中で修理する私たちを助けてくれています! あなたも貢献してみませんか?
翻訳を始める ›

6 件のコメント
When I removed the glass, the adhesive pulled up the camera left side gold ribbon cable. I removed the screw securing the small circuit board to the left of the camera and flipped it over. There's a tiny connector there. I had to pull back the gold tape (on the ribbon cable) and carefully feed the end of the gold mylar ribbon cable into the connector. The gold tape then falls over the top of the connector and would normally hold it place if it hadn't lost it's adhesive.
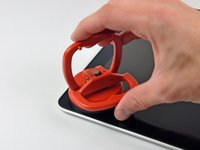
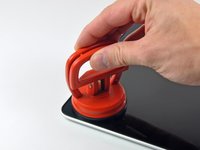
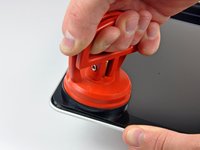
As the glass may be broken on these, I found that putting Duct tape across the broken screen helped keep it together better for easier removal. Also you might want to watch the small suction cup that comes in the kit as the metal pull ring melts right out, I had to use my bigger suction cups.
consider removing clutch plate before heating, it will melt if your not careful
hebertgreg - 返信
Suggest asking if they purchased a refurbished model. My last client's glass was held on with 30lb 3M shelf tape. No amount of heat or alcohol would remove it. Thank goodness the glass was already broken. I had to work for 2 hours to remove all of the glass, and old adhesive is not wanting to come off with elbow grease and alcohol. Going to try using tiny, careful amounts of goo-gone. Don't want anyone else to ever have to deal with this on future repairs (Client is a traveler, and accident prone)