はじめに
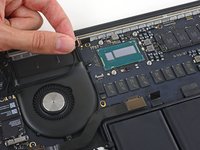
壊れた基板を交換するにはこのガイドをご利用ください。
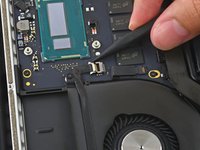
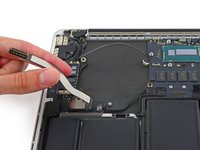
ヒートシンクを再装着する前に放熱グリスの塗布方法 を参照してください。
必要な工具と部品
-
この手順で使用する道具:Magnetic Project Mat$16.96
-
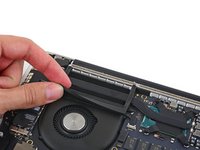
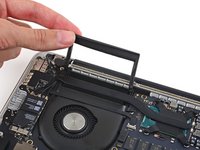
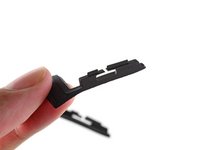
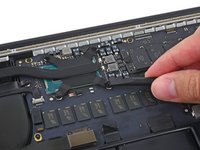
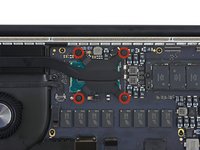
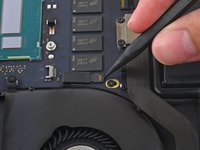
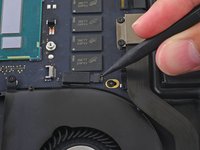
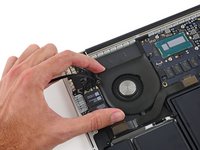
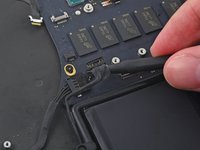
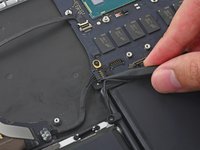
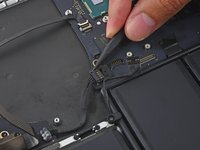
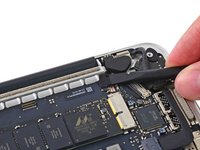
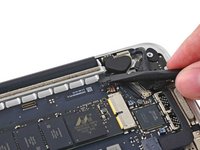
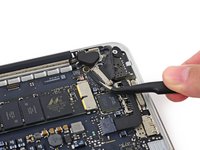
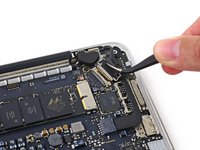
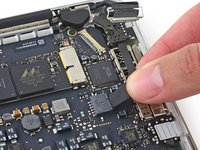
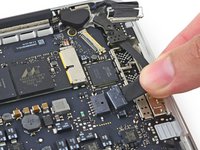
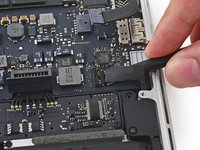
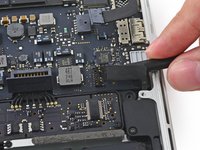
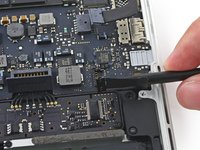
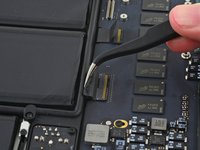
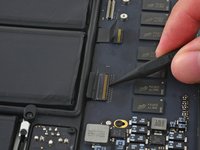
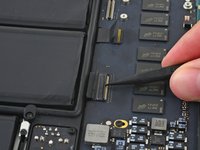
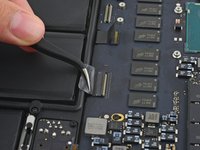
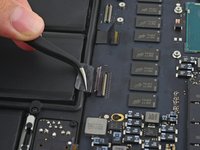
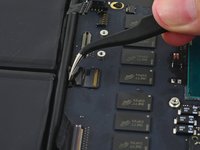
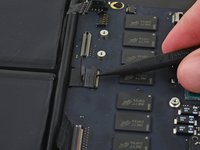
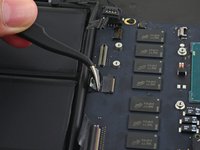
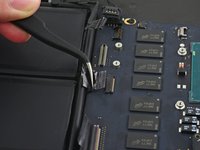
上部ケースと底ケースを留めている次の10本のネジを外します。
-
2.3 mm P5ペンタローブネジ−2本
-
3.0 mm P5ペンタローブネジー8本
-
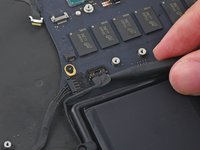
この修理では、各ネジの装着位置をメモ書きして管理してください。再組み立ての際は、デバイスにダメージを与えないよう、正しい場所に装着してください。
-
-


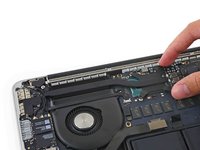
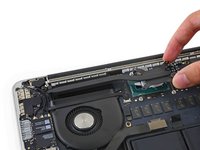


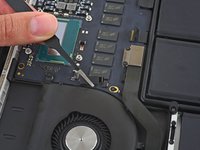


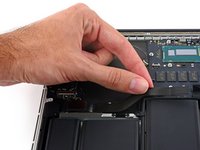


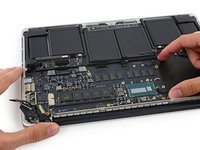
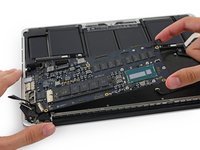
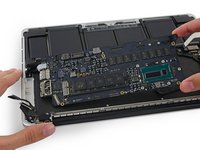


デバイスを再組み立てする際は、これらのインストラクションを逆の順番に従って作業を進めてください。
53 の人々がこのガイドを完成させました。
以下の翻訳者の皆さんにお礼を申し上げます:
100%

Midori Doiさんは世界中で修理する私たちを助けてくれています! あなたも貢献してみませんか?
翻訳を始める ›


10件のガイドコメント
Hi @sam !
I have a macbook pro 13" retina i5 2.6 8gb mid 2014 Model. A1502 and it has the damaged board.
In SAT, I changed it for 600 euros to replace it.
I have found a logicboard used for this same model A1502 (i7 3.0 Ghz 8Gb Ram) for half price and I would like to know if it is possible to replace it for this, or the mac will give me some problem when plugging a logicboard with different characteristics that the original?
Thanks for you support !
Was these ever answered?
Sam, thank you so much! Repair guide worked perfectly for removing logic board to clean corrosion after a water spill on the keyboard! Everything was exactly as picture and explained. I have two questions I was hoping Sam or someone else knowledgeable could answer.
1. Can/ should I replace the foam stickers from the heat sink screws (step 8)? If so, what kind of computer safe adhesive should I use to ensure that they stay in place?
2. Should the plastic cover adhered to the battery contact board in step 4 be replaced?