はじめに
このガイドを使ってヒートシンクを交換します。
ヒートシンクを再装着する前に、放熱グリスの塗布方法を参照して作業を進めてください。
必要な工具と部品
-
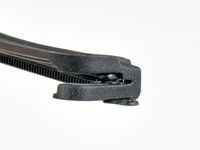
この手順で使用する道具:P5 Pentalobe Screwdriver Retina MacBook Pro and Air$5.99
-
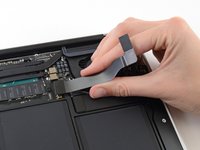
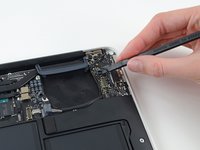
P5ペンタローブドライバーを使って、下部ケースをはずしてください。ネジは次の長さに分かれます。
-
9mm ネジー 2本
-
2.6mm ネジー 8本
-
-


デバイスを再組み立てする際は、これらのインストラクションを逆の順番に従って作業を進めてください。
デバイスを再組み立てする際は、これらのインストラクションを逆の順番に従って作業を進めてください。
21 の人々がこのガイドを完成させました。
以下の翻訳者の皆さんにお礼を申し上げます:
100%

これらの翻訳者の方々は世界を修理する私たちのサポートをしてくれています。 あなたも貢献してみませんか?
翻訳を始める ›

3 件のコメント
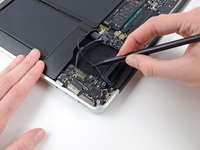
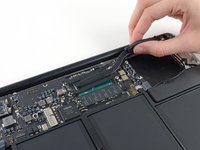
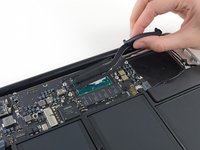
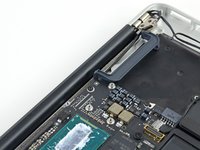
Hello everyone, if you are removing heatsink only to change thermal paste - the main problem is 5th screw near i/o board, to get him you just need to disconnect antenna cable, it covers this screw. You can see its connectors on pic 20 , left side. so you don't need to remove fans, cables, i/o board to get heatsink. The biggest problem for me was to plug in again 2 antenna connectors after job was done. they are tiny that's why so difficult to plug in. but this way reduces risk to damage anything.
Removing 2 antenna connectors has less chance that anything goes wrong vs i/o cable, fan cable, i/o board etc
Wow, thank you. I just did this and steps 4-17 can be ignored unless you really want to clean that fan out. Carefully disconnecting the 2 antenna wires in pic 20 as stated and giving them slack allows access to screw 5 of the heatsink in Step 18. Well engineered.
Jason -
Hi, when I turn on the Mac this parte gets really hot, it burns. Also, sometimes the Mac suddenly turn off. Do you think it just need new thermal paste? I have never change ir.