はじめに
このガイドを参照して、お持ちのMacBook Airのディスプレイアセンブリを交換しましょう。
必要な工具と部品
-
-
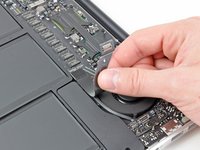
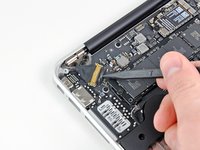
スパッジャーの平面側先端を使って、I/Oボード上のソケットからI/Oボードケーブルコネクタを持ち上げます。
-
-
-
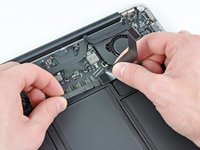
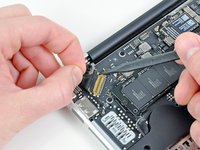
ロジックボード上のソケットから電源ケーブルを引っ張り、I/Oボードの接続を外します。
-
-
-
-
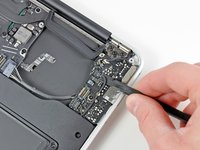
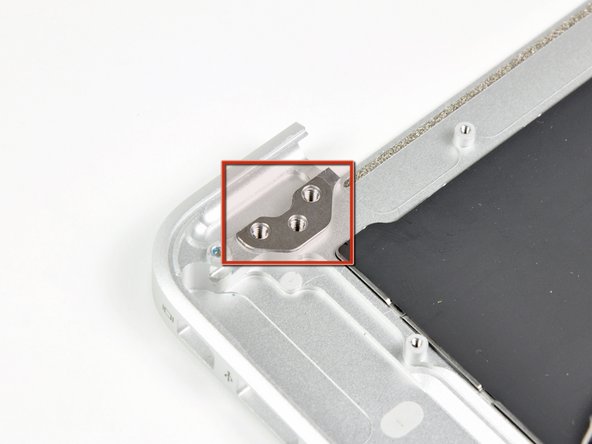
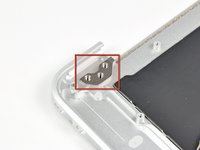
I/Oボードを上部ケースに固定している3.6 mm T5トルクスネジを1本外します。
When inserting new board, make sure the headphones jack socket rim is registered properly with the case hole before tightening T5 screw.
-
-
-
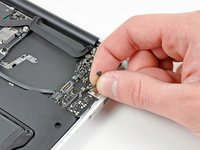
スパッジャーの先端もしくは指先を使って、トラックパッドのリボンケーブルZIFソケット上の固定フラップを持ち上げます。
-
トラックパッドのリボンケーブルをAirの正面端に向けて、ソケットからまっすぐ引き抜きます。
-
-
-
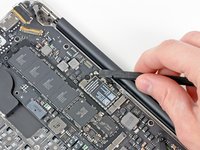
スパッジャーの平面側先端を使って、両側のアンテナケーブルコネクタをこじ開けて、AirPort/Bluetoothカードから外します。
-
-
-
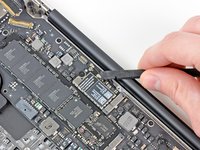
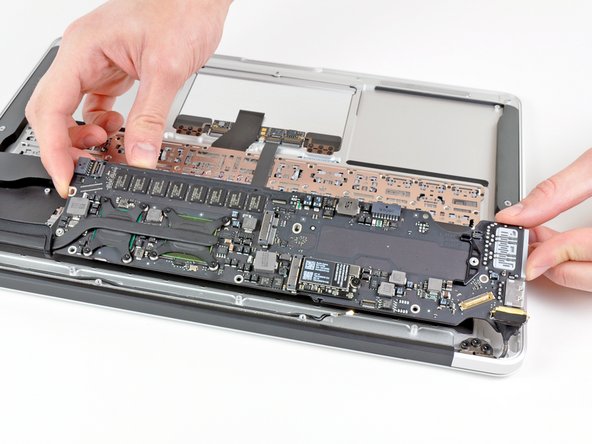
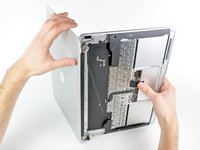
ケーブルが巻き込まれないよう注意しながら、上部ケースからロジックボードアセンブリを注意深く取り外します。
I also had an issue with the logic board installation as the above comment mentioned. I found easiest way is to just remove the speaker that you just re-installed. It's 1 screw - take that speaker out and now that wire that was bumping logic board is out of the way, and just then re-install the speaker.
When replacing the logic board, make sure the two rf connectors are out of the way before you put the screws back.
-


デバイスを再度組み立てるには、この説明書の逆の順番で組み立ててください。
デバイスを再度組み立てるには、この説明書の逆の順番で組み立ててください。
73 の人々がこのガイドを完成させました。
以下の翻訳者の皆さんにお礼を申し上げます:
100%

これらの翻訳者の方々は世界を修理する私たちのサポートをしてくれています。 あなたも貢献してみませんか?
翻訳を始める ›

12 件のコメント
Removing the logic board is completely unnecessary and you risk damaging more components. Follow steps 1-3, 11, 20-22, 26, 30-34. Obviously be careful not to damage the board when you are actually taking the display off.
Beau is correct . It isn't necessary at all to remove the logic board. Steps 1-3, 11, 20-22, 26, 30-34 are all that needs to be done.
Excellent guide, however, I would like to note that removing the logic board is completely unnecessary. In the process of doing so, I ended up breaking my right speaker socket from the logic board. The simpler method is to just unscrew the display hinge, antenna, and isight cable, then remove and replace display.
Just did it following the shortened instructions…. doable, but not for the faint of heart. Thank you iFixIt. Repair is noble and a MacBook Air 13 inch late 2010 is back on duty. My daughter is over the moon.
Used this guide to switch the displays of two identical Macbooks, very in depth, very useful knowledge on the late 2010 MBA.
Hat hervorragend geklappt. Vielen Dank.
I did it with the shortened steps. For reassembly I positioned the bottom case with logic board on a large enough cardboard box so that the screen assembly could hang at 90 degrees. This allowed me to insert the shims properly.
Agree with the previous comment. This task requires only the antennae, camera, and video to be disconnected. The only fiddly bit is disengaging and then reconnecting the hinges...with the shims. Having the case horizontal and supporting the screen makes it much easier, unless you were born with 4 arms.