はじめに
miniのハードドライブを完全に交換するにはこのガイドを使用してください。
このMacの数カ所の接続は、他のMacに比べて接続を外す際に切断しやすく、再接続が難しいことにご留意ください。このガイドでは、ハードドライブの邪魔になっているぞれぞれの部品を取り外す方法について詳しく説明しています。しかし、経験豊富な人々は、時間を節約するためにファンとアンテナプレートの接続を外さずに取り出すことができます。
必要な工具と部品
-
-
-
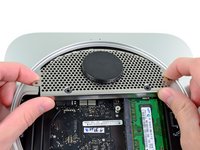
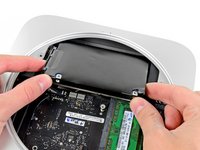
下記のアンテナプレートを固定している次のネジを外します:
-
2本の6.6 mm T8 トルクスネジ
-
2本の5.0 mm T8 トルクスネジ(スクリュードライバーでも可)
-
再組み立ての際には:
-
-
この手順で使用する道具:Mac mini Logic Board Removal Tool$4.99
-
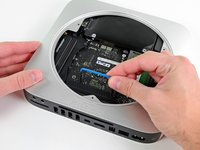
Mac mini Logic Board Removal Tool を赤でハイライトされた穴に挿入してください。工具が基盤の下のアウターケースに到達しているか確認してください。
-
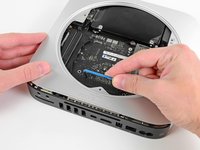
慎重に工具をI/Oボード側に引っ張ります。基盤とI/Oボードアセンブリはアウターケース外側にわずかに動きます。
-
Mac mini Logic Board Removal toolを取り出します。
-
-
-
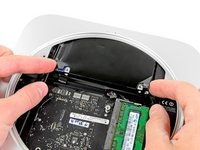
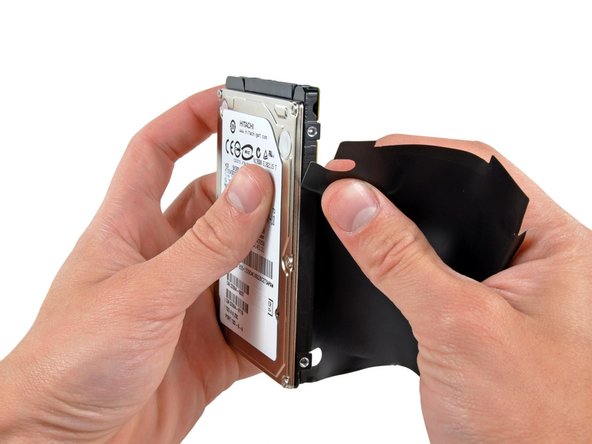
慎重にハードドライブからハードドライブカバーをはがしてください。
-
ハードドライブが残ります。
-
新しいハードドライブをインストールするには、OS X install guide を参照してください。
-


デバイスを再組み立てする際は、これらの手順を逆の順番に従って作業を進めてください。
379 の人々がこのガイドを完成させました。
以下の翻訳者の皆さんにお礼を申し上げます:
100%


これらの翻訳者の方々は世界を修理する私たちのサポートをしてくれています。 あなたも貢献してみませんか?
翻訳を始める ›

56件のガイドコメント
That's right, steps 10-11 and 13-16 are not necessary.
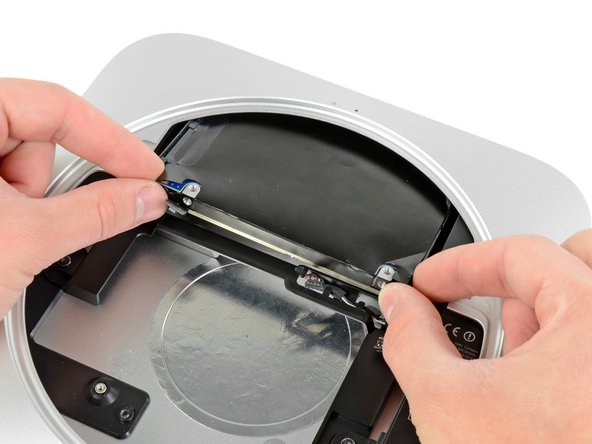
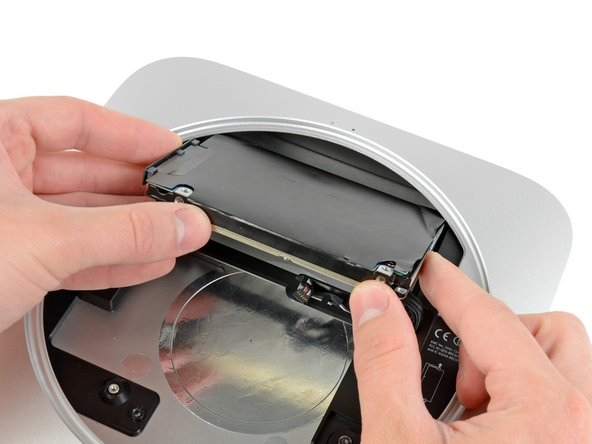
It suffices to rotate the antenna plate out of the way without detaching its cable.
And after disconnecting the hard drive you can wiggle it out of the enclosure
without dealing with the logic board. Muc less hassle, and much less intimidating.
This is great advice! It worked fine for me, thanks!
This also worked for me. Follow machobbes advice - whole process took about 10 minutes. Easy peasy.
The one difficulty I had was getting the new SSD (or HDD) to lock back into the fixings inside of the casing. Best solution if you are having this problem is to turn the Mini upside down, ensuring that the antenna cable isn't stretched too far, and aided by the wonderful powers of gravity, get the new HDD unit fixed into place properly.
Good advice. I too just moved the antenna plate to the side and the drive was easily accessible.