Warning: When removing or installing a card, handle it only by the edges. Do not touch its connectors or any of the components on the card. Lift the card straight out from the connector to remove it, and insert it straight into the connector to install it. Do not rock the card from side to side and don’t force the card into the slot.
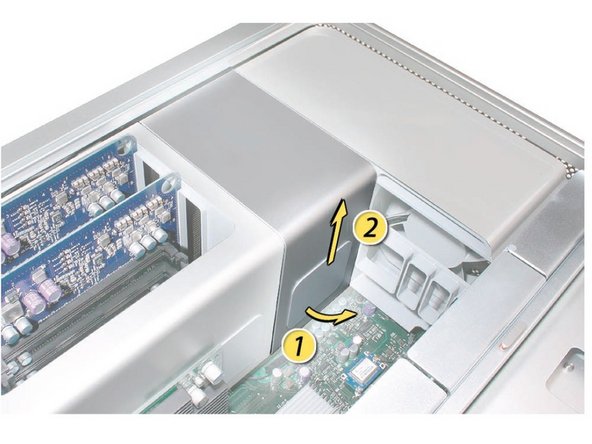
1) Release the small locking clip at the front of the card’s logic board connector by pushing the clip up toward the media shelf.
2) Holding the card by the top corners, pull up the card and remove it from its expansion slot.
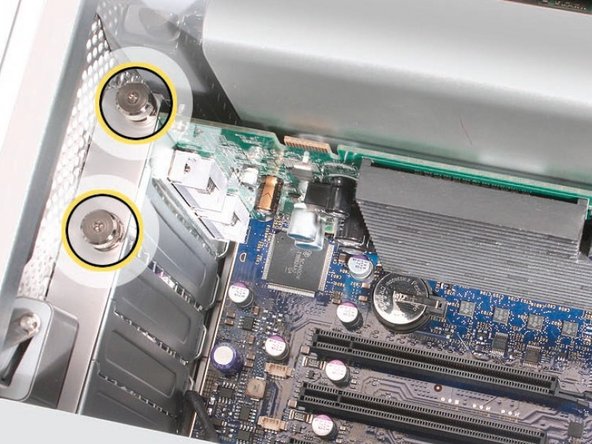
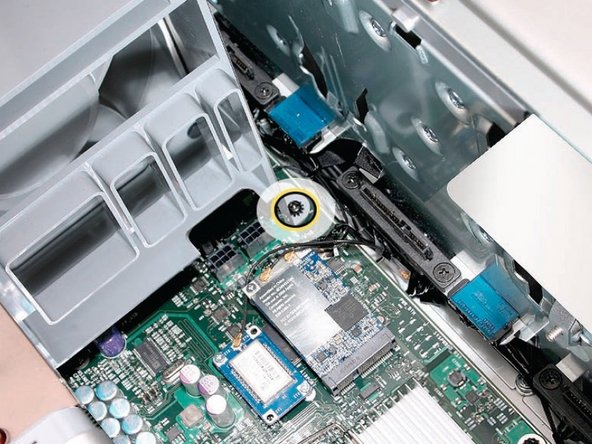
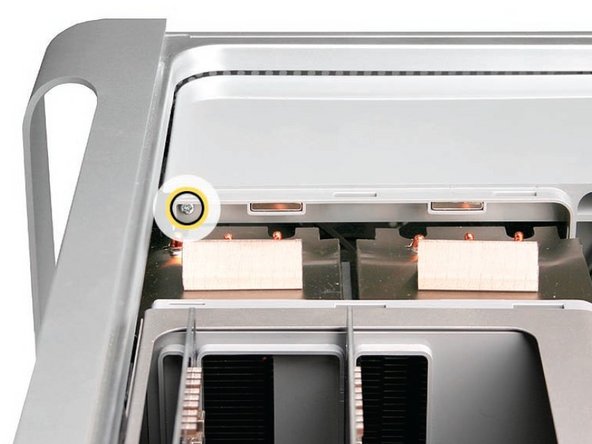
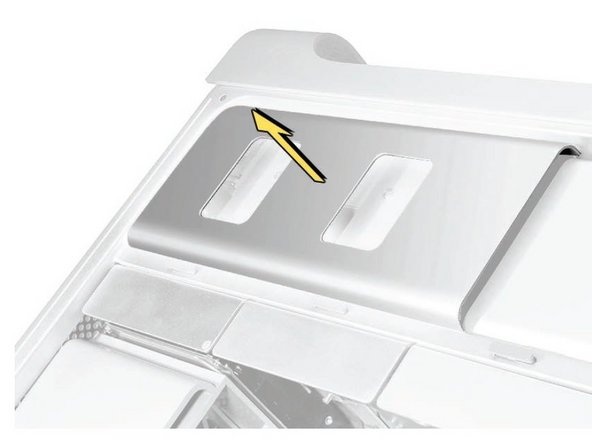
Using a long-handled, magnetized #1 Phillips screwdriver, remove the screw at the top rear of the front fan assembly that mounts the assembly to the logic board.
Remove the second Phillips screw at the bottom front of the assembly.
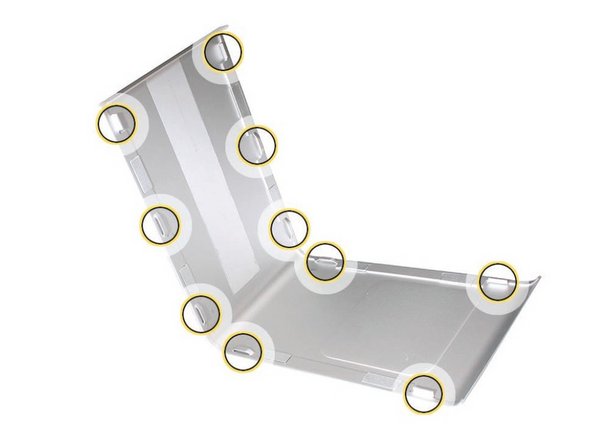
Note: The heatsink cover is held in place by a number of tabs and magnets on the underside of the cover. You must release the tabs before you can remove the cover from the enclosure.
Place the fingers of one hand under the lip of the heatsink cover nearest the logic board. Lift the lip slightly toward the media shelf to release the tabs and magnets under the top face of the cover
With your fingers still under the cover’s bottom lip, lift the cover straight up to release the remaining tabs and magnets under the front face of the cover
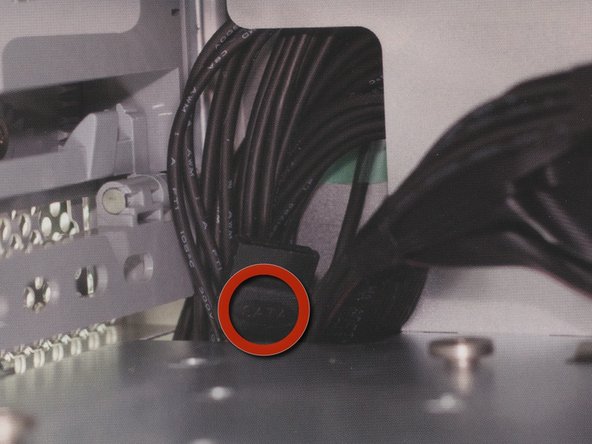
Remove the screws holding the fan enclosure in place. Mine had one at the top which screwed directly into the logic board, and another at the bottom (underneath the left yellow arrow on image 1). Place one hand on each end of the fan, lift straight up, and remove the fan from the enclosure.
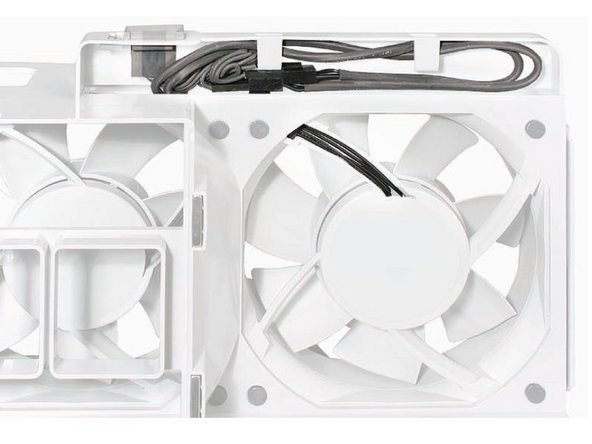
Replacement Note: Before re-installing the front fan assembly in the enclosure, make sure that the fan cables are routed correctly in the fan channel. This can also be slightly tricky so pay attention to the alignment of the connectors on the fan unit and logic board.
Just did this with my 2007 Mac Pro and the steps are the same.
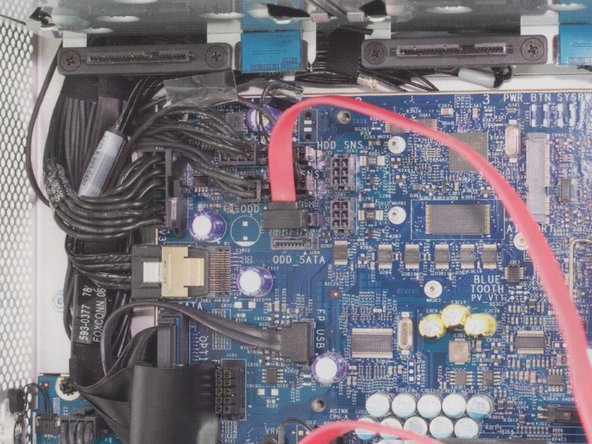
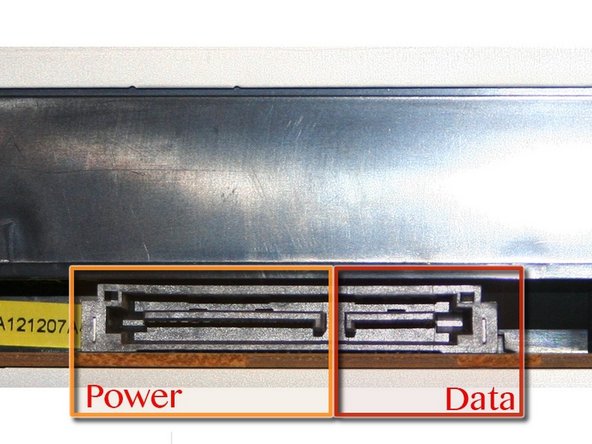
I used straight SATA cables (since I had two lying around), which get bent a bit by the fan assembly. It should work ok if you're real careful with the assembly steps, but if you have a choice, get a SATA cable with an L-shaped end as shown in the guide.