メインコンテンツにスキップ

Levoit Core 300-RAC Power Cord Replacement

必要な工具と部品

  1. Levoit Core 300-RAC Power Cord Replacement, Air Filter: 手順 1、 2の画像 1 Levoit Core 300-RAC Power Cord Replacement, Air Filter: 手順 1、 2の画像 2
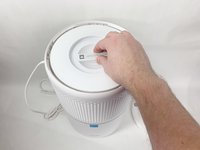
    • Make sure your device is turned off and unplugged for safety.

    • Turn the Levoit Core 300-RAC over so the bottom is facing up.

  2. Levoit Core 300-RAC Power Cord Replacement: 手順 2、 3の画像 1 Levoit Core 300-RAC Power Cord Replacement: 手順 2、 3の画像 2 Levoit Core 300-RAC Power Cord Replacement: 手順 2、 3の画像 3
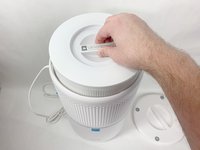
    • Turn the bottom cover counterclockwise and lift it off to remove it.

    • The cover does not "snap" on or off when turned.

  3. Levoit Core 300-RAC Power Cord Replacement: 手順 3、 3の画像 1 Levoit Core 300-RAC Power Cord Replacement: 手順 3、 3の画像 2 Levoit Core 300-RAC Power Cord Replacement: 手順 3、 3の画像 3
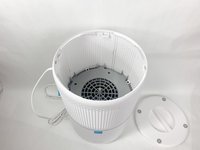
    • Lift the filter straight up and out of the device.

  4. Levoit Core 300-RAC Power Cord Replacement, Power Cord: 手順 4、 3の画像 1 Levoit Core 300-RAC Power Cord Replacement, Power Cord: 手順 4、 3の画像 2 Levoit Core 300-RAC Power Cord Replacement, Power Cord: 手順 4、 3の画像 3
    • Use a Phillips #2 screwdriver to remove the four screws that go through the four white tabs inside the device

    • Set the screws aside in a safe place.

  5. Levoit Core 300-RAC Power Cord Replacement: 手順 5、 3の画像 1 Levoit Core 300-RAC Power Cord Replacement: 手順 5、 3の画像 2 Levoit Core 300-RAC Power Cord Replacement: 手順 5、 3の画像 3
    • Use a metal spudger to gently pry between the four white tabs and the white housing and release the outer housing.

    • Gently pull up on the outer housing to prevent the clips from resetting.

  6. Levoit Core 300-RAC Power Cord Replacement: 手順 6、 2の画像 1 Levoit Core 300-RAC Power Cord Replacement: 手順 6、 2の画像 2
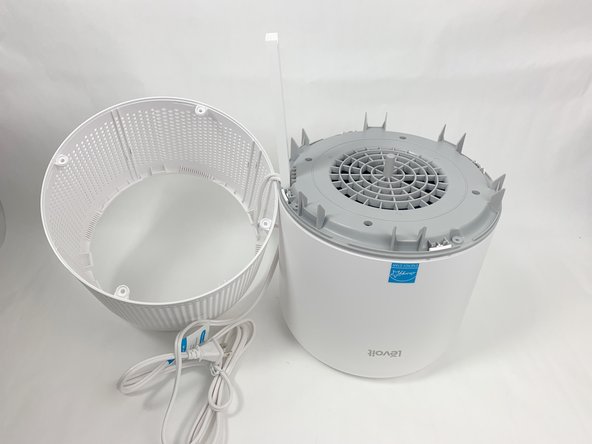
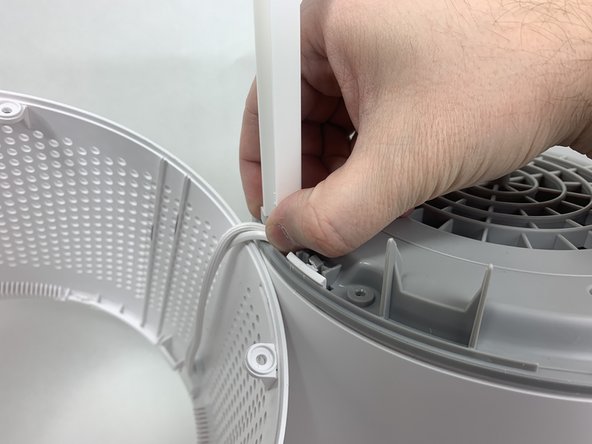
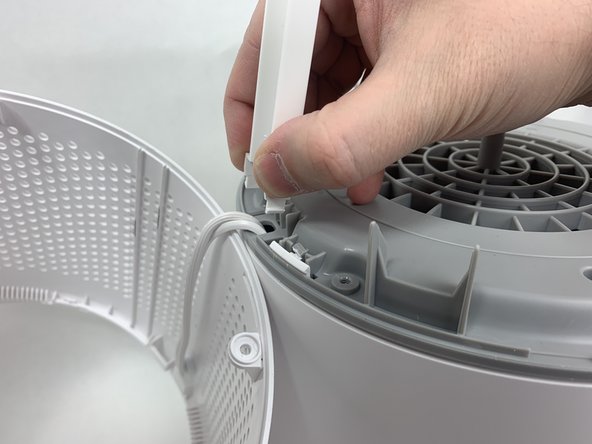
    • Remove the white outer housing and set it to the side.

    • The power cord is fed through a hole in the side of this housing, so it will need to be right next to the rest of the device.

  7. Levoit Core 300-RAC Power Cord Replacement: 手順 7、 3の画像 1 Levoit Core 300-RAC Power Cord Replacement: 手順 7、 3の画像 2 Levoit Core 300-RAC Power Cord Replacement: 手順 7、 3の画像 3
    • Grab the cable channel by its base, squeeze, and pull up at the same time to remove it.

  8. Levoit Core 300-RAC Power Cord Replacement: 手順 8、 2の画像 1 Levoit Core 300-RAC Power Cord Replacement: 手順 8、 2の画像 2
    • Remove the four Phillips #2 screws securing the gray face plate.

    • Set the screws aside in a safe place.

  9. Levoit Core 300-RAC Power Cord Replacement: 手順 9、 3の画像 1 Levoit Core 300-RAC Power Cord Replacement: 手順 9、 3の画像 2 Levoit Core 300-RAC Power Cord Replacement: 手順 9、 3の画像 3
    • Insert a Jimmy or spudger between the white tab and the gray faceplate body to release the faceplate.

    • Lift it out.

  10. Levoit Core 300-RAC Power Cord Replacement: 手順 10、 1の画像 1
    • Use wire cutters to carefully cut off the crimped power cord connections and remove the white power cord.

    • Cut as close to the connection as possible to leave as much of the internal wires as possible.

    • Cut your new power cable to length and replace the old one. You can splice the new cable on using a soldering iron, heat shrink tubing, and a heat gun. Alternatively, you can use twist-on wire nuts to make a secure connection. For more information on soldering, take a look at How to Solder and Desolder Connectors, and How to Use Heat Shrink Tubing.

終わりに

To reassemble your device, follow these instructions in reverse order.

作成者

1人の作成者と共同作成されました。

David Kamp

メンバー登録日: 11/02/23

485 ポイント

3のガイドは作成済み

チーム

UMass Dartmouth, Team 1-6, Petersen Fall 2023 UMass Dartmouth, Team 1-6, Petersen Fall 2023人のメンバー

UMASSD-PETERSEN-F23S1G6

5 メンバー

6のガイドは作成済み

0 件のコメント

コメントを追加

統計データ:

過去 24時間: 7

過去 7 日: 19

過去 30 日: 104

今までの合計 351