はじめに
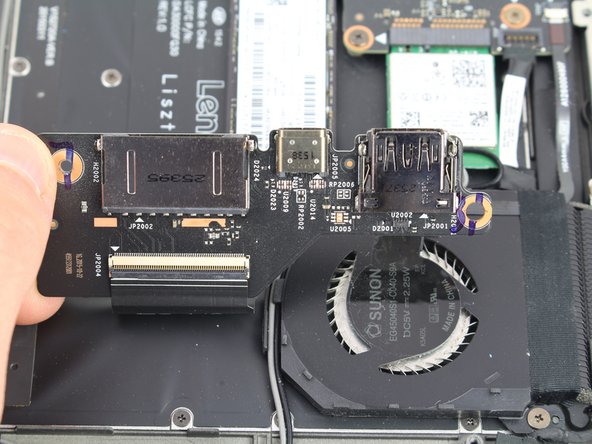
This repair guide will cover the process of replacing the left side daughterboard in the Lenovo Yoga 900 13” 2-in-1 convertible computer (900-13ISK). The lefthand daughterboard in the Lenovo Yoga 900 houses the left-side USB-A port, the USB-C port, and the multi function card reader (SD, MMC, SDXC, SDHC), so if any of these ports malfunction, replacing the daughterboard will likely restore functionality to the broken port. Note that the charging port closest to the screen hinge is actually separate from the board, so if you are having charging woes, you can replace the DC jack separately using this guide.
Note that the left side daughterboard contains the ports on the left side of the computer when viewed from the keyboard side, so it will be on the right side of the computer when viewed from the open bottom panel. If you were actually looking for the right side daughterboard guide, it can be found here.
Be sure to unplug and completely turn off your device before you start working.
必要な工具と部品
-
-
Using a T5 Torx screwdriver, remove the ten 5.5 mm screws from the back case of the laptop.
-
-
-
-
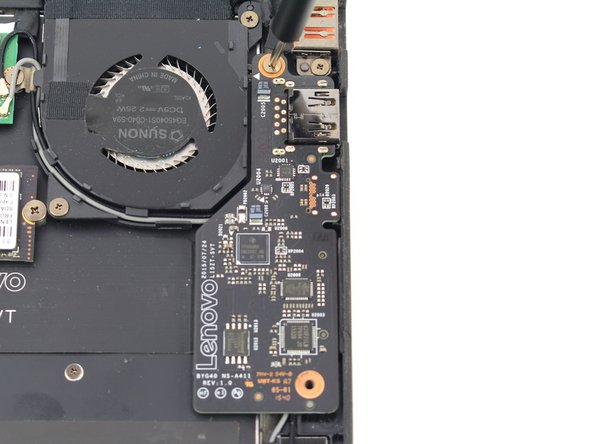
Remove the single 3.6 mm screw from the daughterboard with a Phillips #00 screwdriver.
-
-
-
Using a spudger, flip up the hinged locking tab of the ZIF connector on the underside of the daughterboard.
-
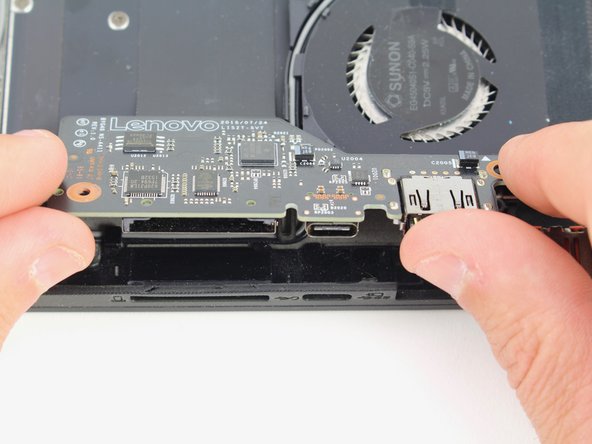
Pull the daughterboard away from the cable to disconnect.
-


To reassemble your device, follow these instructions in reverse order.
To reassemble your device, follow these instructions in reverse order.

