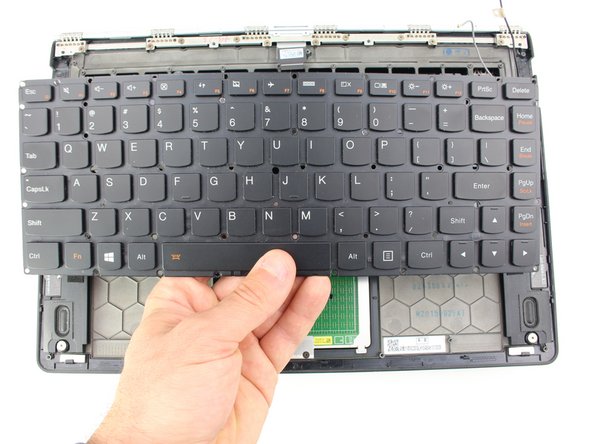
メインコンテンツにスキップ

Lenovo Yoga 900-13ISK Keyboard Replacement

必要な工具と部品

  1. Lenovo Yoga 900-13ISK Keyboard Replacement, Back Cover: 手順 1、 2の画像 1 Lenovo Yoga 900-13ISK Keyboard Replacement, Back Cover: 手順 1、 2の画像 2
    • Using a T5 Torx screwdriver, remove the ten 5.5 mm screws from the back case of the laptop.

  2. Lenovo Yoga 900-13ISK Keyboard Replacement: 手順 2、 3の画像 1 Lenovo Yoga 900-13ISK Keyboard Replacement: 手順 2、 3の画像 2 Lenovo Yoga 900-13ISK Keyboard Replacement: 手順 2、 3の画像 3
    • Use a spudger to pry open the back case at the hinges of the laptop.

    • There are plastic clips around the perimeter of the case holding down the back cover. These will need to be popped off as the cover is removed.

    • Use your fingers to completely pop off the back cover.

  3. Lenovo Yoga 900-13ISK Keyboard Replacement, Battery: 手順 3、 3の画像 1 Lenovo Yoga 900-13ISK Keyboard Replacement, Battery: 手順 3、 3の画像 2 Lenovo Yoga 900-13ISK Keyboard Replacement, Battery: 手順 3、 3の画像 3
    • Remove the five 3.6 mm screws from the battery with a Phillips #00 screwdriver.

  4. Lenovo Yoga 900-13ISK Keyboard Replacement: 手順 4、 3の画像 1 Lenovo Yoga 900-13ISK Keyboard Replacement: 手順 4、 3の画像 2 Lenovo Yoga 900-13ISK Keyboard Replacement: 手順 4、 3の画像 3
    • Grab the bottom corners of the battery and gently pull the battery until the cable disconnects from the connector on the motherboard.

    • While reassembling, use a plastic spudger to push the battery cable into the connector on the underside of the motherboard. This will be easier to do before the screws are replaced.

  5. Lenovo Yoga 900-13ISK Keyboard Replacement, Solid State Drive: 手順 5、 3の画像 1 Lenovo Yoga 900-13ISK Keyboard Replacement, Solid State Drive: 手順 5、 3の画像 2 Lenovo Yoga 900-13ISK Keyboard Replacement, Solid State Drive: 手順 5、 3の画像 3
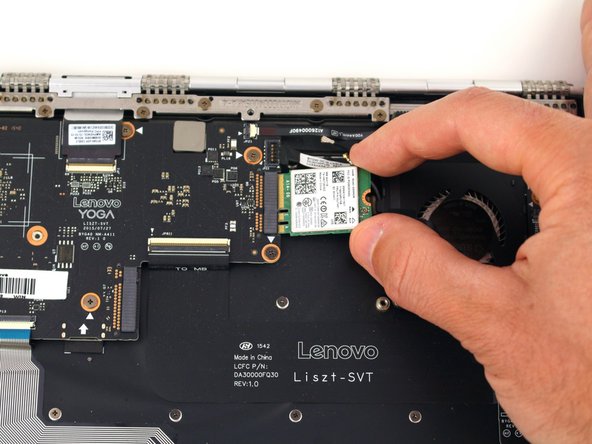
    • Use a Phillips #00 screwdriver to remove the 2.7 mm screw that is holding down the SSD card.

  6. Lenovo Yoga 900-13ISK Keyboard Replacement: 手順 6、 3の画像 1 Lenovo Yoga 900-13ISK Keyboard Replacement: 手順 6、 3の画像 2 Lenovo Yoga 900-13ISK Keyboard Replacement: 手順 6、 3の画像 3
    • Pull the SSD card out of the port to the right.

  7. Lenovo Yoga 900-13ISK Keyboard Replacement, Wi-Fi Card Prereq: 手順 7、 3の画像 1 Lenovo Yoga 900-13ISK Keyboard Replacement, Wi-Fi Card Prereq: 手順 7、 3の画像 2 Lenovo Yoga 900-13ISK Keyboard Replacement, Wi-Fi Card Prereq: 手順 7、 3の画像 3
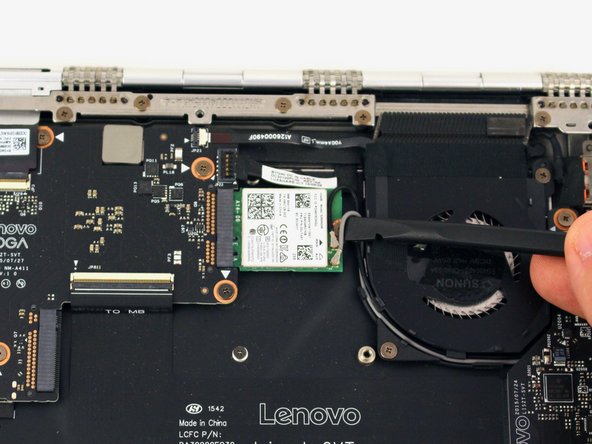
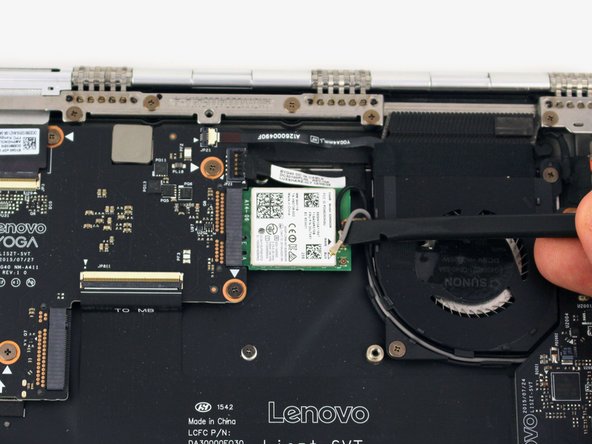
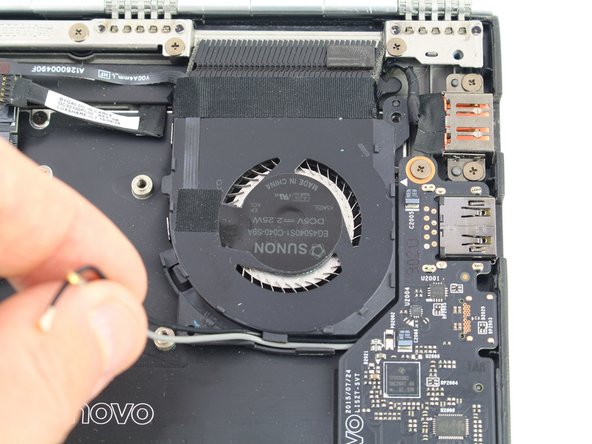
    • Pry up the gray and black coaxial cables from the Wi-Fi card using a spudger.

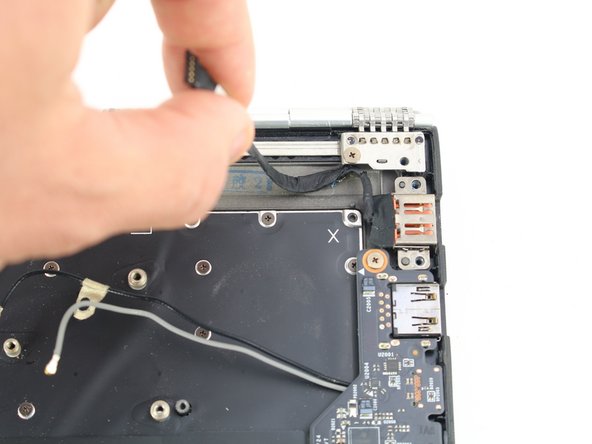
    • Move the cables to the side.

  8. Lenovo Yoga 900-13ISK Keyboard Replacement: 手順 8、 3の画像 1 Lenovo Yoga 900-13ISK Keyboard Replacement: 手順 8、 3の画像 2 Lenovo Yoga 900-13ISK Keyboard Replacement: 手順 8、 3の画像 3
    • Using a Phillips #00 screwdriver, remove the 2.2 mm screw holding down the Wi-Fi card.

    • The Wi-Fi card may pop up to rest at an angle to the motherboard after the screw is removed.

  9. Lenovo Yoga 900-13ISK Keyboard Replacement: 手順 9、 3の画像 1 Lenovo Yoga 900-13ISK Keyboard Replacement: 手順 9、 3の画像 2 Lenovo Yoga 900-13ISK Keyboard Replacement: 手順 9、 3の画像 3
    • Pull the WiFi card out from the connector on the motherboard.

  10. Lenovo Yoga 900-13ISK Keyboard Replacement, Motherboard: 手順 10、 3の画像 1 Lenovo Yoga 900-13ISK Keyboard Replacement, Motherboard: 手順 10、 3の画像 2 Lenovo Yoga 900-13ISK Keyboard Replacement, Motherboard: 手順 10、 3の画像 3
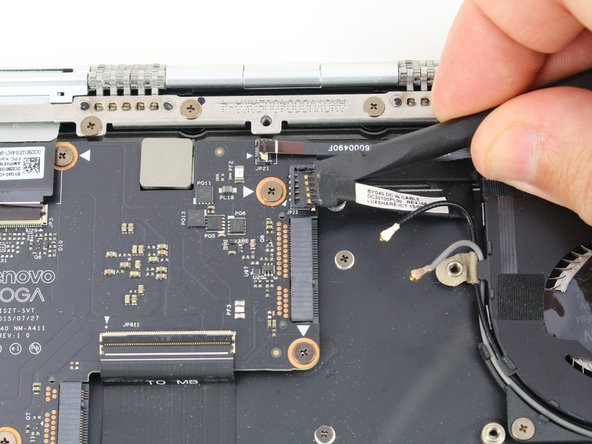
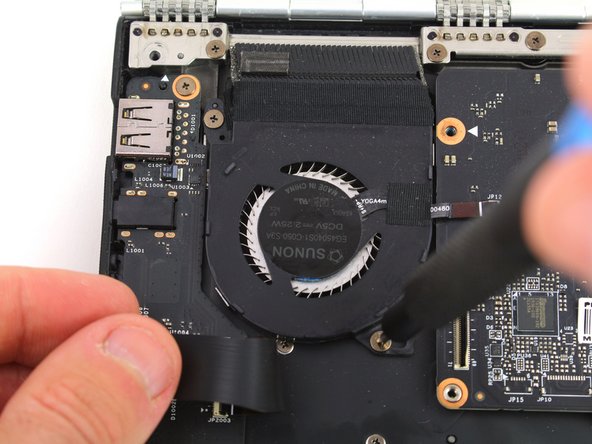
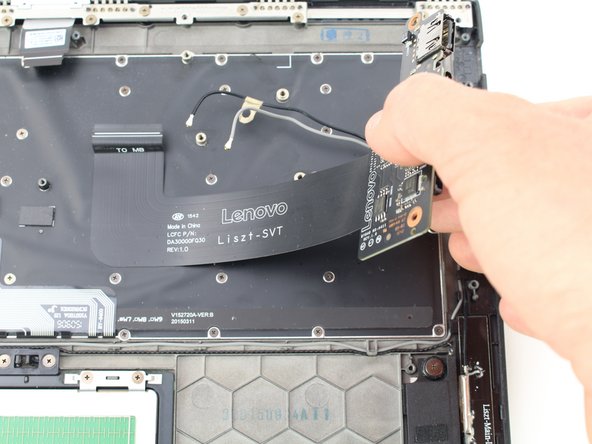
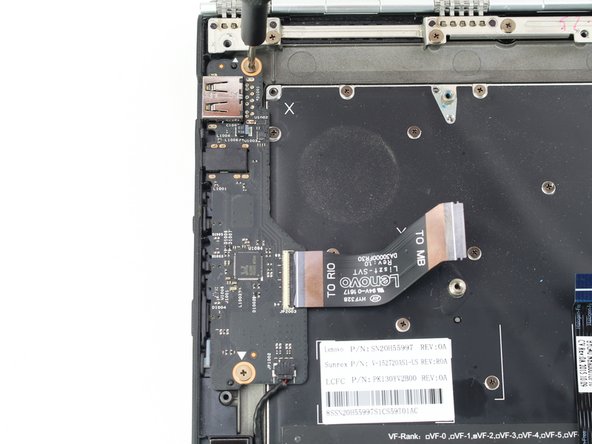
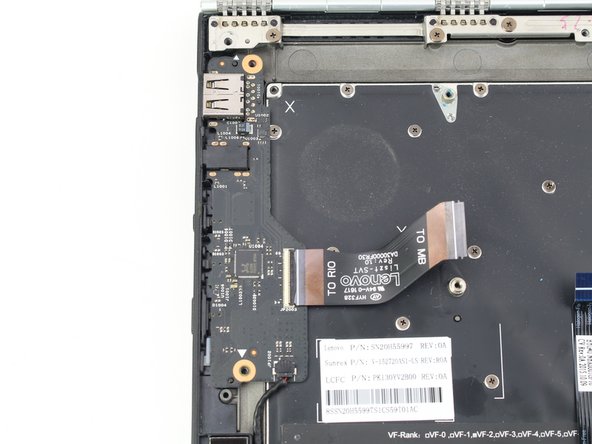
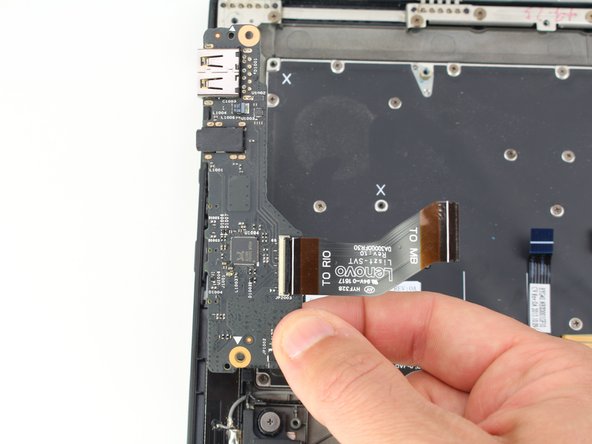
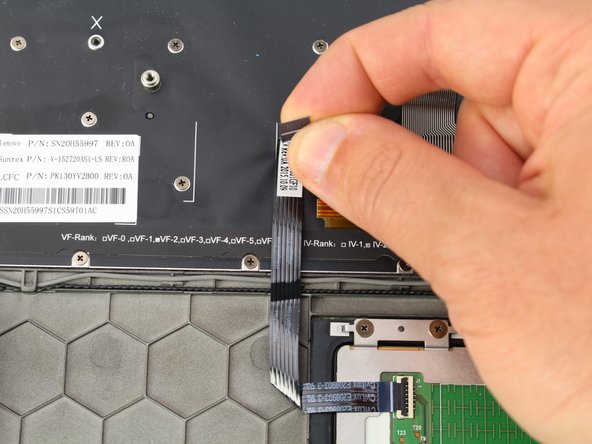
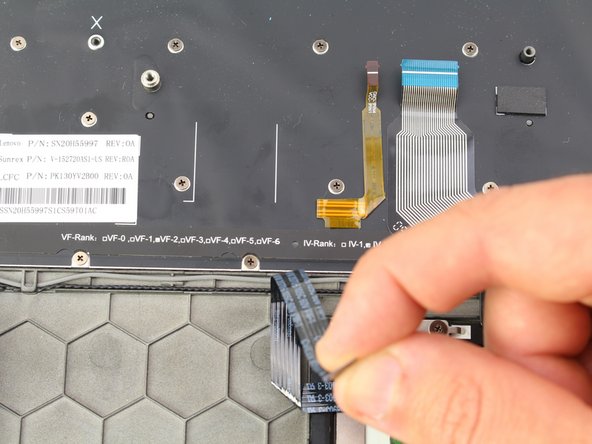
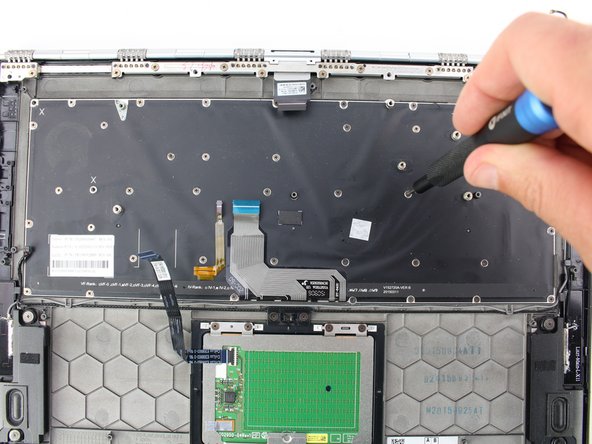
    • Using the pointed end of a spudger, flip up the hinged locking tabs of the eight ZIF connectors on the motherboard.

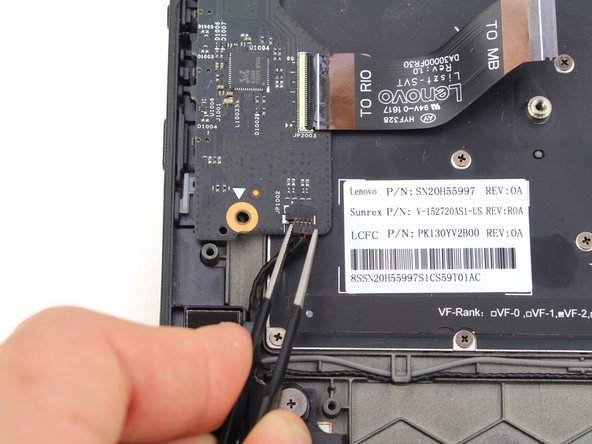
    • Pull the eight cables out from their connectors using a pair of blunt nose tweezers.

  11. Lenovo Yoga 900-13ISK Keyboard Replacement: 手順 11、 3の画像 1 Lenovo Yoga 900-13ISK Keyboard Replacement: 手順 11、 3の画像 2 Lenovo Yoga 900-13ISK Keyboard Replacement: 手順 11、 3の画像 3
  12. Lenovo Yoga 900-13ISK Keyboard Replacement: 手順 12、 3の画像 1 Lenovo Yoga 900-13ISK Keyboard Replacement: 手順 12、 3の画像 2 Lenovo Yoga 900-13ISK Keyboard Replacement: 手順 12、 3の画像 3
    • Remove the five 3.6 mm screws from the motherboard using a Phillips #00 screwdriver.

  13. Lenovo Yoga 900-13ISK Keyboard Replacement: 手順 13、 3の画像 1 Lenovo Yoga 900-13ISK Keyboard Replacement: 手順 13、 3の画像 2 Lenovo Yoga 900-13ISK Keyboard Replacement: 手順 13、 3の画像 3
    • Pull back the interconnect cable on the left side of the motherboard to reveal one of the fan screws for the left fan.

    • Remove the two 3.6 mm screws from the left fan with a Phillips #00 screwdriver.

  14. Lenovo Yoga 900-13ISK Keyboard Replacement: 手順 14、 3の画像 1 Lenovo Yoga 900-13ISK Keyboard Replacement: 手順 14、 3の画像 2 Lenovo Yoga 900-13ISK Keyboard Replacement: 手順 14、 3の画像 3
    • Remove the two 3.6 mm screws from the right fan using a Phillips #00 screwdriver.

  15. Lenovo Yoga 900-13ISK Keyboard Replacement: 手順 15、 3の画像 1 Lenovo Yoga 900-13ISK Keyboard Replacement: 手順 15、 3の画像 2 Lenovo Yoga 900-13ISK Keyboard Replacement: 手順 15、 3の画像 3
    • Unwind the black and white coaxial cables from the hooks on the right fan casing.

  16. Lenovo Yoga 900-13ISK Keyboard Replacement: 手順 16、 2の画像 1 Lenovo Yoga 900-13ISK Keyboard Replacement: 手順 16、 2の画像 2
    • Lift the motherboard from the bottom edge and pull it up and out of the case.

    • If you need to remove the fan assembly to swap it over to your new motherboard, continue to follow along with the heatsink guide.

  17. Lenovo Yoga 900-13ISK Keyboard Replacement, Charging Port: 手順 17、 3の画像 1 Lenovo Yoga 900-13ISK Keyboard Replacement, Charging Port: 手順 17、 3の画像 2 Lenovo Yoga 900-13ISK Keyboard Replacement, Charging Port: 手順 17、 3の画像 3
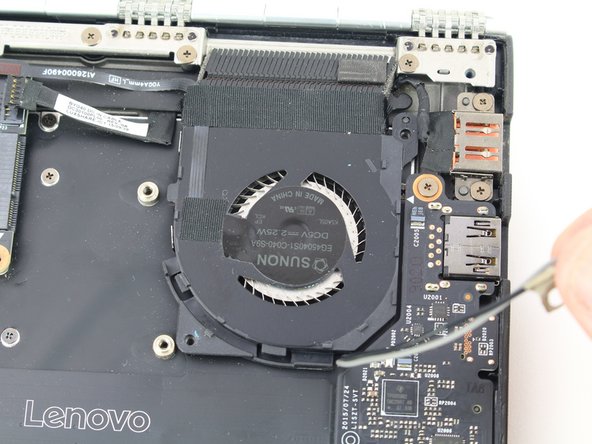
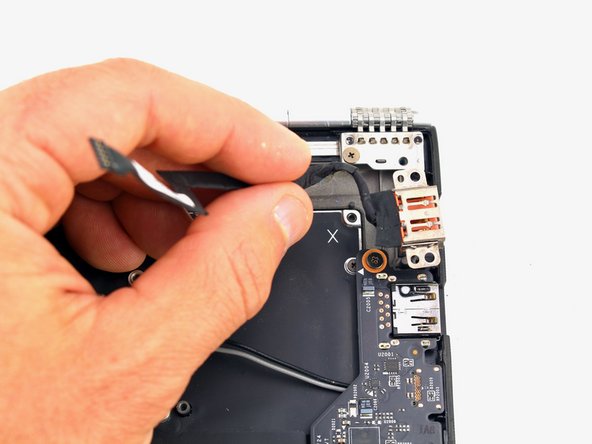
    • Remove the two 3.5 mm screws from the charging port with a Phillips #00 screwdriver.

  18. Lenovo Yoga 900-13ISK Keyboard Replacement: 手順 18、 3の画像 1 Lenovo Yoga 900-13ISK Keyboard Replacement: 手順 18、 3の画像 2 Lenovo Yoga 900-13ISK Keyboard Replacement: 手順 18、 3の画像 3
    • Peel up the charging port cable and remove the charging port.

  19. Lenovo Yoga 900-13ISK Keyboard Replacement, Keyboard: 手順 19、 3の画像 1 Lenovo Yoga 900-13ISK Keyboard Replacement, Keyboard: 手順 19、 3の画像 2 Lenovo Yoga 900-13ISK Keyboard Replacement, Keyboard: 手順 19、 3の画像 3
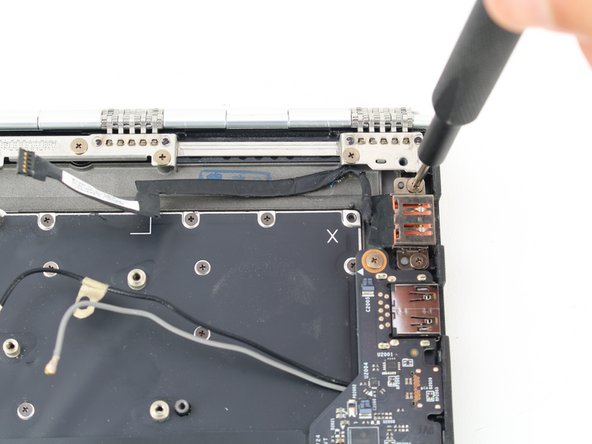
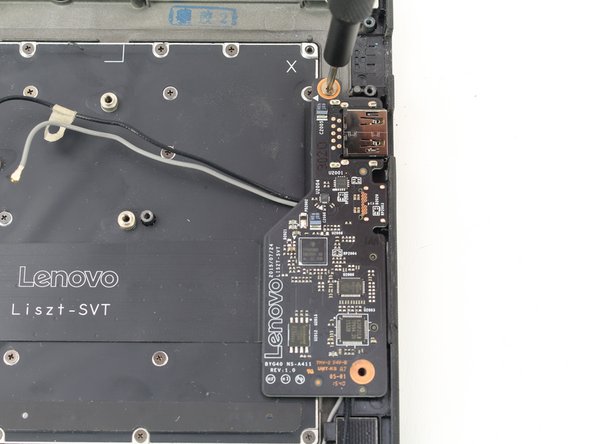
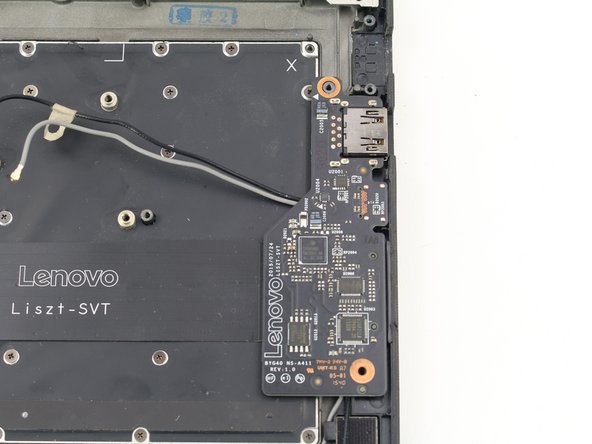
    • Remove the 3.6 mm screw from the daughterboard on the right with a Phillips #00 screwdriver.

  20. Lenovo Yoga 900-13ISK Keyboard Replacement: 手順 20、 3の画像 1 Lenovo Yoga 900-13ISK Keyboard Replacement: 手順 20、 3の画像 2 Lenovo Yoga 900-13ISK Keyboard Replacement: 手順 20、 3の画像 3
    • Lift the daughterboard from the right edge and peel off the interconnect cable from the keyboard panel.

  21. Lenovo Yoga 900-13ISK Keyboard Replacement: 手順 21、 3の画像 1 Lenovo Yoga 900-13ISK Keyboard Replacement: 手順 21、 3の画像 2 Lenovo Yoga 900-13ISK Keyboard Replacement: 手順 21、 3の画像 3
    • Use a Phillips #00 screwdriver to remove the two 3.6 mm screws from the daughterboard on the left.

  22. Lenovo Yoga 900-13ISK Keyboard Replacement: 手順 22、 3の画像 1 Lenovo Yoga 900-13ISK Keyboard Replacement: 手順 22、 3の画像 2 Lenovo Yoga 900-13ISK Keyboard Replacement: 手順 22、 3の画像 3
    • Use a pair of blunt nose tweezers to pull out the speaker cable on the lower portion of the daughterboard.

  23. Lenovo Yoga 900-13ISK Keyboard Replacement: 手順 23、 2の画像 1 Lenovo Yoga 900-13ISK Keyboard Replacement: 手順 23、 2の画像 2
    • Lift up the daughterboard from the right side to remove it from the case.

  24. Lenovo Yoga 900-13ISK Keyboard Replacement: 手順 24、 3の画像 1 Lenovo Yoga 900-13ISK Keyboard Replacement: 手順 24、 3の画像 2 Lenovo Yoga 900-13ISK Keyboard Replacement: 手順 24、 3の画像 3
    • Peel back the trackpad cable from the black keyboard panel.

  25. Lenovo Yoga 900-13ISK Keyboard Replacement: 手順 25、 3の画像 1 Lenovo Yoga 900-13ISK Keyboard Replacement: 手順 25、 3の画像 2 Lenovo Yoga 900-13ISK Keyboard Replacement: 手順 25、 3の画像 3
    • Remove the forty-one 1.9 mm screws from the keyboard panel with a Phillips #000 screwdriver.

    • While reassembling, you can use the 'X' markings to tell which holes do not need screws.

  26. Lenovo Yoga 900-13ISK Keyboard Replacement: 手順 26、 3の画像 1 Lenovo Yoga 900-13ISK Keyboard Replacement: 手順 26、 3の画像 2 Lenovo Yoga 900-13ISK Keyboard Replacement: 手順 26、 3の画像 3
    • Open the laptop slightly.

  27. Lenovo Yoga 900-13ISK Keyboard Replacement: 手順 27、 3の画像 1 Lenovo Yoga 900-13ISK Keyboard Replacement: 手順 27、 3の画像 2 Lenovo Yoga 900-13ISK Keyboard Replacement: 手順 27、 3の画像 3
    • Press the keyboard up from the underside and grab it to remove it from the case.

終わりに

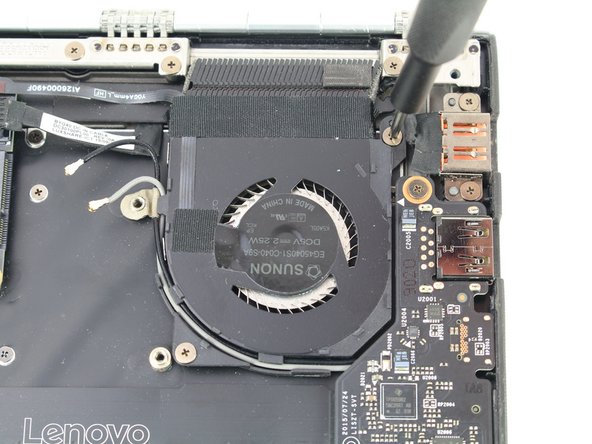
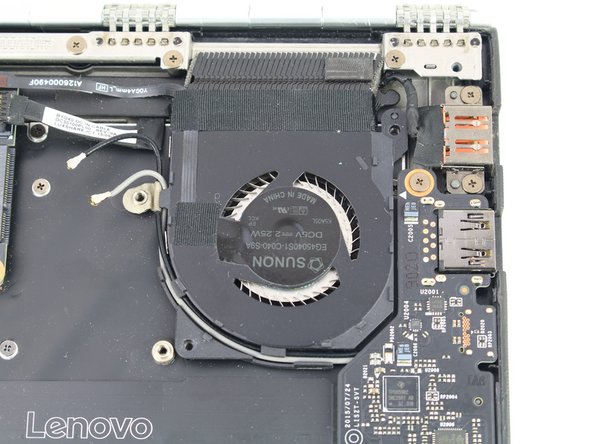
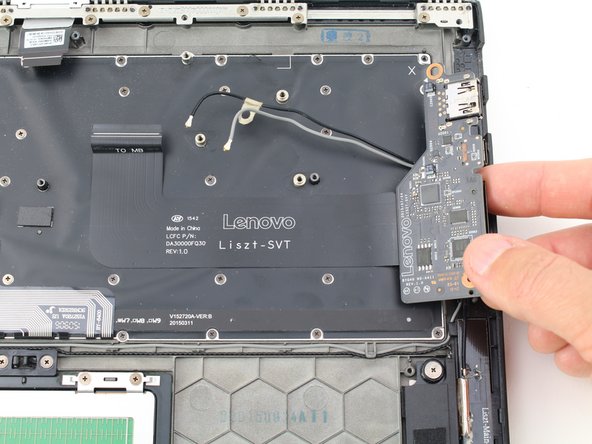
To reassemble your device, follow these instructions in reverse order.

3 の人々がこのガイドを完成させました。

Austin Blakely

メンバー登録日: 03/11/19

19,506 ポイント

53のガイドは作成済み

チーム

iFixit iFixit人のメンバー

Staff

135 メンバー

16,820のガイドは作成済み

0 件のコメント

コメントを追加

統計データ:

過去 24時間: 0

過去 7 日: 6

過去 30 日: 25

今までの合計 1,602