はじめに
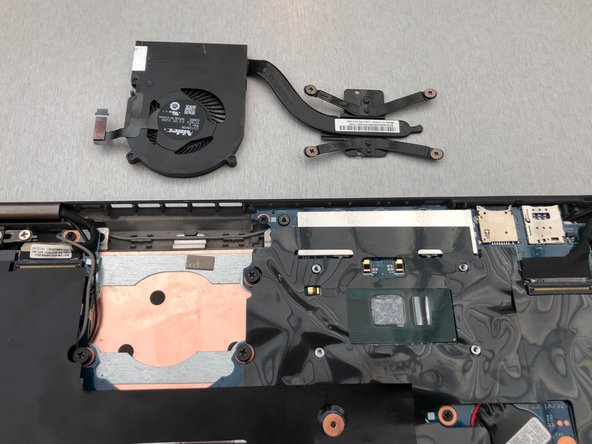
This repair guide is to remove, clean, and replace the cooling fan system on the Lenovo ThinkPad X1 Yoga (Model Number: 20FQ005YUS). The cooling system is very important to keep the computer functioning smoothly. If your computer is running slowly, overheating, or the fan is loud, it is time to clean or change the cooling fan system.
After Step 4, you will need to reapply thermal paste. Please refer to this guide on how to do that.
必要な工具と部品
-
-
Flip the computer over so the bottom is facing up.
-
Remove nine 4mm Phillips #1 screws from the bottom of the computer.
-
Use an iFixit opening tool to pry the back cover off of the laptop.
-
-


To reassemble your device, follow these instructions in reverse order.
To reassemble your device, follow these instructions in reverse order.
2 の人々がこのガイドを完成させました。
チーム

Embry-Riddle Aeronautical University, Team S22-G6, Branham Fall 2019 Embry-Riddle Aeronautical University, Team S22-G6, Branham Fall 2019人のメンバー
ERAU-BRANHAM-F19S22G6
3 メンバー
23のガイドは作成済み