はじめに
If your device is no longer typing like it used to you may need to replace the keyboard. Fortunately, replacing a damaged Keyboard is often more straightforward than it seems. This guide will walk you through the essential steps to safely remove and replace your laptop keyboard using simple and straightforward steps.
必要な工具と部品
-
-
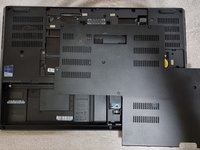
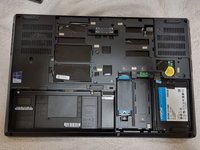
Slide the battery latch to the left to unlock it and remove the battery.
 FixBotに聞いてみる
-
-
-
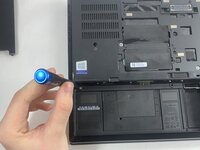
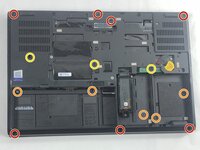
Loosen the six 12.6 mm captive screws that secure the lower case with the Phillips #00 screwdriver.
-
Pull up the notch with your fingernail or a spudger.
-
-
-
-
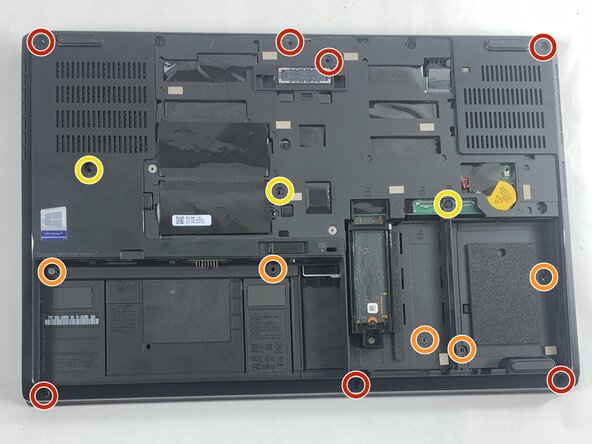
Remove the following screws with a Phillips #00 screwdriver:
-
Seven 5.7 mm screws
-
Five 4.3 mm screws
-
Three 12.6 mm screws
-
-
-
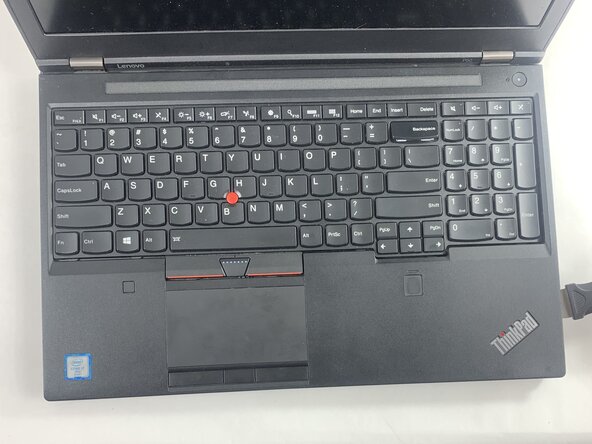
Turn the computer over and open the lid.
-
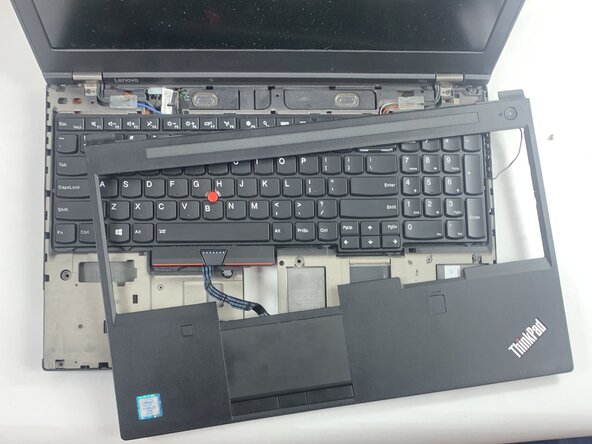
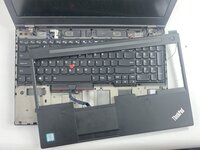
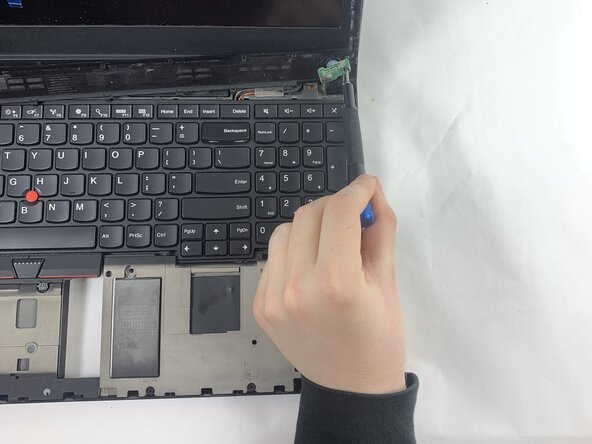
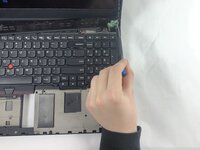
Insert an opening pick in the seam between the keyboard bezel and chassis.
-
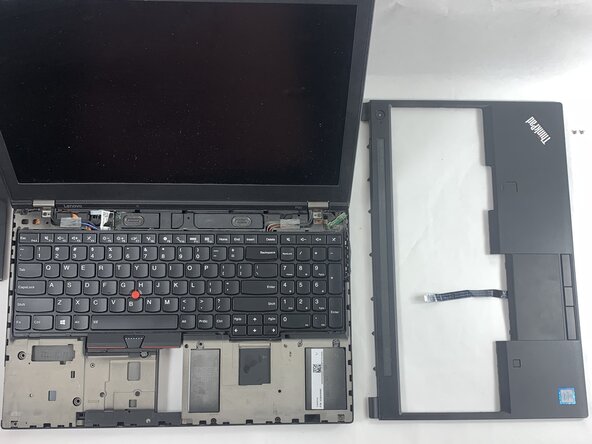
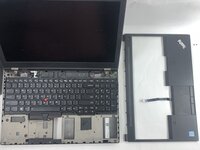
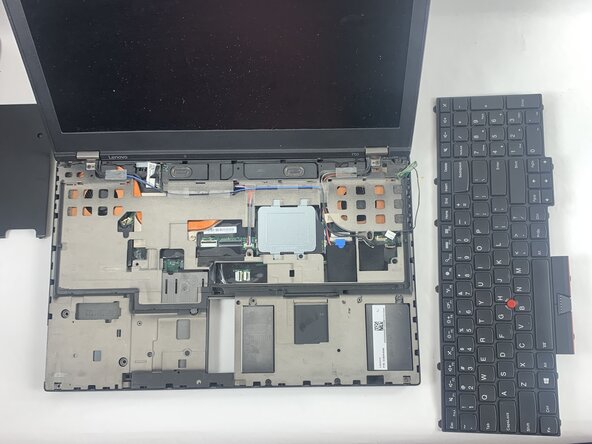
Pry around the entire perimeter until the keyboard assembly fully releases.
-
-
-
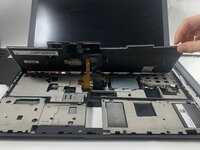
Pivot the keyboard further up until you can see the connectors on the underside of the keyboard
-
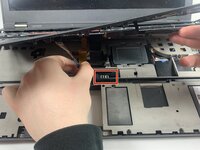
Detach the connectors that connect to the trackpad.
-
Most of the time, these connectors will have a lip or a tab along the top that can be used to push the connector out of its socket.
-
To disconnect, use the wide end of a spudger to push on the connector tab to slide it out of its socket.
-
-
-
Lift the keyboard slightly until you see the cable connection the keyboard to the rest of the computer
-
Most of the time, these connectors will have a lip or a tab along the top that can be used to push the connector out of its socket.
-
To disconnect, use the wide end of a spudger to push on the connector tab to slide it out of its socket.
-





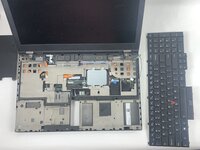
To reassemble your device, follow the above steps in reverse order.
Take your e-waste to an R2 or e-Stewards certified recycler.
Repair didn’t go as planned? Try some basic troubleshooting or ask our Answers community for help.

チーム

UMass Dartmouth, Team 3-1, Botvin Spring 2025 UMass Dartmouth, Team 3-1, Botvin Spring 2025人のメンバー
UMASSD-BOTVIN-S25S3G1
3 メンバー
5のガイドは作成済み
1件のガイドコメント
This guide is woefully incorrect. You do not need to remove the palm rest in order to replace the keyboard. This is a great way to end up with a cracked palm rest if you're not careful. Please refer to the manufacturer's support guide here: Page 68 has the relevant material.
Shane Welsh - 返信 共有
