はじめに
This is a guide to replace the hard drive in a Lenovo Legion Y530-15ICH laptop.
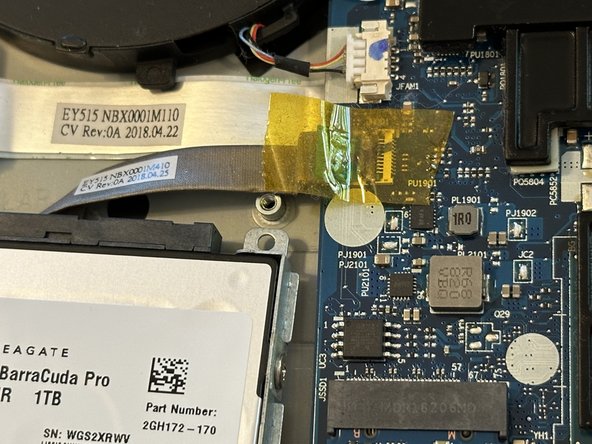
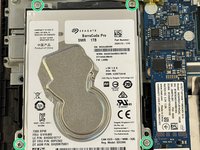
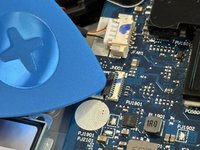
Credit to Kaylie Klausing for the first three pictures, as well as the steps themselves.
IMPORTANT:
- Your OS will NOT be installed on the new hard drive. For guidance on reinstalling Windows, I recommend this guide from HP. This requires a flash drive (minimum 8Gb storage) or DL-DVD.
- To transfer your files, I recommend the built-in Backup and Restore tool. This requires an external drive of at least the capacity of your current drive.
- I personally transferred my data to a lower-capacity (500Gb) drive because I had only 80Gb taking up space on a 1Tb drive. This causes no problems, but is not recommended because of the possibility of a user's replacement drive not having enough space for their data.
必要な工具と部品
-
-
Using a PH1 screwdriver or bit, remove eleven screws securing the back cover.
-
Five 7mm screws
-
Two 6mm screws
-
Four 4mm screws
-
-
-
Carefully pry the back cover off the computer using an opening pick.
-
Start at one of the rear corners of the laptop and work your way around the chassis, gently pulling up on the cover until it detaches.
-
-


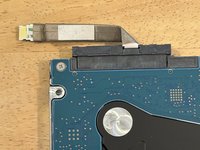
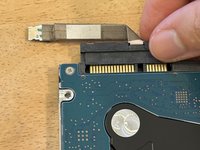
もう少しです!
Once the ribbon cable piece has been attached to the new hard drive, just follow these steps in the reverse order.
終わりに
Once the ribbon cable piece has been attached to the new hard drive, just follow these steps in the reverse order.
