はじめに
This guide shows you how to replace a Lenovo 320-17IKB touchpad.
Before replacing your touchpad, try updating and reinstalling the touchpad drivers. You will know your touchpad is faulty if your cursor is lagging or jumping after updating/reinstalling your drivers.
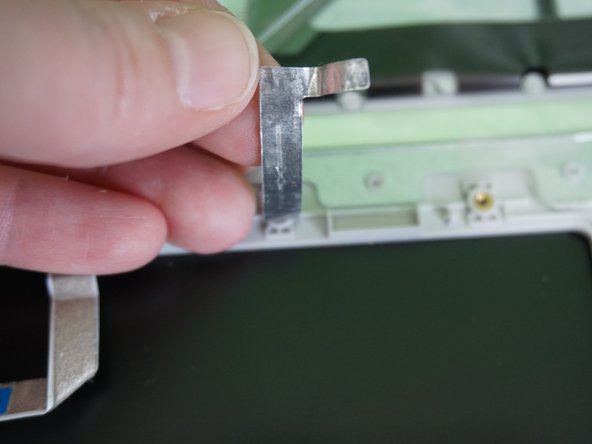
Step 1 requires you to remove a part that is glued down. Glue/solder is necessary to reattach this part.
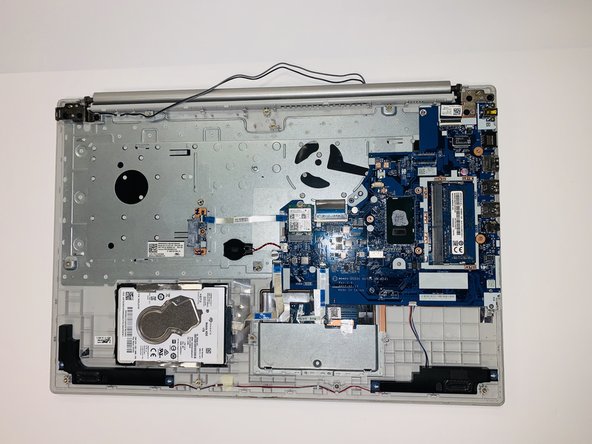
Before beginning, make sure to power off your laptop completely and disconnect it from any external power source.
必要な工具と部品
-
-
-
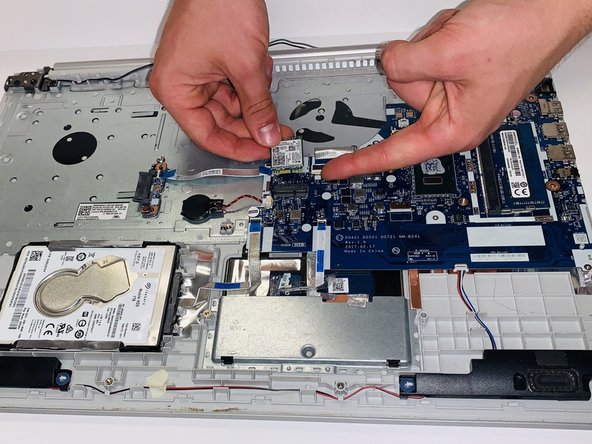
Remove the single 3mm Phillips #0 screw from the Wi-Fi card.
-
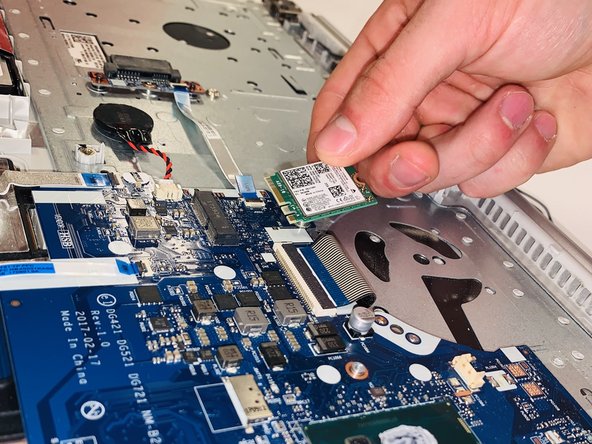
Pull the Wi-Fi card straight out of the laptop.
-
-
-
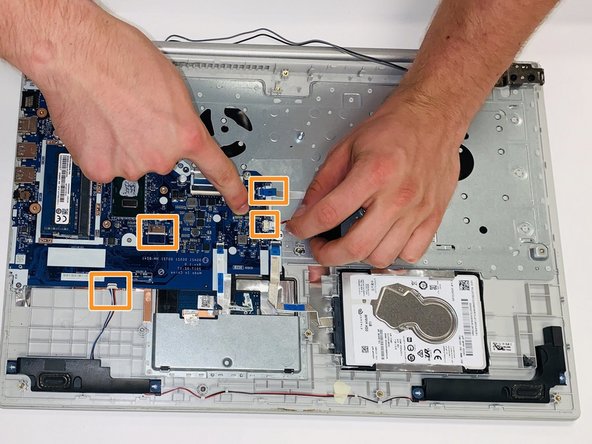
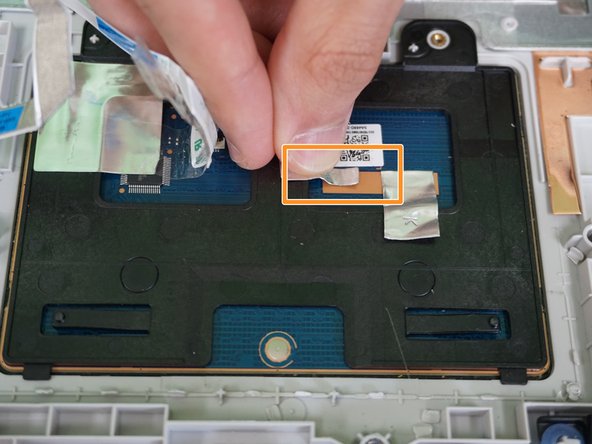
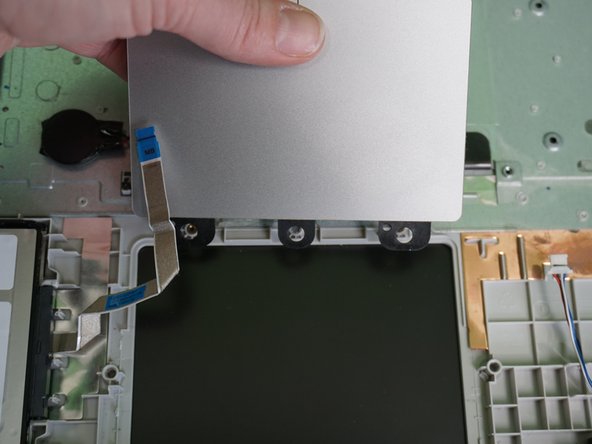
Gently pull the blue ribbon marked with "MB" connectors.
-
Gently remove the other connectors in the picture by pulling them straight out.
-
Blue connectors encased in a black holder may require tweezers to unclasp the connector for removal.
-
-
-
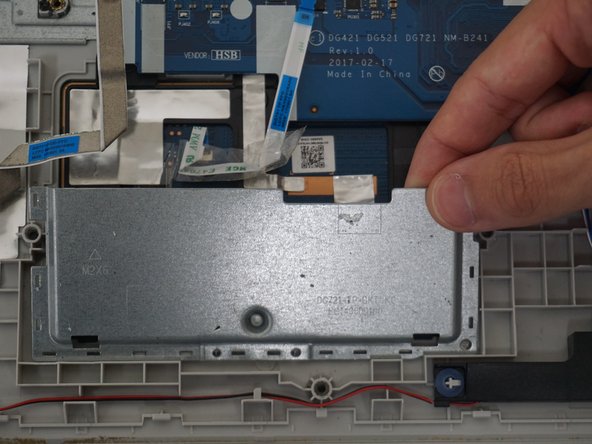
Use a Jimmy or opening tool to pry and and release the clips that secure the touchpad cover.
-
Remove the touchpad cover.
-


To reassemble your device, follow these instructions in reverse order. Take your e-waste to an R2 or e-Stewards certified recycler.
To reassemble your device, follow these instructions in reverse order. Take your e-waste to an R2 or e-Stewards certified recycler.
チーム

University of North Texas, Team 1-3, Coppersmith Spring 2024 University of North Texas, Team 1-3, Coppersmith Spring 2024人のメンバー
UNT-COPPERSMITH-S24S1G3
4 メンバー
4のガイドは作成済み