はじめに
This guide is about replacing the motherboard of the Lenovo IdeaPad 320-17IKB.
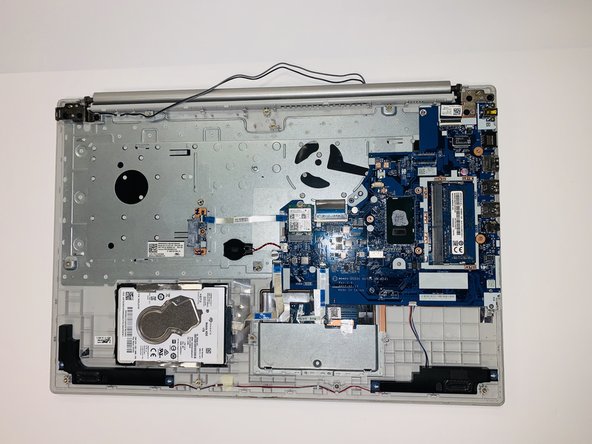
The motherboard is a printed circuit board and foundation of a computer that allocates power and allows communication between the CPU, RAM, and all other computer hardware components. The motherboard is the most important component of the computer. An outdated or damaged motherboard negatively affects the performance of the computer and sometimes has to be replaced.
Before using this guide, check out the Lenovo IdeaPad 320-17IKB Troubleshooting. Sometimes, the damaged back panel is the reason of disrupting the motherboard and other hardware. As a result, the motherboard does not have to be replaced in that case.
Be cautious when lifting the back panel off the laptop to not damage any hardware.
必要な工具と部品
-
-
-
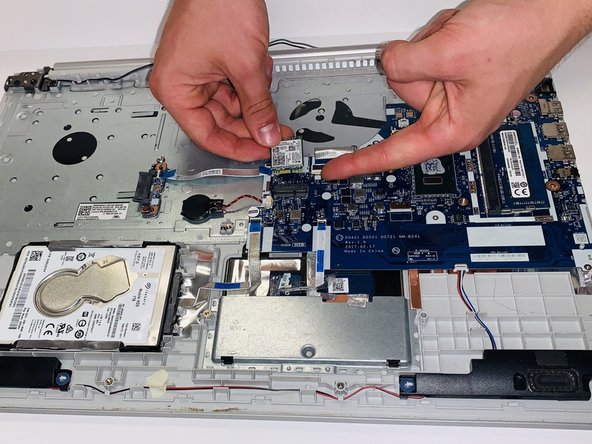
Remove the single 3mm Phillips #0 screw from the Wi-Fi card.
-
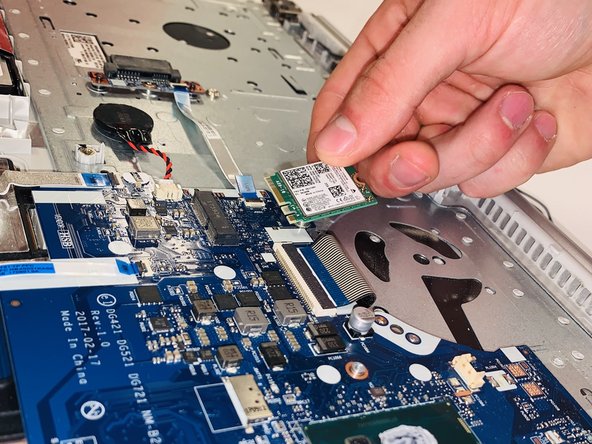
Pull the Wi-Fi card straight out of the laptop.
-
-
-
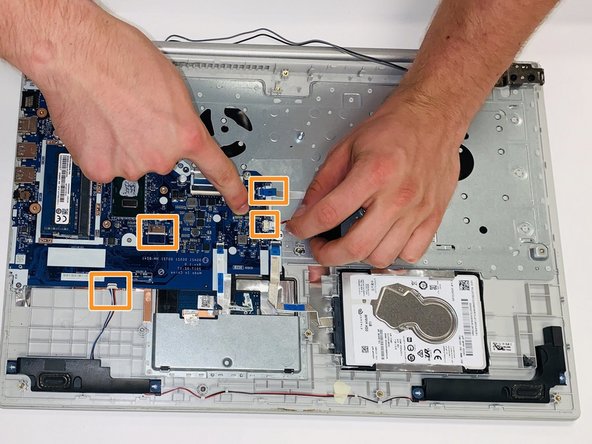
Gently pull the blue ribbon marked with "MB" connectors.
-
Gently remove the other connectors in the picture by pulling them straight out.
-
Blue connectors encased in a black holder may require tweezers to unclasp the connector for removal.
-


To reassemble your device, follow these instructions in reverse order.
To reassemble your device, follow these instructions in reverse order.
3 の人々がこのガイドを完成させました。

チーム

Embry-Riddle Aeronautical University, Team S6-G3, Salas Fall 2019 Embry-Riddle Aeronautical University, Team S6-G3, Salas Fall 2019人のメンバー
ERAU-SALAS-F19S6G3
4 メンバー
10のガイドは作成済み