メインコンテンツにスキップ

Lenovo Ideapad 320-17IKB Hard Drive Replacement

必要な工具と部品

  1. Lenovo Ideapad 320-17IKB Hard Drive Replacement, Back Panel: 手順 1、 1の画像 1
    • Turn off and unplug the computer.

    • Flip the laptop over so that the back panel is facing upwards.

  2. Lenovo Ideapad 320-17IKB Hard Drive Replacement: 手順 2、 2の画像 1 Lenovo Ideapad 320-17IKB Hard Drive Replacement: 手順 2、 2の画像 2
    • Remove fourteen 7mm Phillips #00 screws from the back panel.

  3. Lenovo Ideapad 320-17IKB Hard Drive Replacement: 手順 3、 1の画像 1
    • Carefully remove the optical drive by pulling the bezel away from the laptop.

  4. Lenovo Ideapad 320-17IKB Hard Drive Replacement: 手順 4、 2の画像 1 Lenovo Ideapad 320-17IKB Hard Drive Replacement: 手順 4、 2の画像 2
    • Use your fingers or an opening tool to gently remove the back panel from the bottom of the laptop.

    • Lay both sides of the laptop next to each other.

  5. Lenovo Ideapad 320-17IKB Hard Drive Replacement, Battery: 手順 5、 2の画像 1 Lenovo Ideapad 320-17IKB Hard Drive Replacement, Battery: 手順 5、 2の画像 2
    • Remove five 7mm Phillips #0 screws from the battery holder.

  6. Lenovo Ideapad 320-17IKB Hard Drive Replacement: 手順 6、 2の画像 1 Lenovo Ideapad 320-17IKB Hard Drive Replacement: 手順 6、 2の画像 2
    • Pinch the connecting cord with one hand and pry the battery connector with the other hand, while gently pulling the connector straight out and towards the bottom edge of the base.

    • When removing the battery, use care to keep it flat and do not open the battery because it can result in fire or explosion.

  7. Lenovo Ideapad 320-17IKB Hard Drive Replacement, Hard Drive: 手順 7、 3の画像 1 Lenovo Ideapad 320-17IKB Hard Drive Replacement, Hard Drive: 手順 7、 3の画像 2 Lenovo Ideapad 320-17IKB Hard Drive Replacement, Hard Drive: 手順 7、 3の画像 3
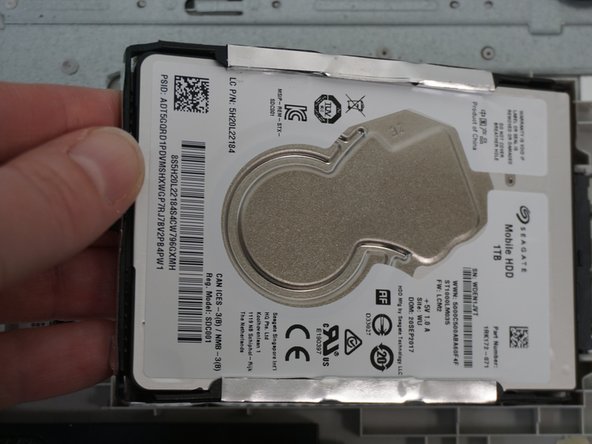
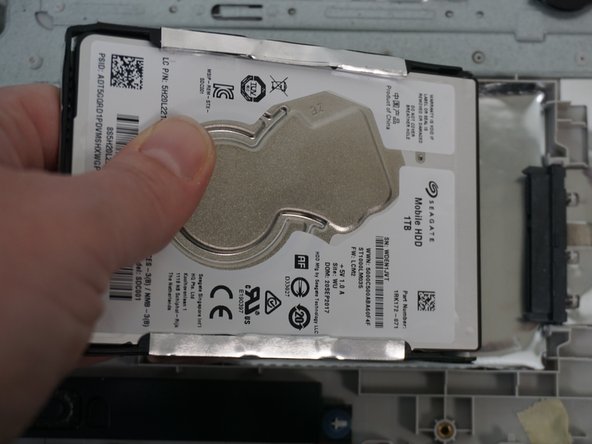
    • Disconnect the hard drive from the SATA slot by gently pulling the hard drive to the left.

  8. Lenovo Ideapad 320-17IKB Hard Drive Replacement: 手順 8、 3の画像 1 Lenovo Ideapad 320-17IKB Hard Drive Replacement: 手順 8、 3の画像 2 Lenovo Ideapad 320-17IKB Hard Drive Replacement: 手順 8、 3の画像 3
    • Use your hands to gently pull the edges at each corner away from the hard drive to remove the hard drive adapter.

終わりに

To reassemble your device, follow these instructions in reverse order. Take your e-waste to an R2 or e-Stewards certified recycler.

作成者

1人の作成者と共同作成されました。

Rei Lopez

メンバー登録日: 02/11/24

85 ポイント

1ガイドが承認済み

チーム

University of North Texas, Team 1-3, Coppersmith Spring 2024 University of North Texas, Team 1-3, Coppersmith Spring 2024人のメンバー

UNT-COPPERSMITH-S24S1G3

4 メンバー

4のガイドは作成済み

0 件のコメント

コメントを追加

統計データ:

過去 24時間: 0

過去 7 日: 7

過去 30 日: 12

今までの合計 40