メインコンテンツにスキップ

Lenovo IdeaPad Flex 6-14IKB Cooling Fans Replacement

必要な工具と部品

  1. Lenovo IdeaPad Flex 6-14IKB Cooling Fans Replacement, Base Cover: 手順 1、 1の画像 1
    • Remove the ten 6.5 mm screws that secure the base cover using a T5 Torx screwdriver.

  2. Lenovo IdeaPad Flex 6-14IKB Cooling Fans Replacement: 手順 2、 1の画像 1
    • Use the plastic opening tool to pry in the seam between the bottom cover and the rest of the laptop.

    • The goal is to unhook the plastic hooks that secure the bottom cover.

    • Work your way around the bottom cover of the laptop in a clockwise rotation until every clip is free.

    • You will feel and hear a clicking noise when the clips are undone.

  3. Lenovo IdeaPad Flex 6-14IKB Cooling Fans Replacement, Cooling Fans: 手順 3、 3の画像 1 Lenovo IdeaPad Flex 6-14IKB Cooling Fans Replacement, Cooling Fans: 手順 3、 3の画像 2 Lenovo IdeaPad Flex 6-14IKB Cooling Fans Replacement, Cooling Fans: 手順 3、 3の画像 3
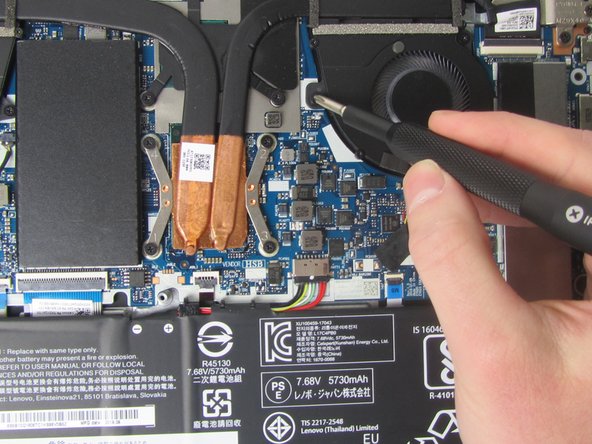
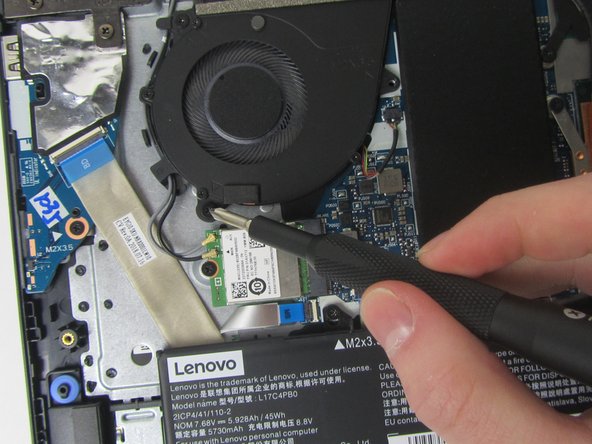
    • Remove the six 3.5 mm screws that secure the fans in place using a Phillips #00 screwdriver.

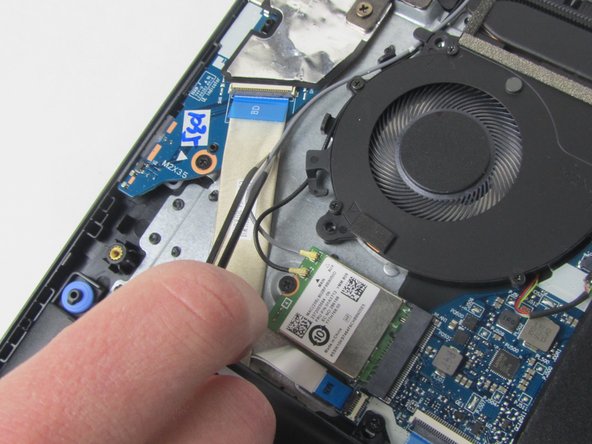
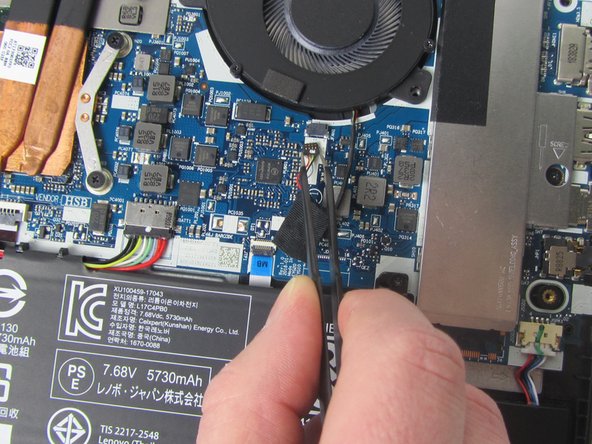
    • Loosen the seven captive screws using a Phillips #00 screwdriver.

  4. Lenovo IdeaPad Flex 6-14IKB Cooling Fans Replacement: 手順 4、 2の画像 1 Lenovo IdeaPad Flex 6-14IKB Cooling Fans Replacement: 手順 4、 2の画像 2
    • Use tweezers to unwind the black and gray wires from the clips that are holding them onto the left side fan.

  5. Lenovo IdeaPad Flex 6-14IKB Cooling Fans Replacement: 手順 5、 2の画像 1 Lenovo IdeaPad Flex 6-14IKB Cooling Fans Replacement: 手順 5、 2の画像 2
    • Lift the black piece of cloth tape that secures the right side fan wires to the circuit board.

  6. Lenovo IdeaPad Flex 6-14IKB Cooling Fans Replacement: 手順 6、 3の画像 1 Lenovo IdeaPad Flex 6-14IKB Cooling Fans Replacement: 手順 6、 3の画像 2 Lenovo IdeaPad Flex 6-14IKB Cooling Fans Replacement: 手順 6、 3の画像 3
    • Use tweezers to unplug the wiring connectors that are connected to each fan.

  7. Lenovo IdeaPad Flex 6-14IKB Cooling Fans Replacement: 手順 7、 2の画像 1 Lenovo IdeaPad Flex 6-14IKB Cooling Fans Replacement: 手順 7、 2の画像 2
    • Gently remove the fans from the laptop.

    • There is thermal paste attaching the ducting of the fans that will require some careful prying.

    • When replacing the fan, reapply a pea sized amount of thermal paste to the fan ducts.

終わりに

To reassemble your device, follow these instructions in reverse order.

作成者

5人の作成者と共同で作成されました。

Nico Magtoto

メンバー登録日: 01/09/22

489 ポイント

4のガイドは作成済み

チーム

Illinois Wesleyan University, Team 1-2, Bullock Spring 2022 Illinois Wesleyan University, Team 1-2, Bullock Spring 2022人のメンバー

IWU-BULLOCK-S22S1G2

4 メンバー

7のガイドは作成済み

0 件のコメント

コメントを追加

統計データ:

過去 24時間: 1

過去 7 日: 5

過去 30 日: 17

今までの合計 465