はじめに
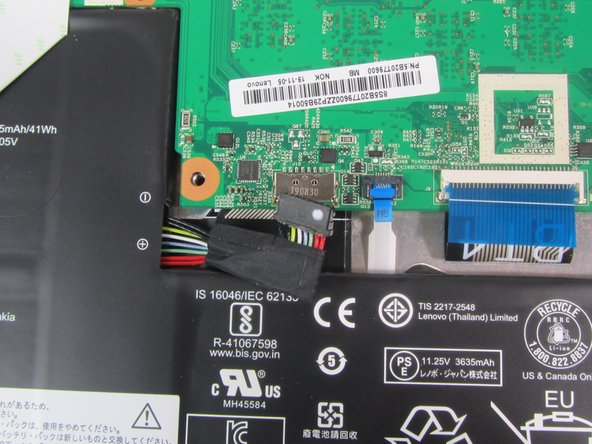
This guide will show you how to replace the battery in the Lenovo 500e 2nd Gen Chromebook, model number: 81MC005AUS. The battery is an essential component because it provides power to the device. A faulty battery can lead to problems outlined in our troubleshooting page. Always remember to take proper precautions as batteries may be dangerous if handled improperly. Here’s some info on one of the dangers of a bad battery.
必要な工具と部品
-
-
Remove nine 6 mm screws from the bottom cover of the laptop using a Phillips #0 screwdriver.
-
-


To reassemble your device, follow these instructions in reverse order.
To reassemble your device, follow these instructions in reverse order.
3 の人々がこのガイドを完成させました。

チーム

Illinois Wesleyan University, Team 1-3, Bullock Spring 2022 Illinois Wesleyan University, Team 1-3, Bullock Spring 2022人のメンバー
IWU-BULLOCK-S22S1G3
3 メンバー
5のガイドは作成済み