はじめに
Use this guide to replace the pressure sensor in your LG WM3050CW Washing Machine.
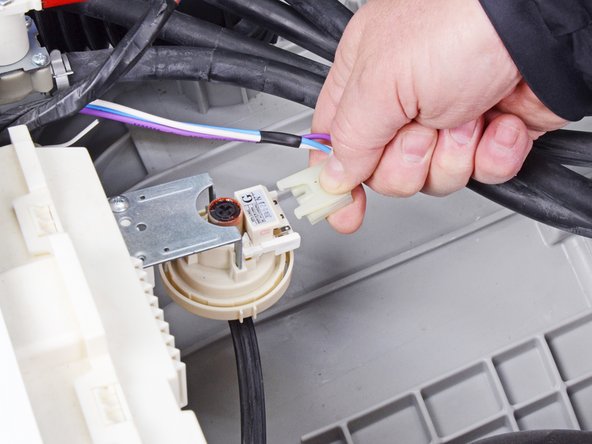
The pressure sensor detects how much water is in the tub. The sensor LG uses in these washers have no moving parts, so it's unlikely to break. If the sensor malfunctions, the tub may under-fill or overfill.
必要な工具と部品
-
-
Turn off the main water supply
-
Unplug your washer
-
Disconnect all water connections at the rear of your washer
-
-
-
Use a Phillips driver to remove the two bottom 16.5 mm-long screws securing the top panel brackets.
-
-
-
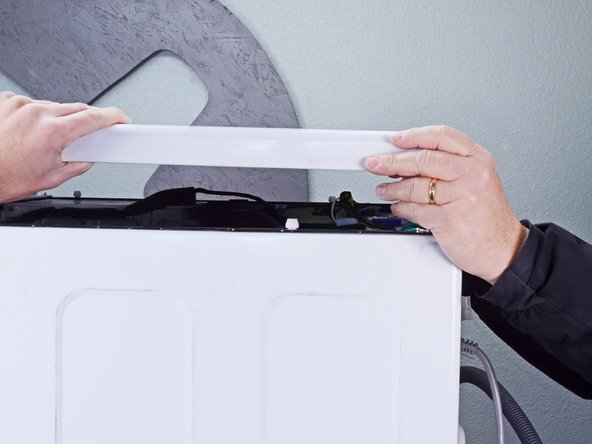
Slide the top panel 1-2 inches towards the rear of the device to disconnect its clips.
-
-
-
-
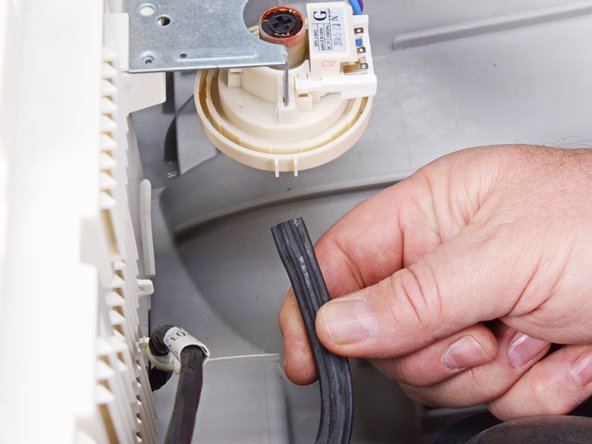
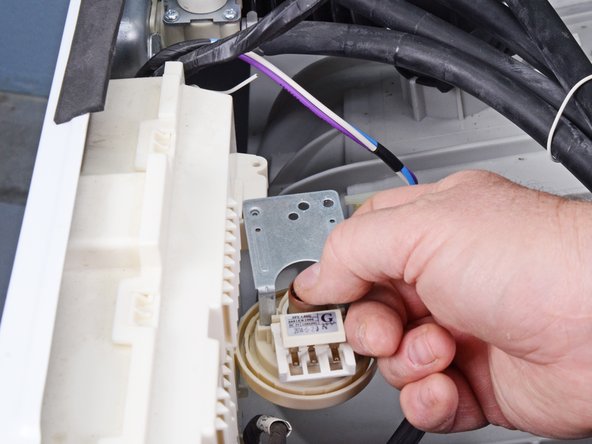
Use a Phillips driver to remove the 16.5 mm-long screw securing the pressure sensor.
-
-
-
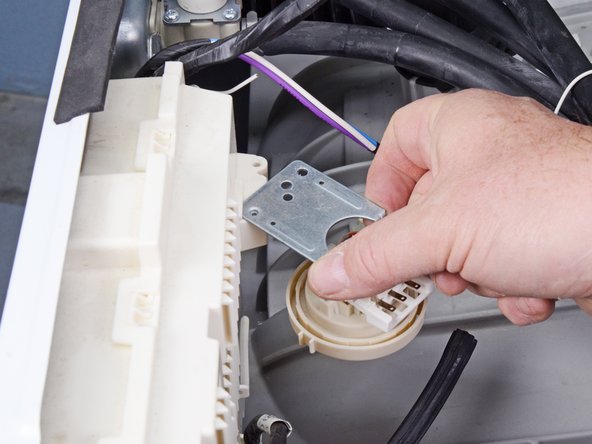
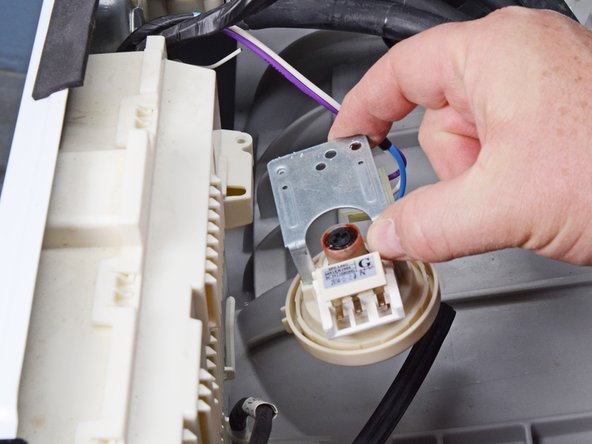
Rotate the pressure sensor toward the left edge of the washing machine to unclip it from the main board cover.
-


To reassemble your device, follow these instructions in reverse order.
Take your e-waste to an R2 or e-Stewards certified recycler.
Repair didn’t go as planned? Ask our Answers community for help.
To reassemble your device, follow these instructions in reverse order.
Take your e-waste to an R2 or e-Stewards certified recycler.
Repair didn’t go as planned? Ask our Answers community for help.

