はじめに
Use this guide to replace the ice auger motor run capacitor on your LG refrigerator.
This guide will work for most LG refrigerators. This guide is written with an LG model LFX25973 refrigerator. If you have a different model, you may encounter some minor disassembly differences, but the overall repair process will be the same.
The ice auger run capacitor allows the ice auger motor to operate and is involved in allowing the motor to have good running torque.
If the ice auger motor run capacitor fails, the ice auger will not run. Ice will not be dispensed, and crushed ice will not be available.
必要な工具と部品
-
-
Unplug your refrigerator before you begin your repair.
-
Condenser fan motor
-
Compressor motor and thermal overload device
-
Water supply valve assembly
-
-
-
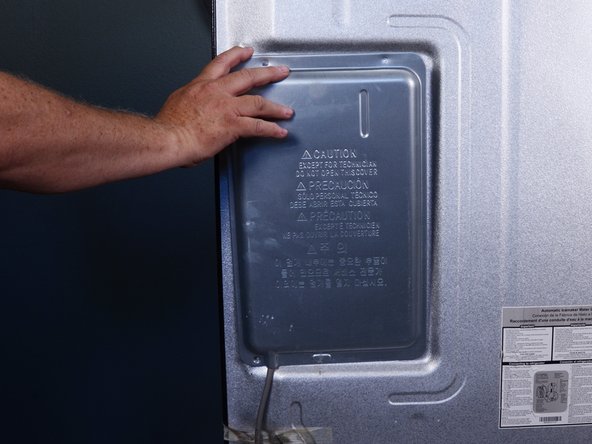
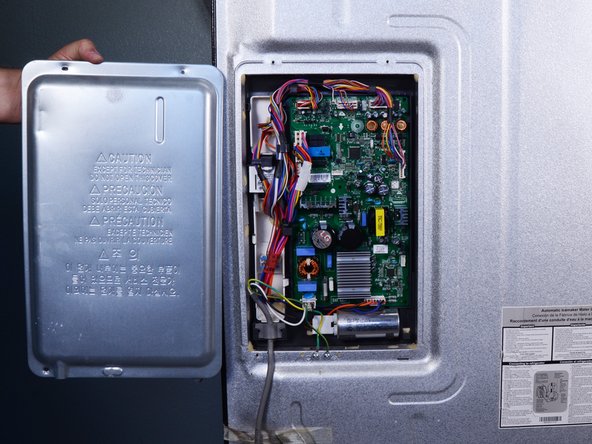
Use a Phillips screwdriver to remove the screws securing the control board cover.
-
-
-
-
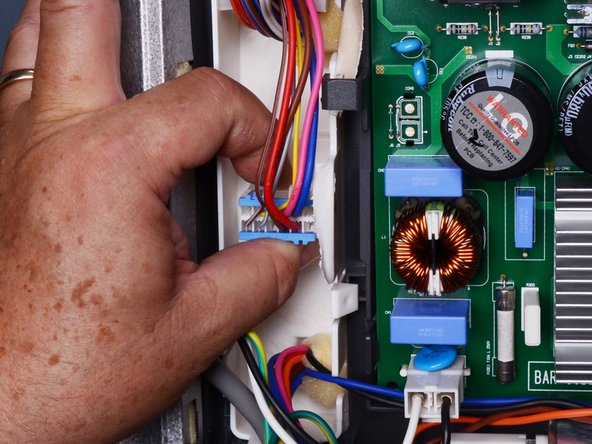
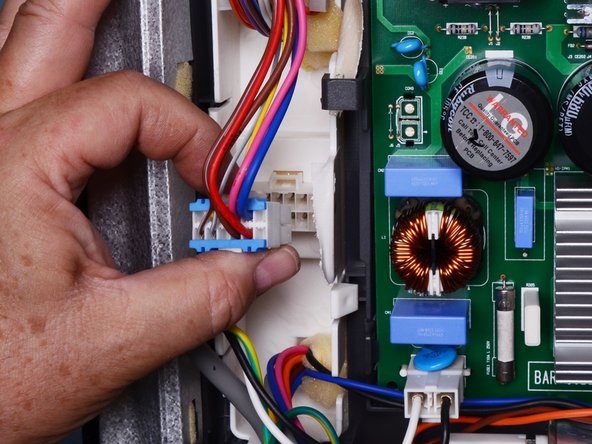
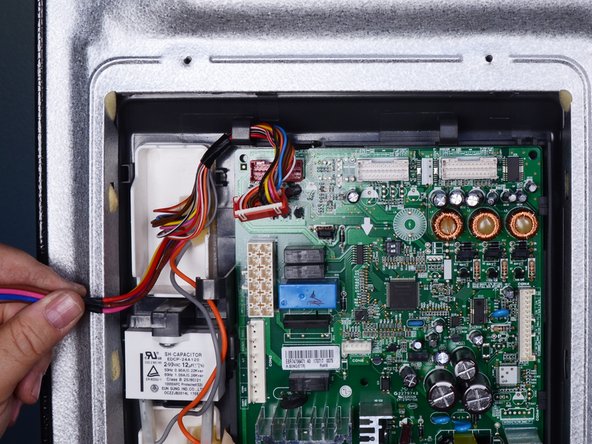
Squeeze and pull the connectors to disconnect them:
-
Connectors from the control board
-
Connectors from the refrigerator
-
Some connectors can remain connected as the wires attached to them don't get in the way. There is no harm if they are disconnected. Remember to reconnect them if disconnected.
-
-
-
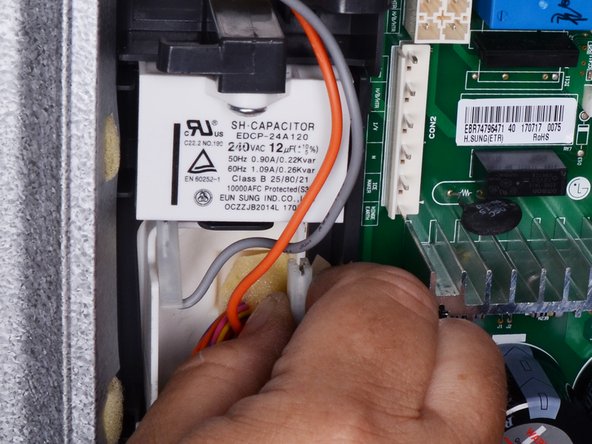
Pull the two connectors straight off the capacitor to disconnect it.
-
Information on capacitor safety.
-
-
-
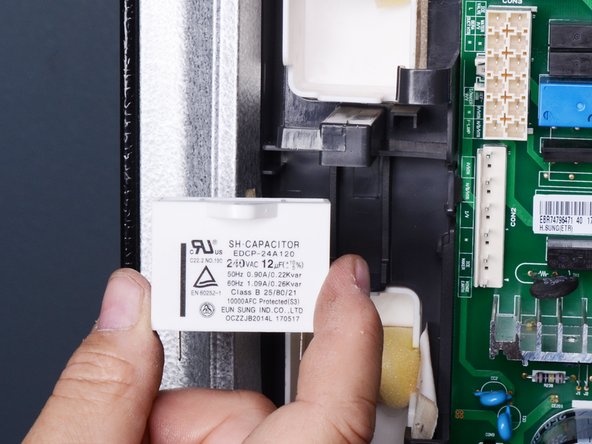
Use a Phillips screwdriver to remove the screw securing the capacitor to the refrigerator.
-
Remove the capacitor.
-


To reassemble your device, follow these instructions in reverse order.
Take your e-waste to an R2 or e-Stewards certified recycler.
Repair didn’t go as planned? Try some basic troubleshooting, or ask our Answers community for help.
To reassemble your device, follow these instructions in reverse order.
Take your e-waste to an R2 or e-Stewards certified recycler.
Repair didn’t go as planned? Try some basic troubleshooting, or ask our Answers community for help.

