はじめに
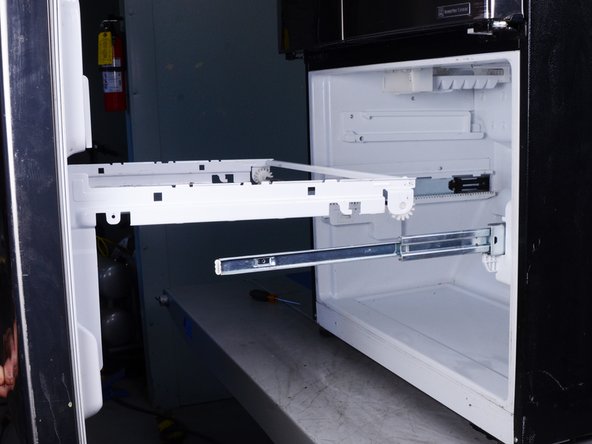
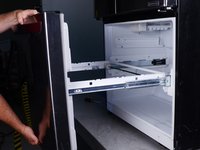
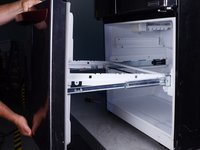
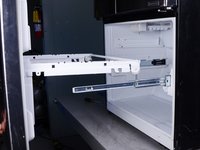
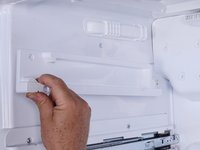
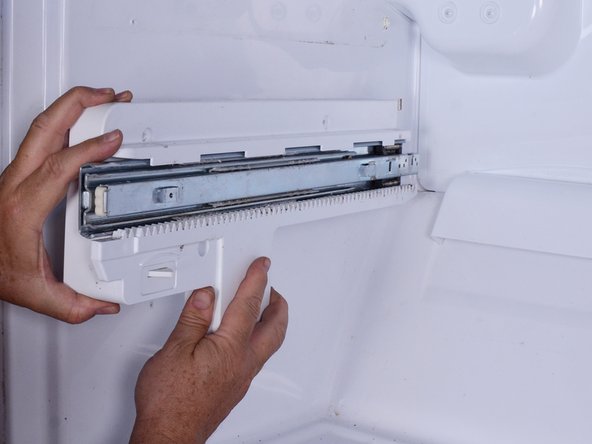
Use this guide to replace the freezer drawer slides in your LG refrigerator.
This guide will work for most LG refrigerators. This guide is written with an LG model LFX25973 refrigerator. If you have a different model, you may encounter some minor disassembly differences, but the overall repair process will be the same.
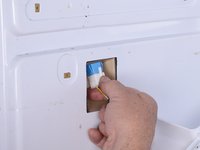
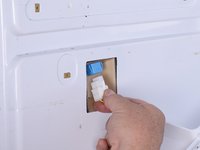
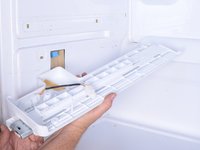
The drawer slides provide support for the main freezer drawer and also for a secondary drawer mounted in the freezer. The drawer switch for the freezer drawer is also located on the left-hand slide.
The slides themselves are usually trouble-free, but you may need to remove them to access other parts, like the light switch or the evaporator cover.
必要な工具と部品
-
-
Unplug your refrigerator before you begin your repair.
-
Condenser fan motor
-
Compressor motor and thermal overload device
-
Water supply valve assembly
-
-
-
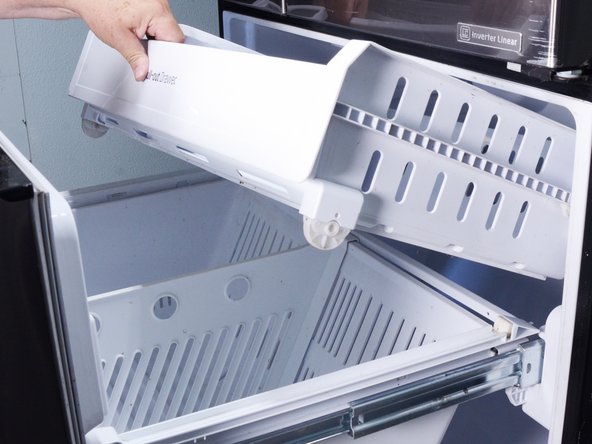
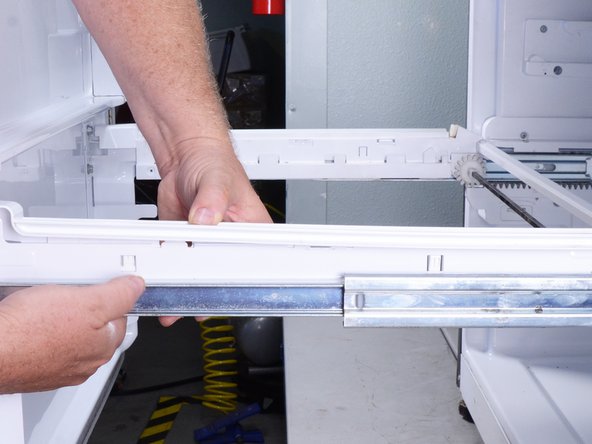
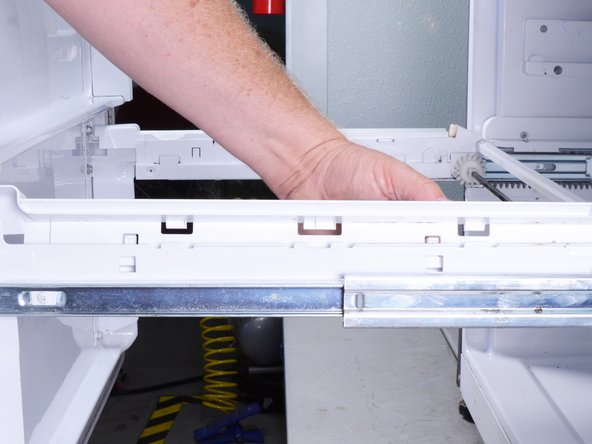
Lift and remove the upper pull-out drawer.
-
Lift and remove the main drawer bin.
-
-
-
Use your finger or a flat-blade screwdriver to depress the two locking tabs on the right drawer rail cover.
-
Lift the cover off of the rail and remove it.
-
Repeat this procedure for the left drawer rail cover.
-
-
-
-
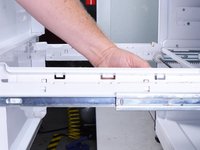
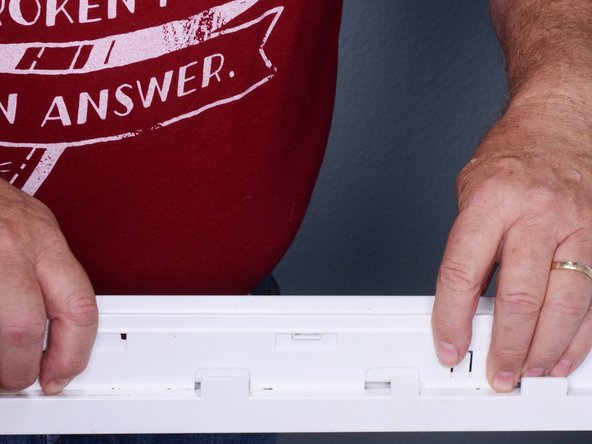
Hold the drawer rail cover flush against the side of the drawer rail.
-
Push the rail cover straight downward to install. It should click into place.
-
-
-
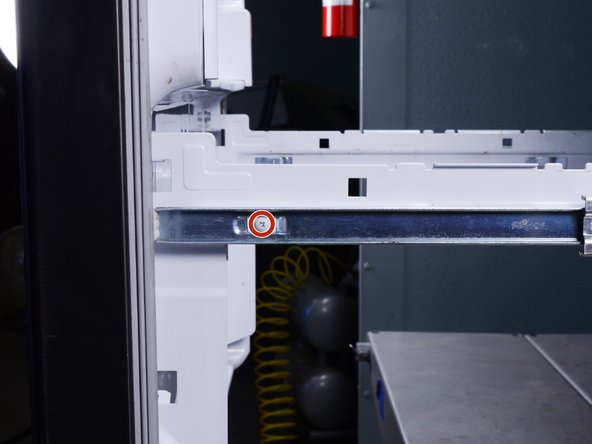
Use a Phillips screwdriver to remove the screw securing the drawer to each of the drawer slides.
-
-
-
Use a Phillips screwdriver to remove the screws securing both left drawer slides.
-
-
-
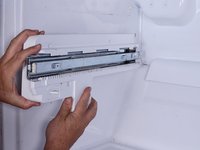
Pull the upper left drawer slide slightly towards you to release the locking tab at the rear.
-
Remove the upper left drawer slide.
-
-
-
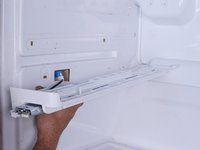
Pull the lower left drawer slide slightly toward you to release the locking tab at the rear.
-
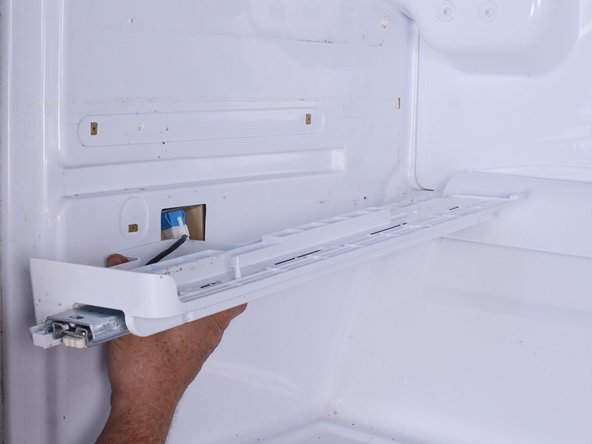
Reposition the lower left drawer slide to gain access to the door switch connector.
-
-
-
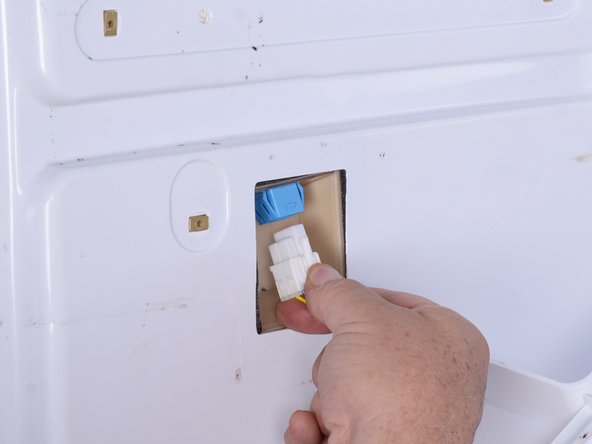
Squeeze the door switch connector to release it.
-
Pull the door switch connector down to disconnect it.
-
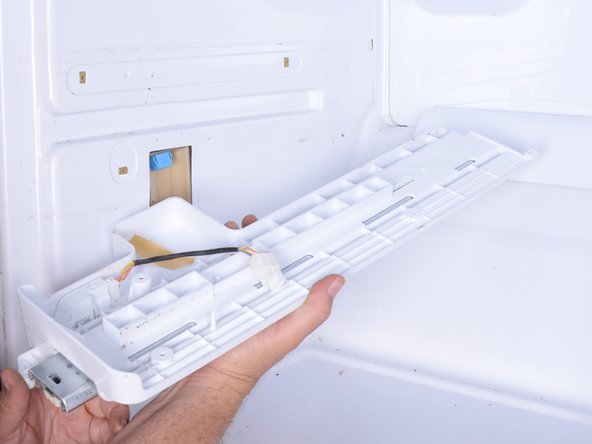
Remove the lower left drawer slide.
-
To reassemble your device, follow these instructions in reverse order.
Take your e-waste to an R2 or e-Stewards certified recycler.
Repair didn’t go as planned? Try some basic troubleshooting, or ask our Answers community for help.
ある他の人がこのガイドを完成しました。
3件のガイドコメント
My drawer won't open fully. It seems to be the left side track is stuck stopping it from opening.
My drawer won't open fully. It seems to be the left side track is stuck stopping it from opening.
Tresa F Malone - just now Edit Delete
La corredera izquierda de mi frigorífico solo corre hasta la mitad


