はじめに
Your screen is your primary means of interfacing with the device. When it's broken the phone can feel useless, it cannot read your inputs or display anything. Diagnosing this problem can be simple, please consult this guide to get some help with that.
Please note that this guide requires the removal of the phone's battery, and while this is a trivial task with this particular model, if your battery is swollen and stuck then prying at is could potentially cause it to rupture and explode. Please power off your device and take it to a repair professional or someone else trained in safely disposing of the malfunctioning battery. As a general rule of thumb, always turn off any device you are working on. You may also be dealing with broken glass from the screen, please take care not to cut yourself.
All in all, this is a relatively simple replacement and requires no special skills though it may be a little involved and could take some time - don't be intimidated. A replacement part may be a little expensive considering the price of a new phone with similar specs, but it's still understandable that you would want to replace your screen if your intent is keeping as much out of the land fill as possible.
必要な工具と部品
-
-
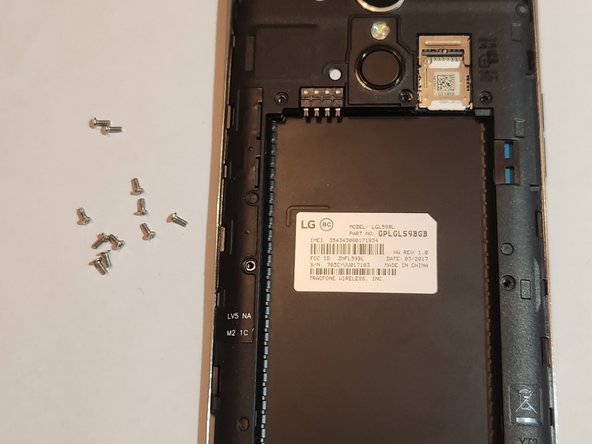
Find the indentation along the edge of the phone's back and pry open with your nail. A pry tool may help if you have short nails but shouldn't be necessary.
-
-
-
-
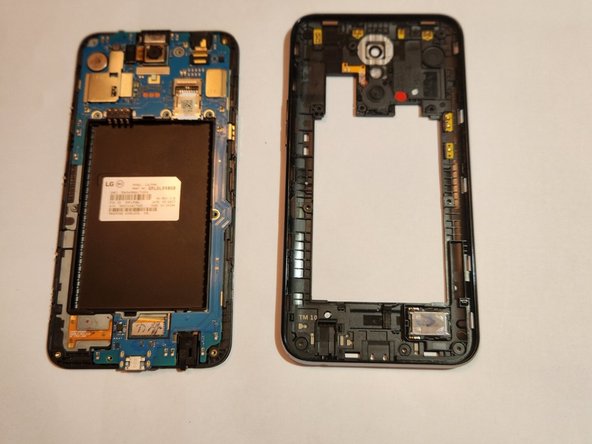
Locate the pin connection for the camera, noted by red box in the guide photo.
-
Gently lift the camera up while pulling away from connection; it should detach with minimal effort.
-
-
-
Next we remove the front speaker from the motherboard, with the goal of removing all connections that hold the board in place.
-
The location of the speaker is highlighted in the guide photo.
-
Just like with the camera, gently pull the ribbon wire away from the connector and it should release easily.
-
-
-
Now we remove the audio jack. Place something long and thin in the jack and pry up to remove it from it's seating.
-
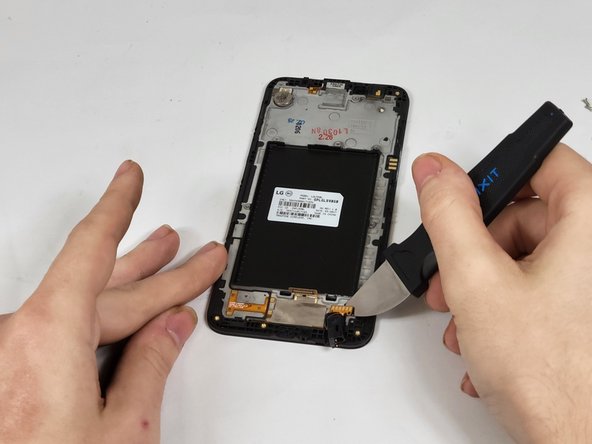
Use the Jimmy to slide under the connection to the screen assembly and pry it up and away.
-
-
-
Finally we remove the CMOS battery. After this the screen assembly shouldn't have any components left on it.
-
Use the jimmy or other prying tool to pry the battery up from the connection; it may be difficult but you should be able to find the right angle of approach. The jimmy is thin enough that I found it more effective.
-
The new screen assembly will have identical places to put all of the components you removed.
-
To reassemble your device, follow these instructions in reverse order.
To reassemble your device, follow these instructions in reverse order.


