はじめに
If your LG Grace smartphone, model # LGL59BL, isn’t producing clear audio—distorted, intermittent, or no sound—through the rear speaker, you may use this guide to replace the speaker. The rear speaker is responsible for any audio on the device not transmitted through headphones/external speakers or through the ear piece speaker that is used in calls. A rear speaker that no longer functions will produce distorted audio or no audio at all.
Please note that this guide requires the removal of the phone's battery, and while this is a trivial task with this particular model, if your battery is swollen and stuck then prying at is could potentially cause it to rupture and explode. Please power off your device and take it to a repair professional or someone else trained in safely disposing of the malfunctioning battery. As a general rule of thumb, always turn off any device you are working on.
All-in-all this is a relatively simple replacement and requires no special skills, so if your speaker has gone out don't be intimidated by the prospect of the repair.
必要な工具と部品
-
-
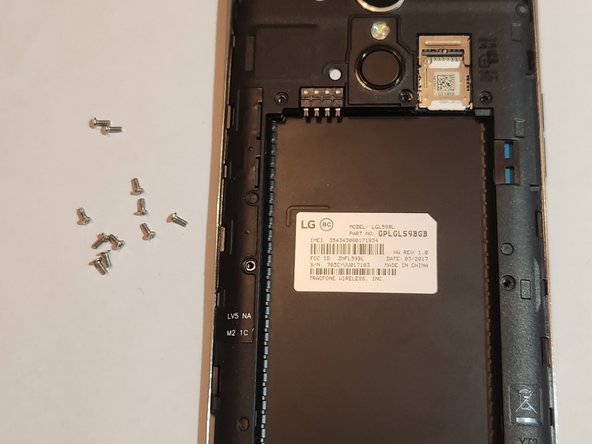
Find the indentation along the edge of the phone's back and pry open with your nail. A pry tool may help if you have short nails but shouldn't be necessary.
-
-
-
-
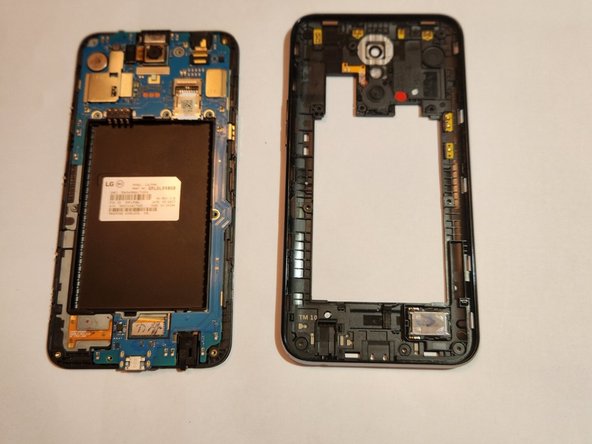
The speaker is located on the plate you pulled away in initial disassembly, not connected to the mother board.
-
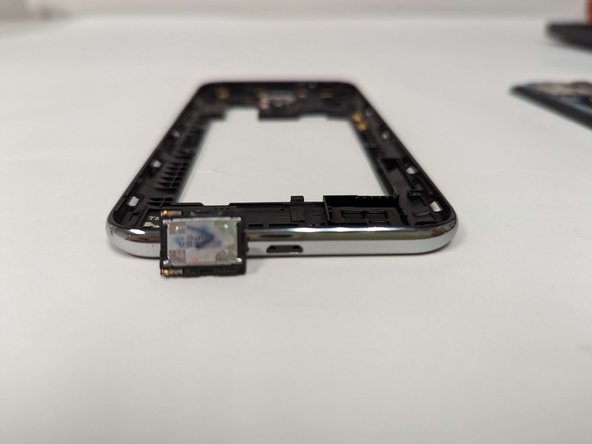
Place Jimmy against the edge of the speaker and gently pry out, there are no solder connections holding it in place.
-
When inserting a new speaker, the orientation matters. It will click into place if it's correct, otherwise it will just fall out of the seating.
-


To reassemble your device, follow these instructions in reverse order.
To reassemble your device, follow these instructions in reverse order.

チーム

University of New Orleans, Team 4-3, McDonald Fall 2023 University of New Orleans, Team 4-3, McDonald Fall 2023人のメンバー
UNO-MCDONALD-F23S4G3
3 メンバー
6のガイドは作成済み