メインコンテンツにスキップ

LG G8 ThinQ Screen Replacement

必要な工具と部品

  1. LG G8 ThinQ Screen Replacement, SIM Card Tray: 手順 1、 3の画像 1 LG G8 ThinQ Screen Replacement, SIM Card Tray: 手順 1、 3の画像 2 LG G8 ThinQ Screen Replacement, SIM Card Tray: 手順 1、 3の画像 3
    • Unplug and power off your phone before you begin.

    • Insert the SIM card eject tool into the pinhole in the lower right side of the phone.

    • Remove the SIM card and tray.

  2. LG G8 ThinQ Screen Replacement, Back Panel: 手順 2、 3の画像 1 LG G8 ThinQ Screen Replacement, Back Panel: 手順 2、 3の画像 2 LG G8 ThinQ Screen Replacement, Back Panel: 手順 2、 3の画像 3
    • Place the phone so that the screen is facing down.

    • Insert opening cards between the back panel and frame of the phone to loosen the clips and adhesive.

    • Using equal pressure, carefully pry the back panel away from the phone.

    • Once enough space has been created, use an opening tool to completely separate the back panel from the phone.

  3. LG G8 ThinQ Screen Replacement, Midframe: 手順 3、 3の画像 1 LG G8 ThinQ Screen Replacement, Midframe: 手順 3、 3の画像 2 LG G8 ThinQ Screen Replacement, Midframe: 手順 3、 3の画像 3
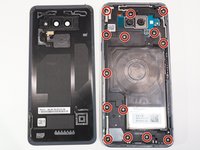
    • Remove all 14 screws from the midframe using a Phillips #000 screwdriver.

    • Work an opening tool around the perimeter of the midframe to pry and remove it from the phone.

  4. LG G8 ThinQ Screen Replacement, Speaker System: 手順 4、 3の画像 1 LG G8 ThinQ Screen Replacement, Speaker System: 手順 4、 3の画像 2 LG G8 ThinQ Screen Replacement, Speaker System: 手順 4、 3の画像 3
    • Using an opening tool, carefully pry out remove the speaker system from the phone.

  5. LG G8 ThinQ Screen Replacement, Front Cameras: 手順 5、 2の画像 1 LG G8 ThinQ Screen Replacement, Front Cameras: 手順 5、 2の画像 2
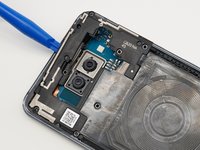
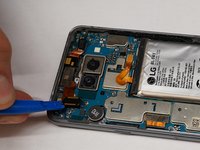
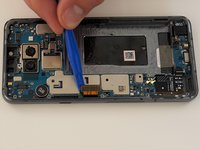
    • Using an opening tool, carefully disconnect the ribbon cables from both cameras.

  6. LG G8 ThinQ Screen Replacement: 手順 6、 3の画像 1 LG G8 ThinQ Screen Replacement: 手順 6、 3の画像 2 LG G8 ThinQ Screen Replacement: 手順 6、 3の画像 3
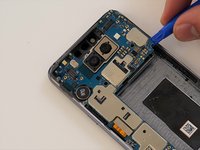
    • Using an opening tool, carefully pry up and remove both cameras from the phone casing.

  7. LG G8 ThinQ Screen Replacement, Headphone Jack: 手順 7、 3の画像 1 LG G8 ThinQ Screen Replacement, Headphone Jack: 手順 7、 3の画像 2 LG G8 ThinQ Screen Replacement, Headphone Jack: 手順 7、 3の画像 3
    • Using an opening tool, carefully disconnect the ribbon cable connecting the 3.5mm audio jack to the motherboard.

    • Remove the screw holding the 3.5 mm audio jack in place using a Phillips #000 screwdriver.

    • Remove the audio jack from the phone.

  8. LG G8 ThinQ Screen Replacement, Battery: 手順 8、 1の画像 1
    • Flip phone so that screen is facing up.

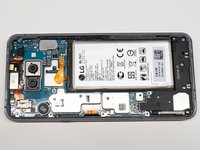
    • Using a heating pad, hairdryer, or heat gun, apply heat to loosen the adhesive beneath the battery.

    • Be careful to not overheat the phone; the screen and battery are susceptible to damage.

    • The adhesive can be difficult to soften; it may take many attempts.

  9. LG G8 ThinQ Screen Replacement: 手順 9、 2の画像 1 LG G8 ThinQ Screen Replacement: 手順 9、 2の画像 2
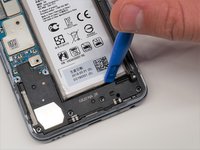
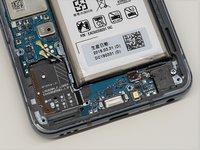
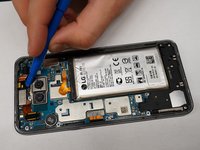
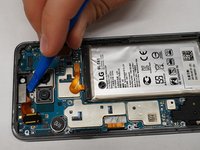
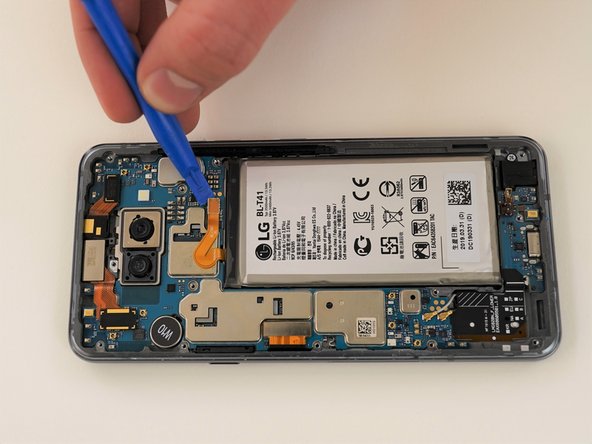
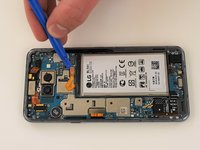
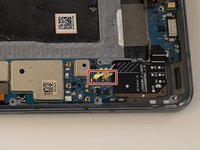
    • Using an opening tool, carefully pry up the ribbon cable to disconnect the battery.

  10. LG G8 ThinQ Screen Replacement: 手順 10、 3の画像 1 LG G8 ThinQ Screen Replacement: 手順 10、 3の画像 2 LG G8 ThinQ Screen Replacement: 手順 10、 3の画像 3
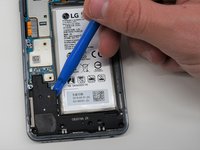
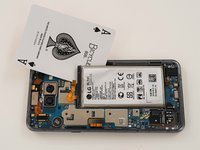
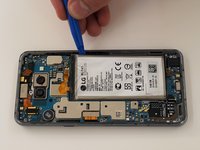
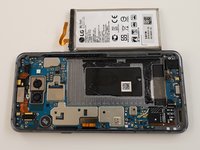
    • Using opening cards or an opening tool, carefully pry around the edges of the battery.

    • If you have trouble prying up the battery, the adhesive may not be loose enough. Re-apply heat, or use some isopropyl alcohol under the battery, allowing it to penetrate for several minutes to weaken the adhesive.

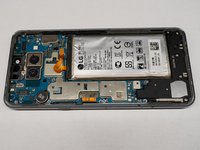
    • Remove the battery from the phone.

  11. LG G8 ThinQ Screen Replacement, Motherboard: 手順 11、 2の画像 1 LG G8 ThinQ Screen Replacement, Motherboard: 手順 11、 2の画像 2
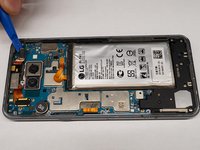
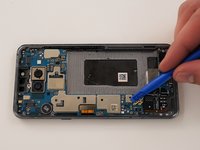
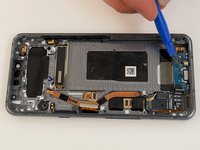
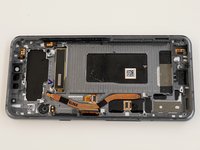
    • Use an opening tool to disconnect the two coaxial cables from the motherboard.

  12. LG G8 ThinQ Screen Replacement: 手順 12、 3の画像 1 LG G8 ThinQ Screen Replacement: 手順 12、 3の画像 2 LG G8 ThinQ Screen Replacement: 手順 12、 3の画像 3
    • Using an opening tool, carefully disconnect the screen ribbon cable from the motherboard.

    • Using an opening tool, carefully pry up the motherboard from the frame and remove it from the phone.

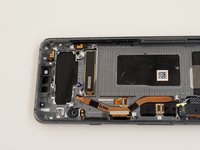
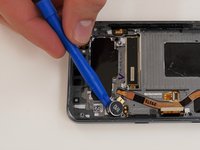
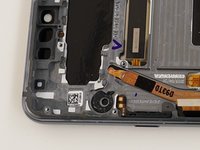
  13. LG G8 ThinQ Screen Replacement, Vibration Motor: 手順 13、 2の画像 1 LG G8 ThinQ Screen Replacement, Vibration Motor: 手順 13、 2の画像 2
    • Remove the vibration motor from the phone casing using an opening tool.

    • Heat the vibration motor from the other side of the phone to loosen adhesive if needed.

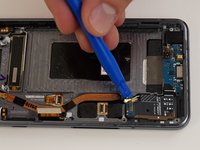
  14. LG G8 ThinQ Screen Replacement, Screen: 手順 14、 3の画像 1 LG G8 ThinQ Screen Replacement, Screen: 手順 14、 3の画像 2 LG G8 ThinQ Screen Replacement, Screen: 手順 14、 3の画像 3
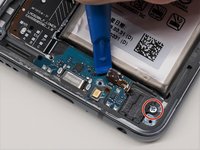
    • Using a plastic spudger, carefully pry up and remove the charging daughter board from the case.

    • Reinstall removed components onto new phone casing and screen.

終わりに

To reassemble your device, follow these instructions in reverse order, installing the components on your new screen.

4 の人々がこのガイドを完成させました。

作成者

4人の作成者と共同で作成されました。

Josh Cress

メンバー登録日: 09/17/21

458 ポイント

2のガイドは作成済み

チーム

Western Carolina University, Team 1-4, Virtue Fall 2021 Western Carolina University, Team 1-4, Virtue Fall 2021人のメンバー

WCU-VIRTUE-F21S1G4

4 メンバー

5のガイドは作成済み

2 件のコメント

I did not do this myself, but I now see the labor involved, in addition to the rarity of LG phones. Meaning, I understand why it costs what it does for a professional to do this.

Jane Walsh - 返信

Hi. I had my screen replaced a few months back. It was repaired by a friend who has been working in the repair industry for most of the past decade. However, the under screen fingerprint scanner no long functions. What is causing this, and how can I fix it? Thanks

Jo Payne - 返信

コメントを追加

統計データ:

過去 24時間: 1

過去 7 日: 26

過去 30 日: 160

今までの合計 6,182