メインコンテンツにスキップ

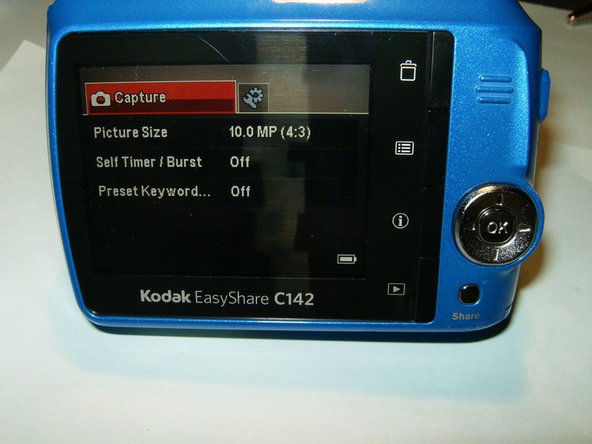
Kodak EasyShare C142 LCD Replacement

必要な工具と部品

  1. Kodak EasyShare C142 LCD Replacement, LCD: 手順 1、 3の画像 1 Kodak EasyShare C142 LCD Replacement, LCD: 手順 1、 3の画像 2 Kodak EasyShare C142 LCD Replacement, LCD: 手順 1、 3の画像 3
    • Remove the batteries and memory card from the camera.

    • Remove a total of four screws on either side of the camera.

  2. Kodak EasyShare C142 LCD Replacement: 手順 2、 3の画像 1 Kodak EasyShare C142 LCD Replacement: 手順 2、 3の画像 2 Kodak EasyShare C142 LCD Replacement: 手順 2、 3の画像 3
    • Remove the two (2) screws from the bottom of the camera.

    • Split the case from the battery compartment carefully until the rear case is separated from the rest of the camera, as shown in the third image.

  3. Kodak EasyShare C142 LCD Replacement: 手順 3、 3の画像 1 Kodak EasyShare C142 LCD Replacement: 手順 3、 3の画像 2 Kodak EasyShare C142 LCD Replacement: 手順 3、 3の画像 3
    • Carefully slide the LCD out of its holder until the connector is visible. Open the clip on the connector by pulling it with your fingernail to the right of the screen.

    • Remove the damaged LCD and insert the replacement.

    • After clipping the connector again, reassemble the camera using the six (6) previously removed screws.

終わりに

To reassemble your device, follow these instructions in reverse order.

作成者

7人の作成者と共同で作成されました。

oldturkey03

メンバー登録日: 09/29/10

781,688 ポイント

119のガイドは作成済み

チーム

Global Fixers Global Fixers人のメンバー

Community

32 メンバー

531のガイドは作成済み

0 件のコメント

コメントを追加

統計データ:

過去 24時間: 1

過去 7 日: 5

過去 30 日: 21

今までの合計 1,843