はじめに
Use this guide to separate the screen from the screen support unit.
必要な工具と部品
-
-
Use the plastic opening tool to undo the six plastic clips around the bottom of the back panel of the Kindle.
 FixBotに聞いてみる
-
-
-
Slide the back panel downward, toward the charging port. This will release the clips on the top half.
-
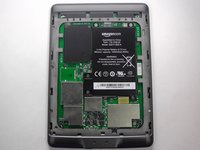
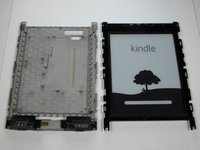
Once the top clips release, gently lift the back panel away.
-
-
-
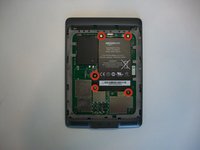
Remove the indicated four 2 mm screws with a Phillips #00 screwdriver. (Units with the 3G assembly have Phillips #000 screws.)
-
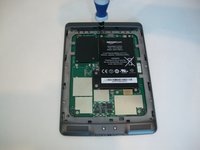
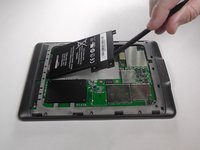
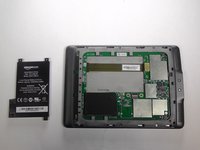
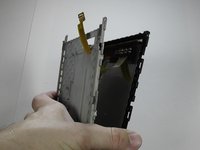
Next, gently lift the 3G assembly with a Spudger or your fingers.
-
Disconnect the antenna lead by carefully prying it off the 3G board with a plastic tool.
-
-
-
-
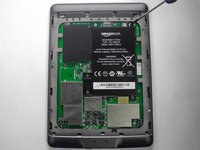
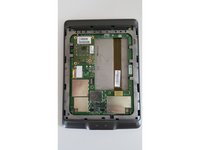
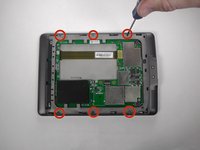
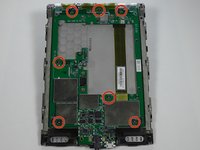
Using a Phillips #00 screwdriver, remove the six 4 mm screws to access the front plate.
-
-
-
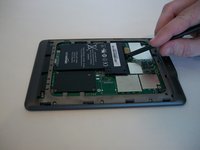
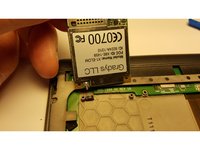
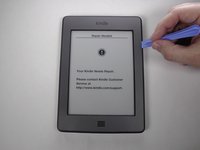
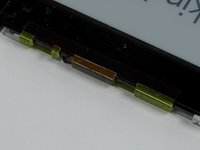
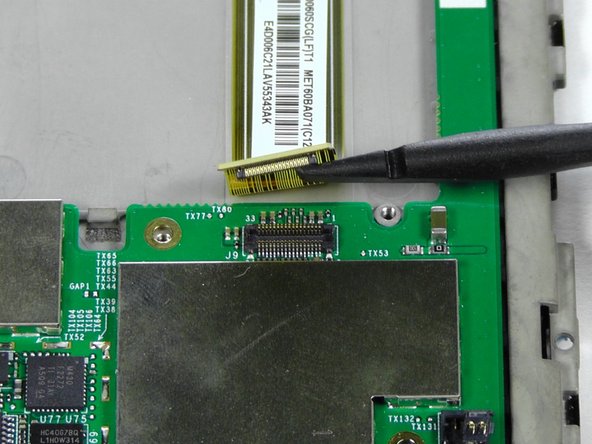
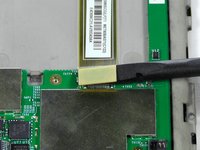
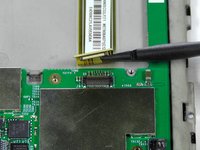
With the screen facing you, use your heated iOpener or other heating element to loosen the glue holding the WiFi unit to the screen. After 30 seconds, remove the heating element.
-
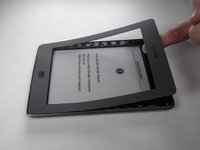
After the glue is loosened, use a thin tool, like a Spudger or small plastic opening tool, to separate the WiFi unit from the screen.
-
-
-
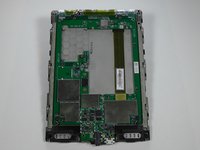
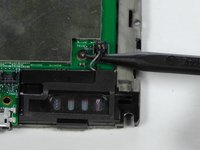
With the motherboard facing you, use the pointy end of your Spudger to gently separate the two speaker's connectors.
-
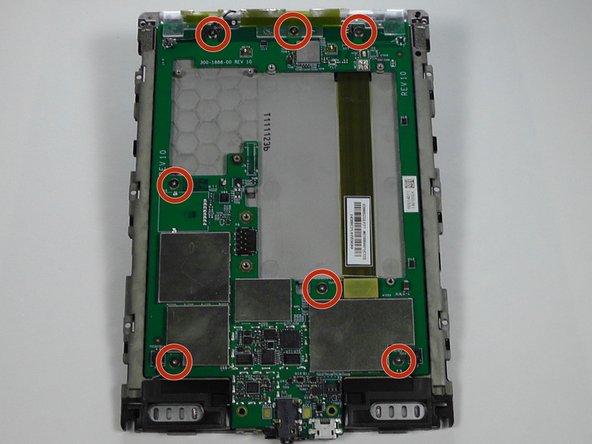
Use your #00 Phillips Screwdriver to remove the seven 2 mm screws.
-
-
-
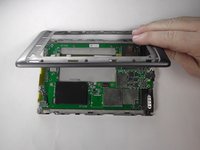
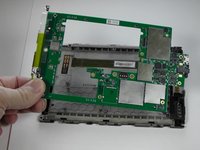
Use a Spudger to separate the display's connector from the motherboard.
-
Gently remove the motherboard from the display support.
-
-
-
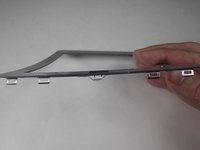
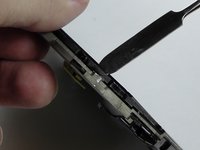
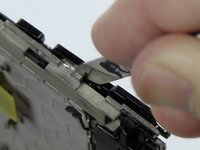
Using your Metal Spudger, place the pointy end into the top of the clip.
-
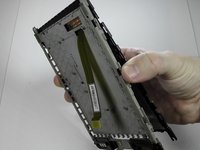
Gently rotate the Spudger and lift the plastic unit to create a gap on the side.
-
-
-
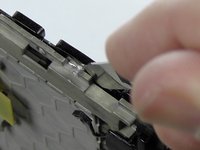
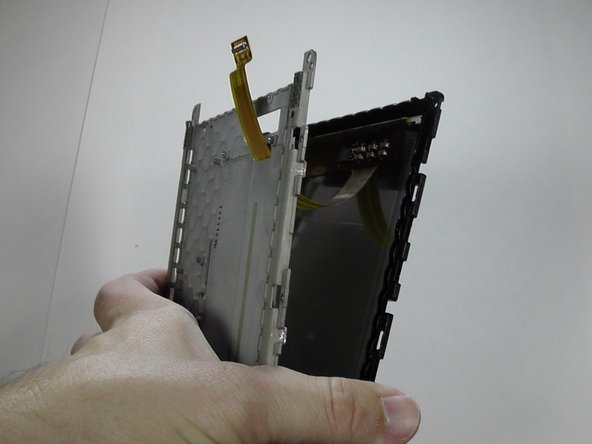
With the clips separated, gently guide the Screen's Motherboard Connector through the hole.
-


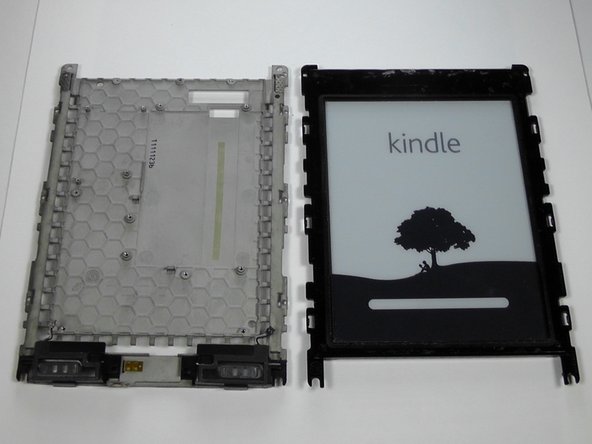
To reassemble your device, follow these instructions in reverse order.
10 の人々がこのガイドを完成させました。
チーム

USF Tampa, Team 19-5, Blackwell Winter 2015 USF Tampa, Team 19-5, Blackwell Winter 2015人のメンバー
USFT-BLACKWELL-W15S19G5
3 メンバー
8のガイドは作成済み
6件のガイドコメント
Good guide, thanks, finally, if you need to remove the screen itself from the black plastic frame you can do this inserting the spudger carefully between the screen and the black plastic frame and gradually moving it all round the frame. It will help if you put a heated silicon gel pack over each side before trying to release it
John Chapple - 返信 共有
I have a Kindle with half of screen responding to touch
Is the touch incliduded on the screen itself? Will replacing the screen help or is there another way to fix the touch?
No, the touch circuitry is built into the motherboard.
Where do you buy the screen replacement part for the Kindle Touch?