はじめに
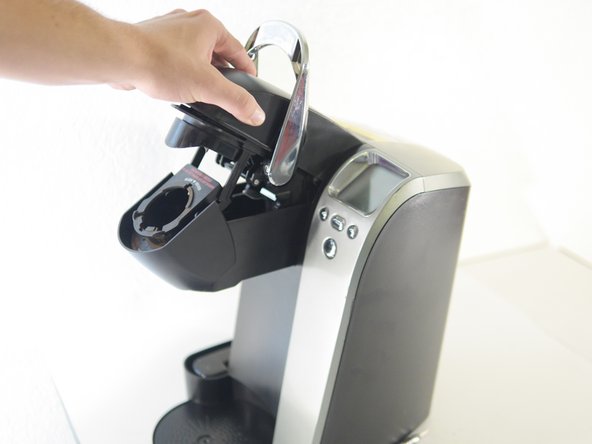
Use this guide to replace the Limit Switch that tells the Keurig that the K-Cup section is closed.
必要な工具と部品
-
-
-
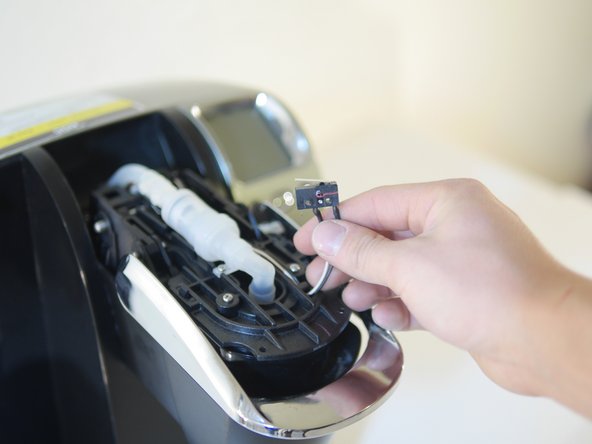
Remove the switch by cuting the two connecting wires. Reconnect a replacement switch using this guide to join wires with solder, or using this guide to solder connections, or by using any other technique to connect wires.
-


To reassemble your device, follow these instructions in reverse order.
To reassemble your device, follow these instructions in reverse order.
ある他の人がこのガイドを完成しました。
チーム

Cal Poly, Team 20-4, Livingston Fall 2016 Cal Poly, Team 20-4, Livingston Fall 2016人のメンバー
CPSU-LIVINGSTON-F16S20G4
4 メンバー
5のガイドは作成済み