はじめに
If the drain valve is not opened properly, the most likely error pattern is as follows: after rinsing, the pressure is not released from the brew group, the brew group motor attempts to work and will sound very strained. This process repeats itself a few times. The drainage motor can be removed quite easily. Often it can be restarted and there is no need to replace it.
Note: the J5 does not have a drain motor, but an electromagnet. Use this guide to replace it.
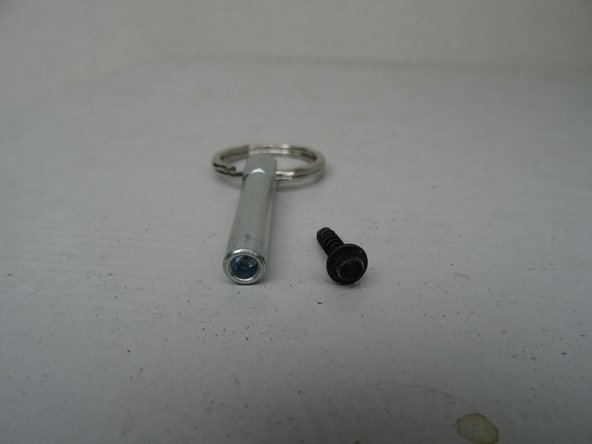
必要な工具と部品
-
-
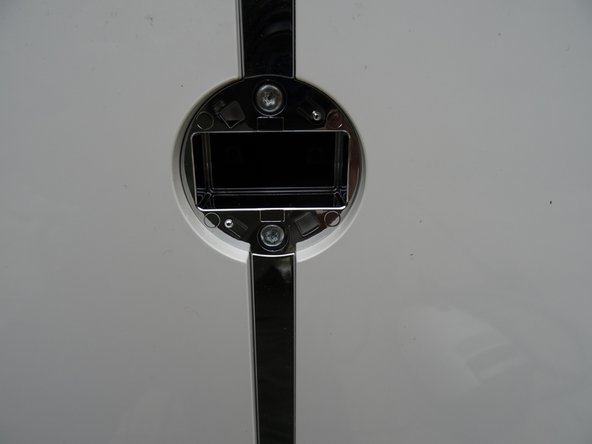
Remove the water tank and the drip tray. Remove all coffee beans from the storage container.
-
-
-
-
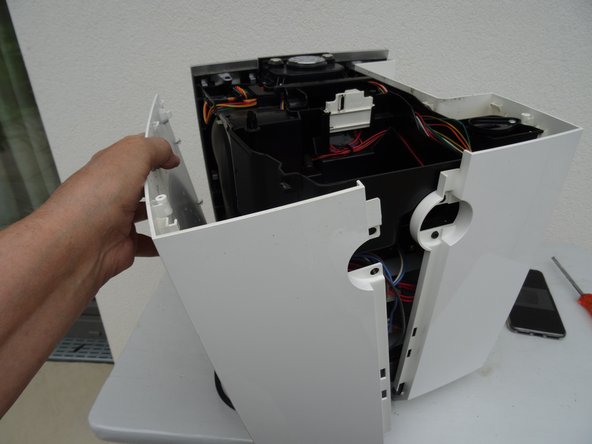
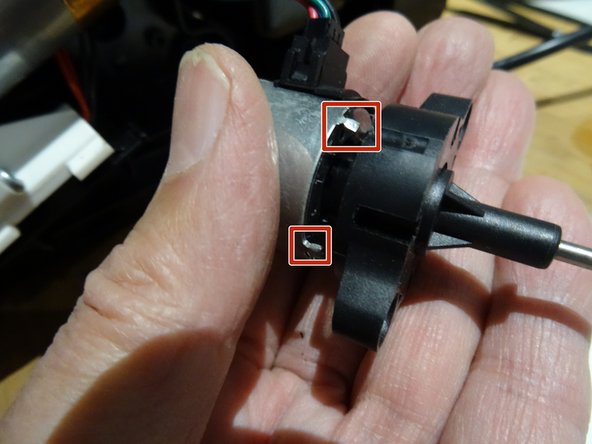
The drainage motor on the J6 and following is fastened with two Torx T15 screws. Unscrew those and pull out the motor.
-
For now leave the cables connected to the motor. Trigger a flush and observe if the pin moves back and forth. If not, the gearbox is blocked. You may get it going again by the following steps
-
-
-
Turn the armature of the motor while holding the pin. Check whether the pin moves back and forth.
-
This may already have released the blockage. Grease the worm (and the pin) again a little. Position it so that it protrudes about 3 mm.
-
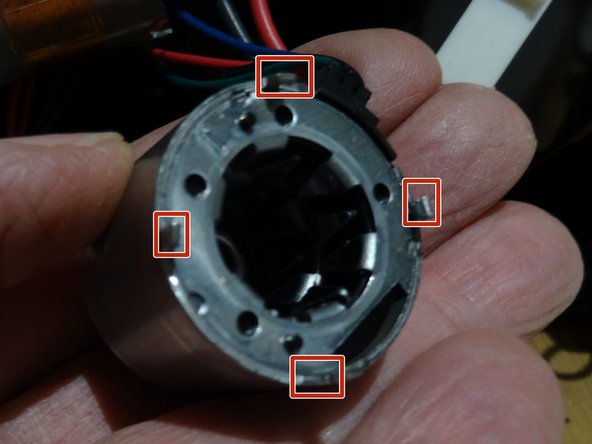
Reassemble the motor and bend the retaining tabs on the metal housing until it is tight.
-


Work through the steps in reverse order to reassemble your device.
Work through the steps in reverse order to reassemble your device.
以下の翻訳者の皆さんにお礼を申し上げます:
100%

oldturkey03さんは世界中で修理する私たちを助けてくれています! あなたも貢献してみませんか?
翻訳を始める ›
チーム

4 件のコメント
Super, vielen Dank. Ich habe mit dem Tipp meine Jura A1 wieder hinbekommen. Nach dem Tausch der Brühgruppe konnte die Jura keinen Kaffee mehr brühen. Das Pulver landete trocken im Tresterbehälter. Das gesamte Wasser in der Schale.
Der Stift des Drainageventilmotors schaute auffällig weit heraus. Daher musste der Motor überprüft werden, da offenbar das Drainageventil auf Daueroffen eingestellt war.
Allerdings war der Motor nicht defekt. Nach dem Ausseinandernehmen des Motors wie oben beschrieben, funktionierte es wieder. Wichtig ist das der Stift wieder gängig gemacht wird und die Schnecke (nicht der Stift) exakt 3mm hervorsteht. Bei mir war sie komplett im Getriebe verschwunden. Hoffe, ich kann anderen mit diesem Problem weiter helfen.
coffeeNERD - 返信
Was für ein guter Tipp! Vielen Dank!!
Good morning, I have a Jura Z6 and the problem I am having is that the drain valve is permanently open to the drain, because the pin is fully extended even with the machine off. I am not sure how this motor works but seems to be not right, Could you please give me your opinion about how to fix it?
Thank you,
Robinson
Try to fix it using this guide, it's rather easy and should work after repair. If not replace it with a new one.
VauWeh -