メインコンテンツにスキップ

JBL Charge 5 Charging Port Assembly Replacement

必要な工具と部品

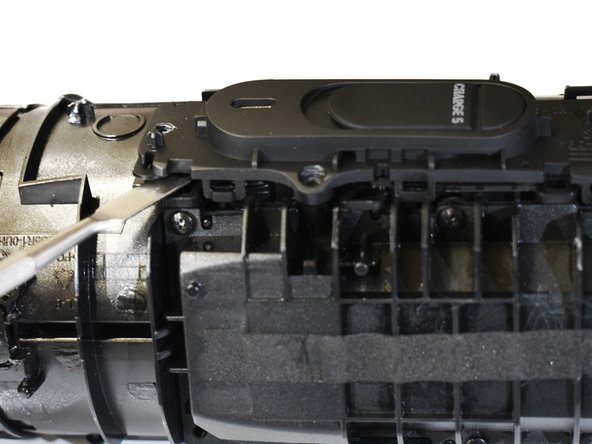
  1. JBL Charge 5 Charging Port Assembly Replacement, Fabric Case: 手順 1、 3の画像 1 JBL Charge 5 Charging Port Assembly Replacement, Fabric Case: 手順 1、 3の画像 2 JBL Charge 5 Charging Port Assembly Replacement, Fabric Case: 手順 1、 3の画像 3
    • Ensure that the device is fully powered off and no cables are attached before proceeding with the repair.

    • This fabric cover is secured with plastic clips only. Depending on the model, the cover may be secured by both plastic clips and screws.

    • Insert the flat end of the Jimmy into the seam located between the fabric cover on the right side of the seam.

    • Pry upward on the fabric cover to release plastic clips on the right side of the seam.

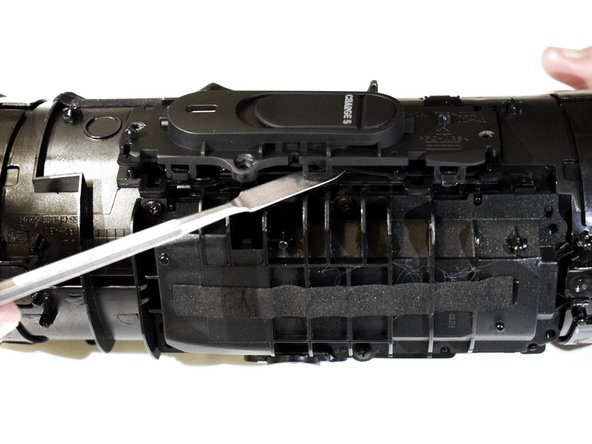
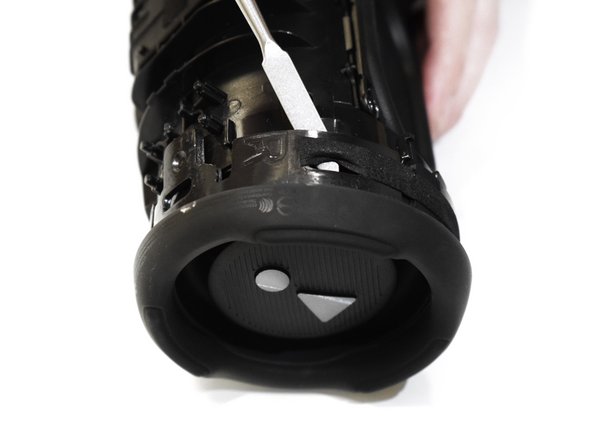
  2. JBL Charge 5 Charging Port Assembly Replacement: 手順 2、 3の画像 1 JBL Charge 5 Charging Port Assembly Replacement: 手順 2、 3の画像 2 JBL Charge 5 Charging Port Assembly Replacement: 手順 2、 3の画像 3
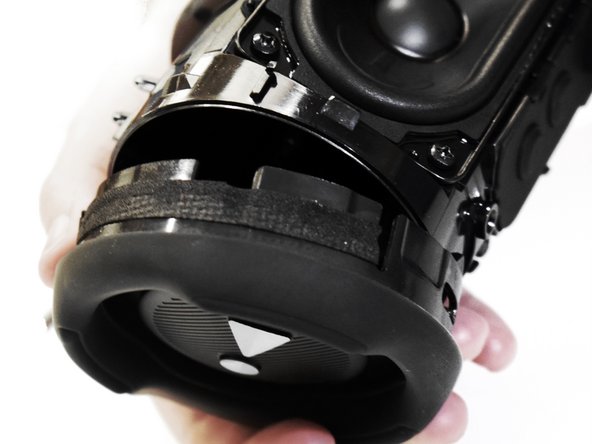
    • Insert the flat end of the Jimmy into the seam between the fabric cover at the center of the seam and the left side of the seam.

    • Use the Jimmy to pry open the edge with the rubber texture, releasing the remaining plastic clips.

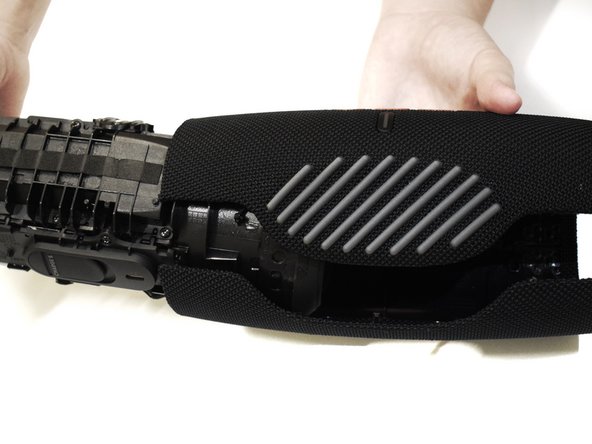
  3. JBL Charge 5 Charging Port Assembly Replacement: 手順 3、 3の画像 1 JBL Charge 5 Charging Port Assembly Replacement: 手順 3、 3の画像 2 JBL Charge 5 Charging Port Assembly Replacement: 手順 3、 3の画像 3
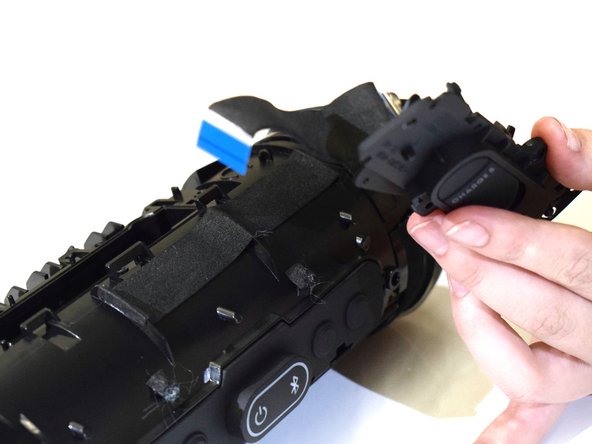
    • Use your hands to gently open the two halves of the casing and slide the fabric cover off of the interior housing.

  4. JBL Charge 5 Charging Port Assembly Replacement, Charging Port Assembly: 手順 4、 3の画像 1 JBL Charge 5 Charging Port Assembly Replacement, Charging Port Assembly: 手順 4、 3の画像 2 JBL Charge 5 Charging Port Assembly Replacement, Charging Port Assembly: 手順 4、 3の画像 3
    • Use a Phillips #0 screwdriver to remove the four 10.6 mm screws on the charging port cover.

  5. JBL Charge 5 Charging Port Assembly Replacement: 手順 5、 3の画像 1 JBL Charge 5 Charging Port Assembly Replacement: 手順 5、 3の画像 2 JBL Charge 5 Charging Port Assembly Replacement: 手順 5、 3の画像 3
    • Use the opening tool or spudger to undo the clips.

    • Do not immediately remove the charging port.

  6. JBL Charge 5 Charging Port Assembly Replacement: 手順 6、 3の画像 1 JBL Charge 5 Charging Port Assembly Replacement: 手順 6、 3の画像 2 JBL Charge 5 Charging Port Assembly Replacement: 手順 6、 3の画像 3
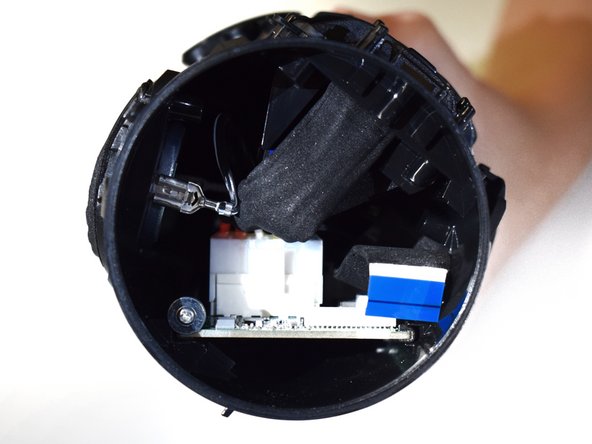
    • Rotate the device to the left, and push the left passive bass radiator off of the frame of the device using the metal spudger.

  7. JBL Charge 5 Charging Port Assembly Replacement: 手順 7、 3の画像 1 JBL Charge 5 Charging Port Assembly Replacement: 手順 7、 3の画像 2 JBL Charge 5 Charging Port Assembly Replacement: 手順 7、 3の画像 3
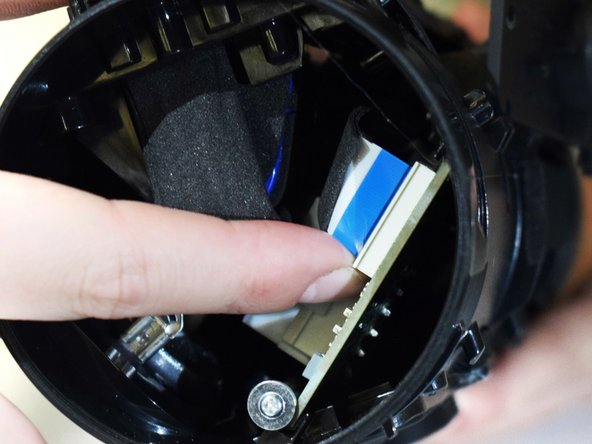
    • Pinch the charging port connector and gently remove the blue and black no-fuss ribbon cable from the board.

    • Pinch the connector with both fingers when removing it to ensure the ribbon cable will not tear.

  8. JBL Charge 5 Charging Port Assembly Replacement: 手順 8、 3の画像 1 JBL Charge 5 Charging Port Assembly Replacement: 手順 8、 3の画像 2 JBL Charge 5 Charging Port Assembly Replacement: 手順 8、 3の画像 3
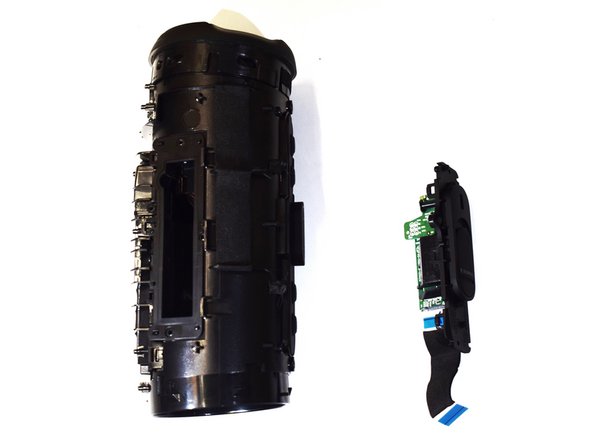
    • Using both fingers, remove the charging port assembly.

終わりに

To reassemble your device, follow these instructions in reverse order.

ある他の人がこのガイドを完成しました。

作成者

2人の作成者と共同で作成されました。

Kat Whaley

メンバー登録日: 09/13/23

753 ポイント

6のガイドは作成済み

チーム

Western Carolina University, Team 1-2, Virtue Fall 2023 Western Carolina University, Team 1-2, Virtue Fall 2023人のメンバー

WCU-VIRTUE-F23S1G2

5 メンバー

10のガイドは作成済み

0 件のコメント

コメントを追加

統計データ:

過去 24時間: 1

過去 7 日: 17

過去 30 日: 149

今までの合計 675