このバージョンは誤った内容を含んでいる可能性があります。最新の承認済みスナップショットに切り替えてください。
必要な工具と部品
-
-
この手順は未翻訳です。 翻訳を手伝う。
-
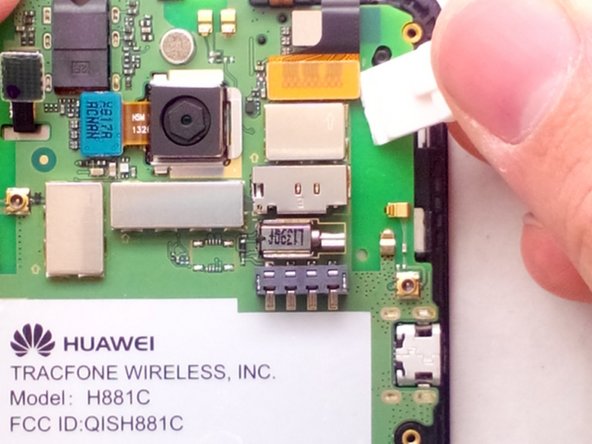
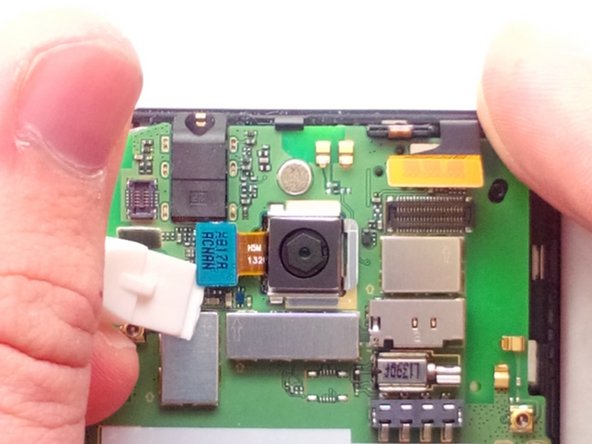
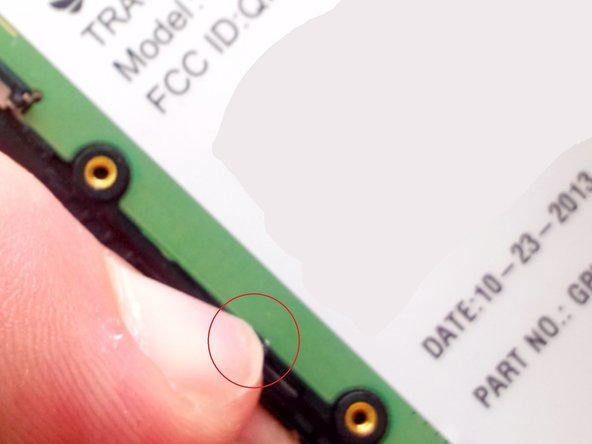
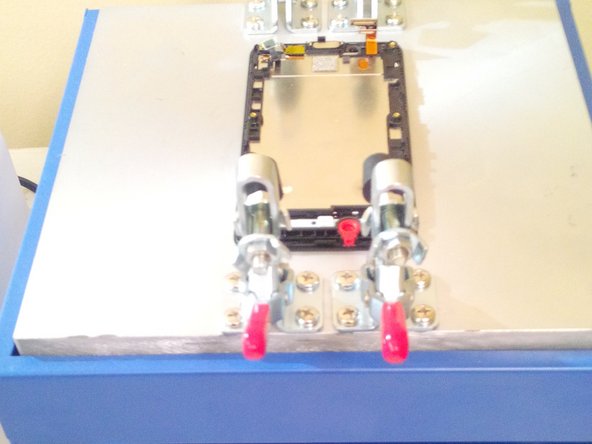
Don't mind the ugly "circles". What is circled is the clips you need to pull back to remove the motherboard from the frame.
-
Your fingernail will work perfect for this.
-
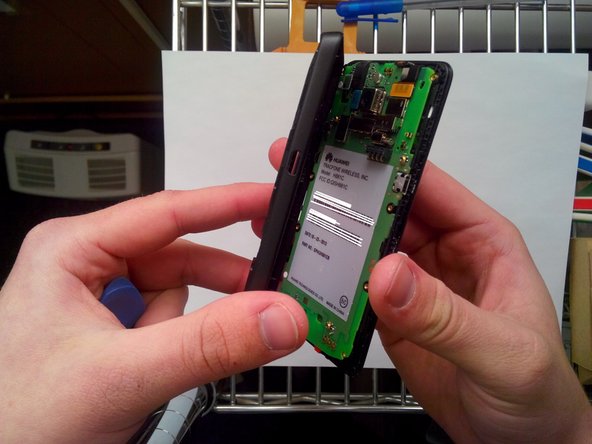
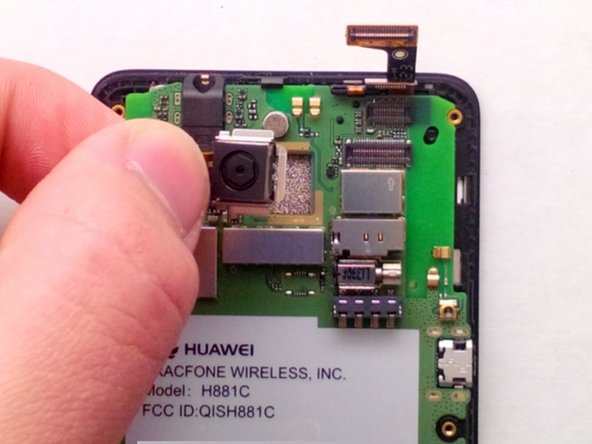
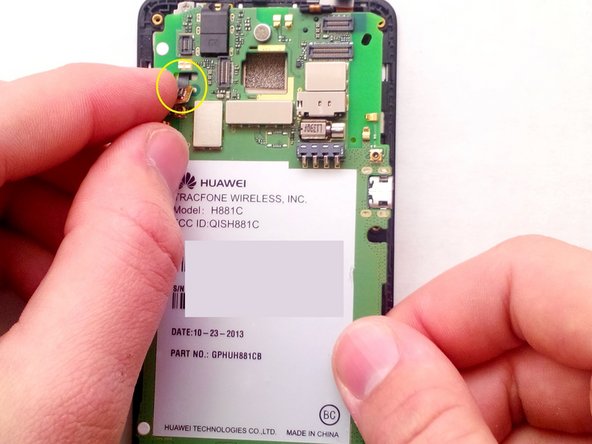
Let's remove the motherboard. With your right hand, slowly pull back the motherboard. With you left hand, guide the ribbon cable through the hole to avoid damaging it.
-
-
この手順は未翻訳です。 翻訳を手伝う。
-
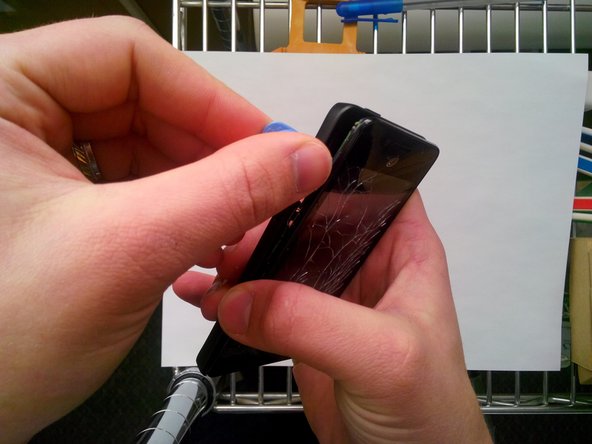
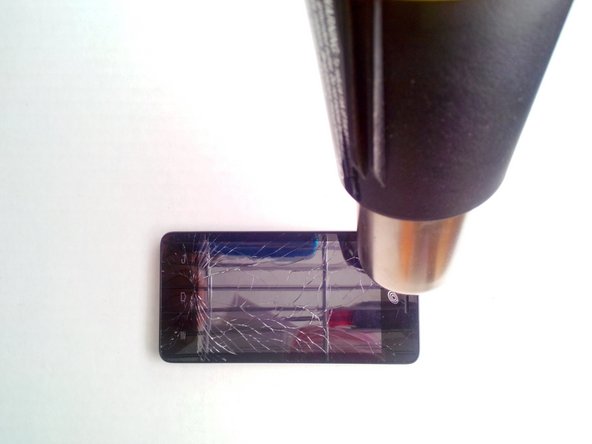
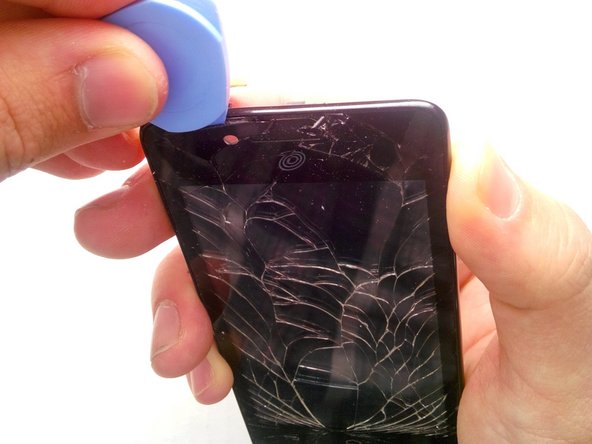
After its hot enough, use a thick guitar pick to peel back the broken screen from the frame. Be careful, it may be hot and glass could get everywhere.
-
Once you've removed the old screen/digitizer, apply new adhesive on the frame and put the new part on. Make sure that you get the old adhesive peeled off. We recommend heating the adhesive before applying the new screen for better bonding.
-
That's it! Now, follow the steps backwards to reassemble your device. Congrats! You've replaced the screen!
-


10 の人々がこのガイドを完成させました。

チーム

2 件のコメント
what do you use as an adheasive?
Randy, I'm extremely late responding to your post. I use what the industry calls, "red tape". This stuff is perfect for pretty much any electronic repair, especially iPads.