はじめに
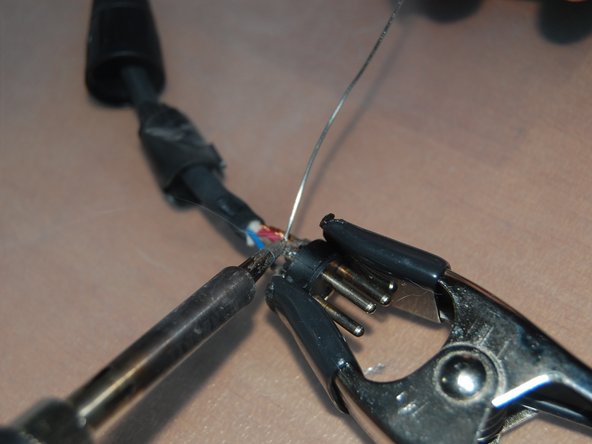
if your XLR cable isn't providing a solid clean connection whether it be for your microphone, audio-interface, or speaker, use this guide to restore that connection via soldering.
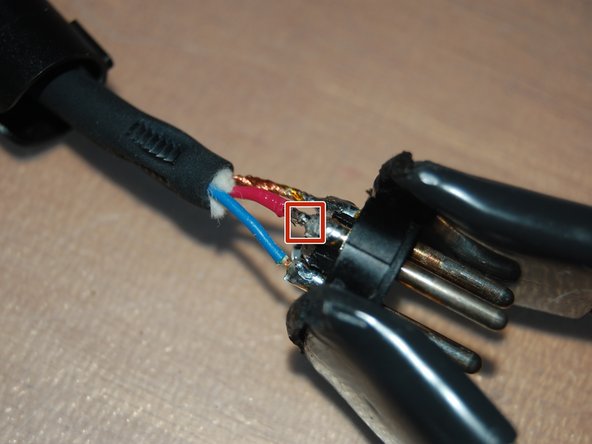
the most likely cause of that happening with your cable is a wire that has been detached or severed from the connecting point. the only other cause that could be the case is if there is dirt and debris underneath the cable (which you can just clean out) and you can use this guide to dissassemble the wire to clean it if that is the case.
before using this guide, if you are not experienced in wire stripping then I recommend that you get refreshed or learn how to do it using the guide from that link. Also, if you are not experienced with soldering and using a soldering iron than I also recommend that you use that guide that to learn or refresh.
be sure to test the cable on multiple devices before using this guide.
必要な工具と部品
-
-
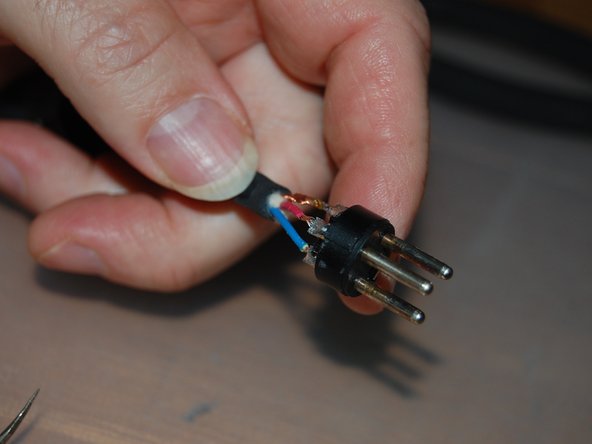
To do that, un-screw the black plastic bottom part of the base that connects to the connecting end.
-
-


If the connecting end you took apart doesnt not have any issues, take apart the other end.
If the connecting end you took apart doesnt not have any issues, take apart the other end.
ある他の人がこのガイドを完成しました。
チーム

York University, Team B-2, Woodhouse Fall 2023 York University, Team B-2, Woodhouse Fall 2023人のメンバー
YORK-WOODHOUSE-F23SBG2
1 メンバー
2のガイドは作成済み