メインコンテンツにスキップ

How to Apply Flash Unit Adhesives in Your Google Pixel 8a

必要な工具と部品

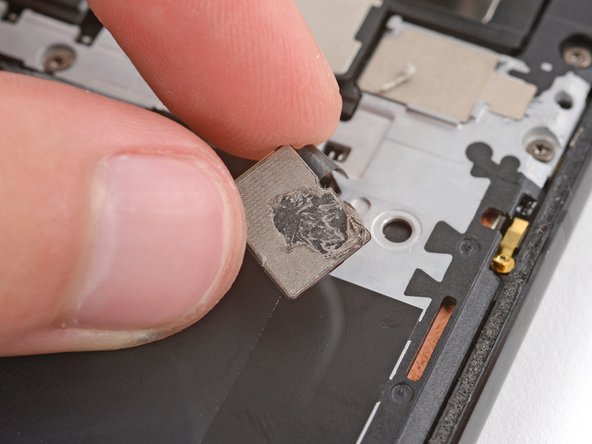
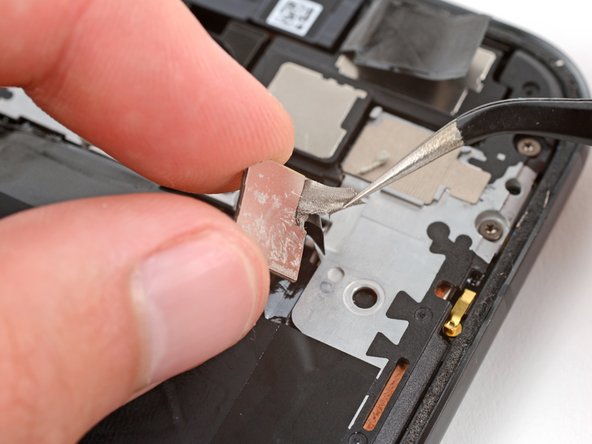
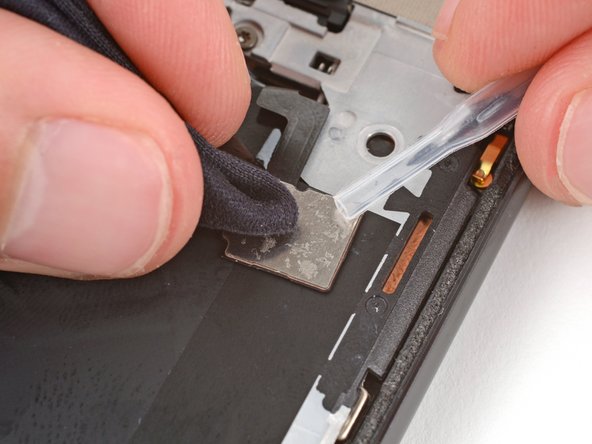
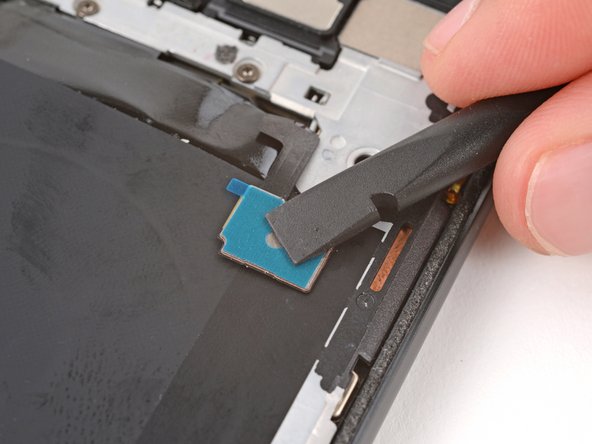
  1. How to Apply Flash Unit Adhesives in Your Google Pixel 8a, Apply the logic board cover adhesive: 手順 1、 3の画像 1 How to Apply Flash Unit Adhesives in Your Google Pixel 8a, Apply the logic board cover adhesive: 手順 1、 3の画像 2 How to Apply Flash Unit Adhesives in Your Google Pixel 8a, Apply the logic board cover adhesive: 手順 1、 3の画像 3
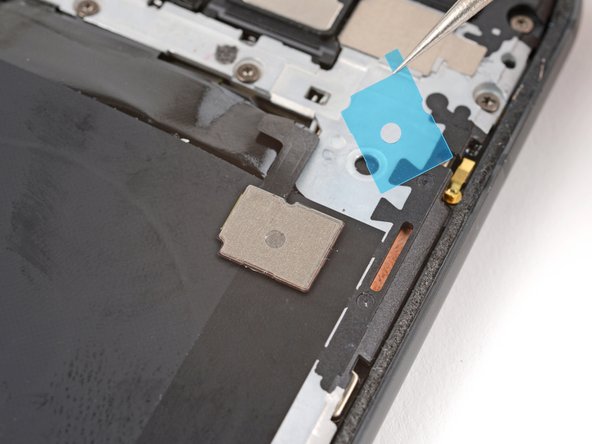
    • Use tweezers to remove the conductive tape adhesive from the top right corner of the motherboard cover.

    • Use the flat end of a spudger to scrape up any remaining bits of adhesive.

    • Use a pipette or syringe to apply a few drops of highly-concentrated isopropyl alcohol (over 90%) to the adhesive residue and wipe it away with a microfiber cloth.

  2. How to Apply Flash Unit Adhesives in Your Google Pixel 8a: 手順 2、 3の画像 1 How to Apply Flash Unit Adhesives in Your Google Pixel 8a: 手順 2、 3の画像 2 How to Apply Flash Unit Adhesives in Your Google Pixel 8a: 手順 2、 3の画像 3
    • Remove the conductive tape adhesive from its larger clear backing and put it into place with the tab on the right.

    • Use the flat end of a spudger to press down and secure the conductive tape.

    • Remove the remaining liner.

  3. How to Apply Flash Unit Adhesives in Your Google Pixel 8a, Apply the flash unit adhesive: 手順 3、 2の画像 1 How to Apply Flash Unit Adhesives in Your Google Pixel 8a, Apply the flash unit adhesive: 手順 3、 2の画像 2
    • Check the condition of the adhesive on the bottom of the flash unit.

    • If the adhesive is undamaged and still sticky, you can skip the rest of this guide and return to your original repair guide.

    • If the adhesive is damaged or no longer sticky, follow the next three steps to replace it.

  4. How to Apply Flash Unit Adhesives in Your Google Pixel 8a: 手順 4、 3の画像 1 How to Apply Flash Unit Adhesives in Your Google Pixel 8a: 手順 4、 3の画像 2 How to Apply Flash Unit Adhesives in Your Google Pixel 8a: 手順 4、 3の画像 3
    • During the remaining steps, be very careful not to strain or tear the delicate flash unit cable.

    • Use a spudger and tweezers to carefully scrape up and remove the old adhesive from the bottom of the flash unit.

    • Use a pipette or syringe to apply a few drops of highly-concentrated isopropyl alcohol (over 90%) to the adhesive residue and wipe it away with a microfiber cloth.

  5. How to Apply Flash Unit Adhesives in Your Google Pixel 8a: 手順 5、 3の画像 1 How to Apply Flash Unit Adhesives in Your Google Pixel 8a: 手順 5、 3の画像 2 How to Apply Flash Unit Adhesives in Your Google Pixel 8a: 手順 5、 3の画像 3
    • Remove the flash unit adhesive from its larger, clear liner and put it into place on the bottom of the flash unit.

    • Use the flat end of a spudger to press down and secure the adhesive.

    • Remove the remaining liner.

  6. How to Apply Flash Unit Adhesives in Your Google Pixel 8a: 手順 6、 1の画像 1
    • Firmly press the flash unit into place on the logic board cover to secure it with the adhesive.

    • Return to your original guide and continue with reassembly.

終わりに

Repair didn’t go as planned? Try some basic troubleshooting, or ask our Answers community for help.

作成者

2人の作成者と共同で作成されました。

Spencer Day

メンバー登録日: 09/14/22

59,598 ポイント

430のガイドは作成済み

チーム

iFixit iFixit人のメンバー

Staff

141 メンバー

17,850のガイドは作成済み

0 件のコメント

コメントを追加

統計データ:

過去 24時間: 2

過去 7 日: 9

過去 30 日: 44

今までの合計 60