この修理ガイドは変更されています。最新の未承認バージョンに切り替えます。
はじめに
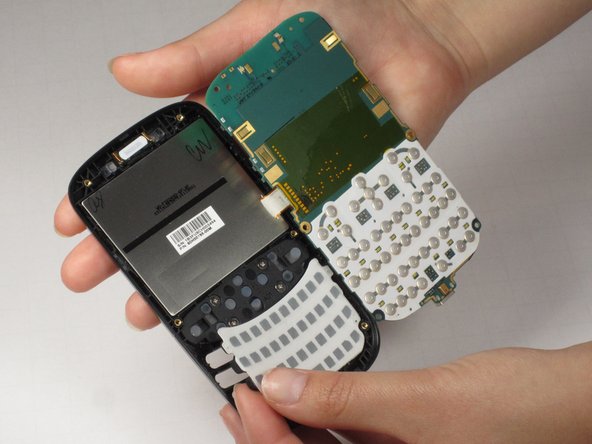
The navigation keys are the hard, directional keys on the front of the phone.
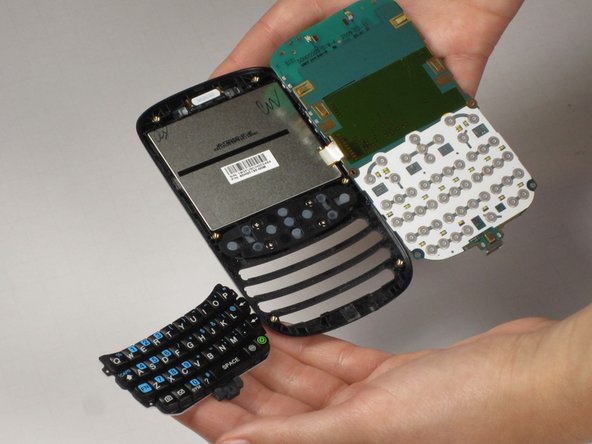
The qwerty keyboard are the soft keys on the front of the phone.
必要な工具と部品
-
-
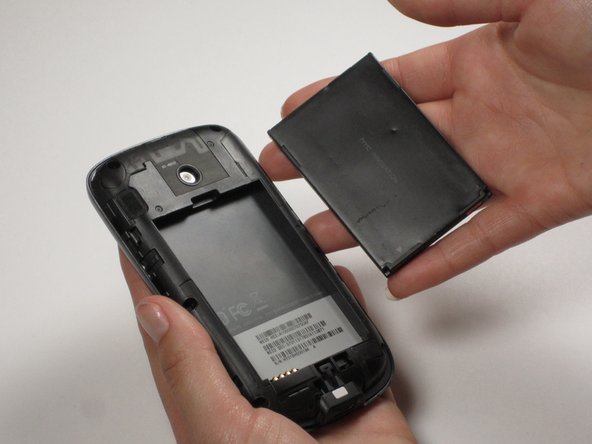
Insert your finger or a pry tool into the slot above the battery. Remove it and set aside.
-
-
-
-
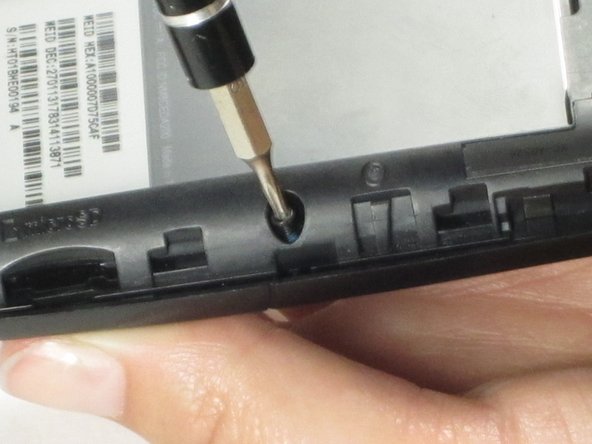
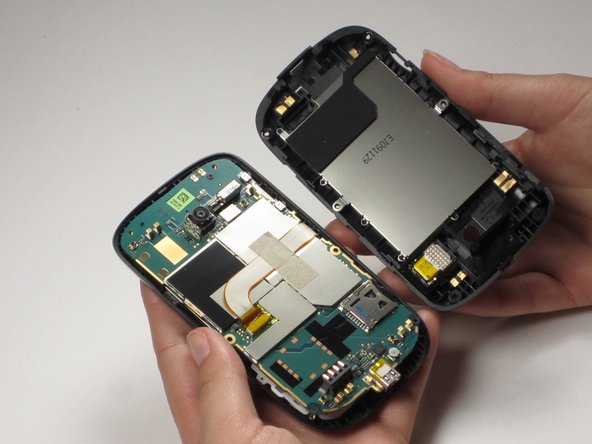
To remove the back casing inside the phone, unscrew the 6 screws that are around the perimeter of the phone.
-
-
-
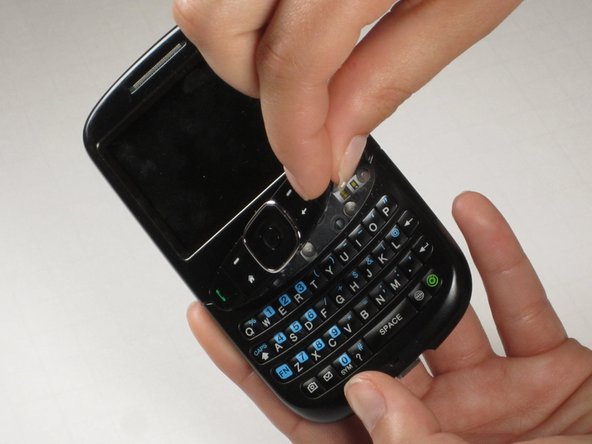
To remove the navigation keys on the front of the phone, unscrew the four screws circled using a Philips screwdriver.
-
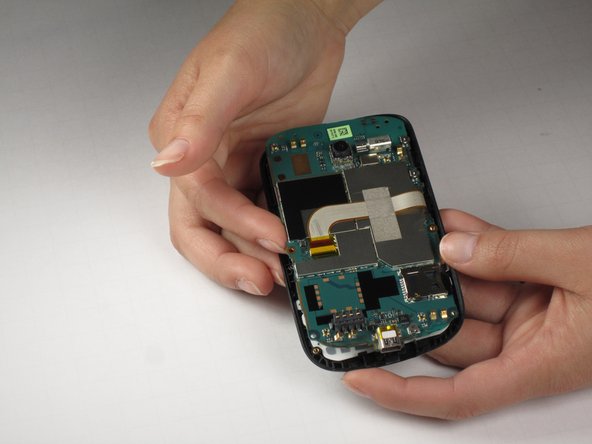
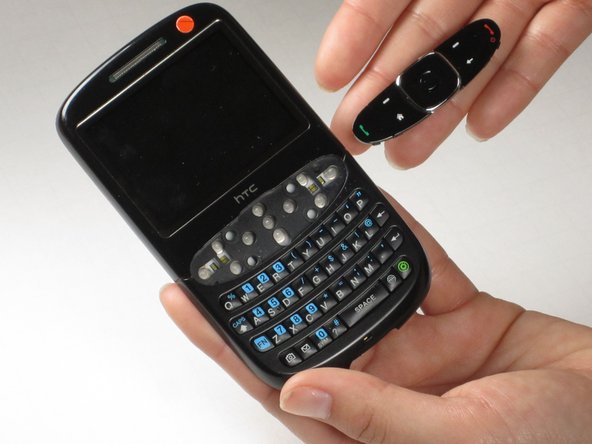
Remove the navigation keys from the front of the phone. They should pop out as a unit.
-


To reassemble your device, follow these instructions in reverse order.
To reassemble your device, follow these instructions in reverse order.
チーム

Cal Poly, Team 25-29, Garner Spring 2011 Cal Poly, Team 25-29, Garner Spring 2011人のメンバー
CPSU-GARNER-S11S25G29
3 メンバー
10のガイドは作成済み