メインコンテンツにスキップ

HP Spectre x360 13-aw0xxx Charging Port Replacement

必要な工具と部品

  1. HP Spectre x360 13-aw0xxx Charging Port Replacement, Battery: 手順 1、 2の画像 1 HP Spectre x360 13-aw0xxx Charging Port Replacement, Battery: 手順 1、 2の画像 2
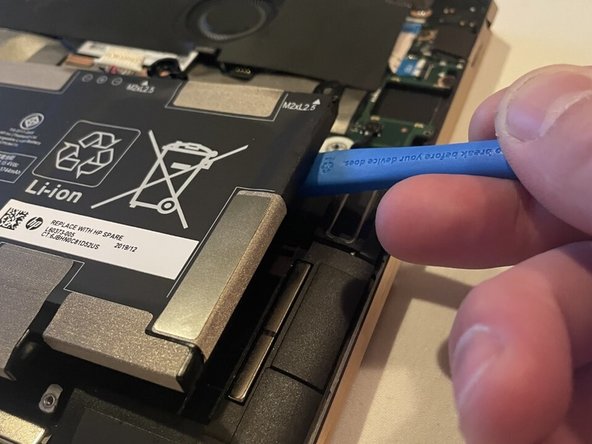
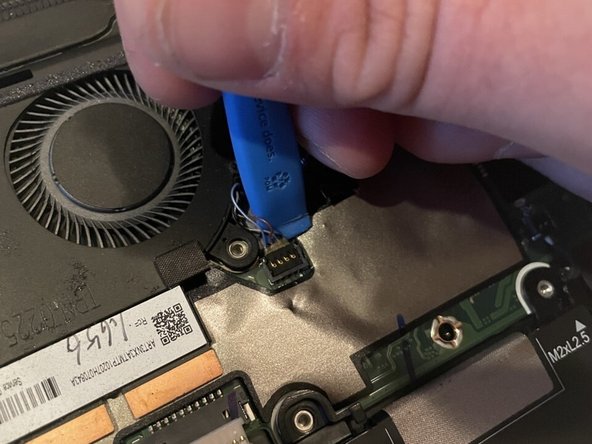
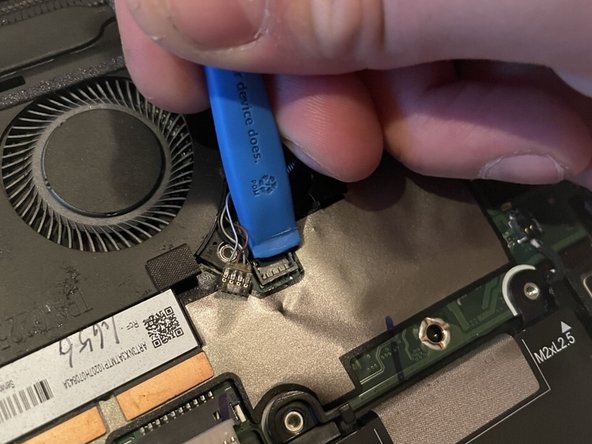
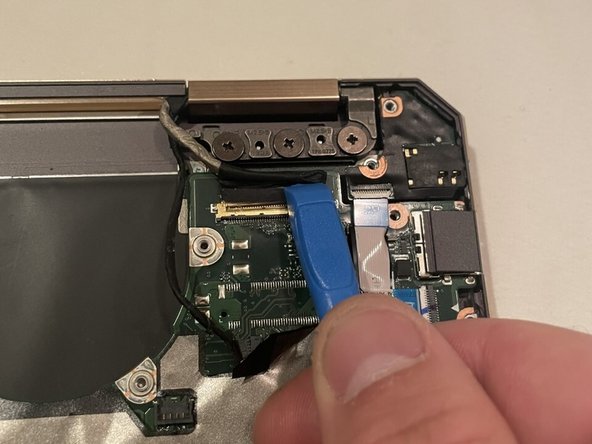
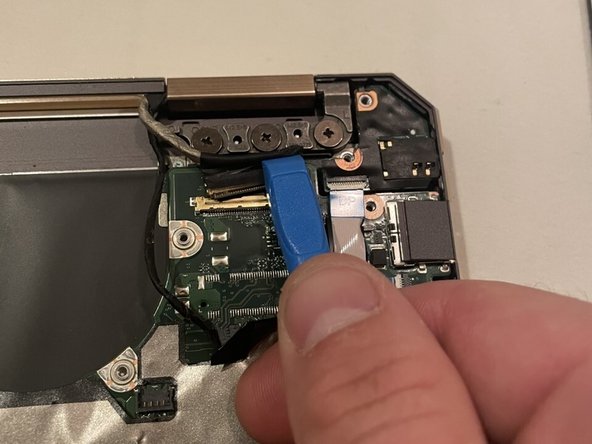
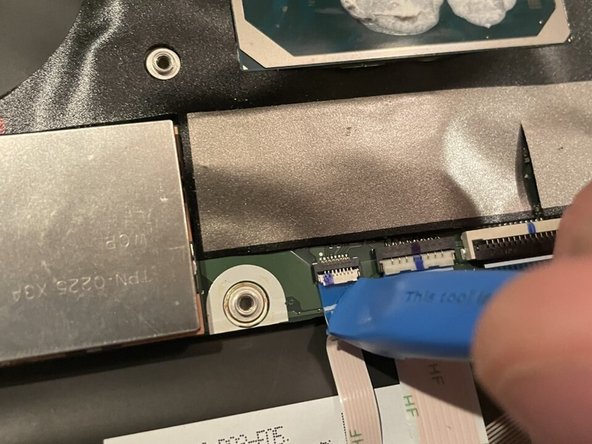
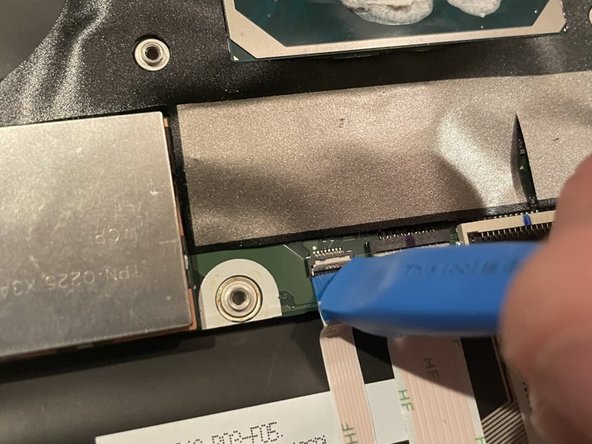
    • Use two opening tools, one on either side of the battery plug, to slowly pull the plug straight out of its port.

    • Alternatively, use your fingernails.

  2. HP Spectre x360 13-aw0xxx Charging Port Replacement: 手順 2、 2の画像 1 HP Spectre x360 13-aw0xxx Charging Port Replacement: 手順 2、 2の画像 2
    • Use a Phillips #00 screwdriver to remove the six 2.5 mm screws securing the battery.

  3. HP Spectre x360 13-aw0xxx Charging Port Replacement: 手順 3、 2の画像 1 HP Spectre x360 13-aw0xxx Charging Port Replacement: 手順 3、 2の画像 2
    • Carefully lift the edge of the battery with an opening tool.

    • Lift the battery up and out.

  4. HP Spectre x360 13-aw0xxx Charging Port Replacement, Fan Assembly: 手順 4、 3の画像 1 HP Spectre x360 13-aw0xxx Charging Port Replacement, Fan Assembly: 手順 4、 3の画像 2 HP Spectre x360 13-aw0xxx Charging Port Replacement, Fan Assembly: 手順 4、 3の画像 3
    • Remove the black film around the fans.

  5. HP Spectre x360 13-aw0xxx Charging Port Replacement: 手順 5、 2の画像 1 HP Spectre x360 13-aw0xxx Charging Port Replacement: 手順 5、 2の画像 2
    • Remove the two Wi-Fi card antenna wires using a small pry tool.

  6. HP Spectre x360 13-aw0xxx Charging Port Replacement: 手順 6、 2の画像 1 HP Spectre x360 13-aw0xxx Charging Port Replacement: 手順 6、 2の画像 2
    • Remove the eight 3 mm Phillips #00 screws securing the fan assembly.

  7. HP Spectre x360 13-aw0xxx Charging Port Replacement: 手順 7、 3の画像 1 HP Spectre x360 13-aw0xxx Charging Port Replacement: 手順 7、 3の画像 2 HP Spectre x360 13-aw0xxx Charging Port Replacement: 手順 7、 3の画像 3
    • Disconnect the two fan cables using a small pry tool.

    • Be sure not to rip the wires, as they are fragile. It may help to slightly pry on the fans while disconnecting the wires, so the pry bar has enough room.

  8. HP Spectre x360 13-aw0xxx Charging Port Replacement: 手順 8、 2の画像 1 HP Spectre x360 13-aw0xxx Charging Port Replacement: 手順 8、 2の画像 2
    • Use an opening tool to gently lift the edge of the fan assembly.

    • Lift the fan assembly up and out.

  9. HP Spectre x360 13-aw0xxx Charging Port Replacement, Charging Port: 手順 9、 2の画像 1 HP Spectre x360 13-aw0xxx Charging Port Replacement, Charging Port: 手順 9、 2の画像 2
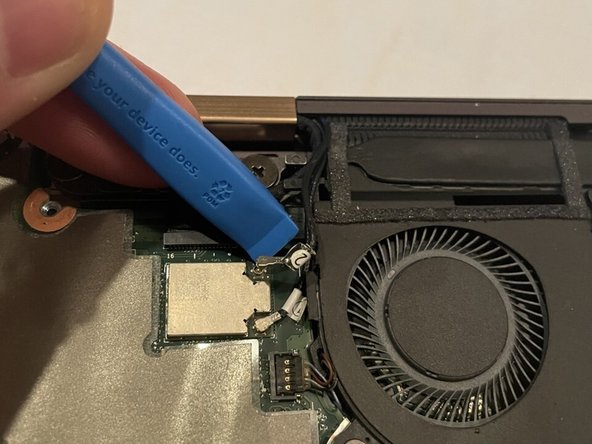
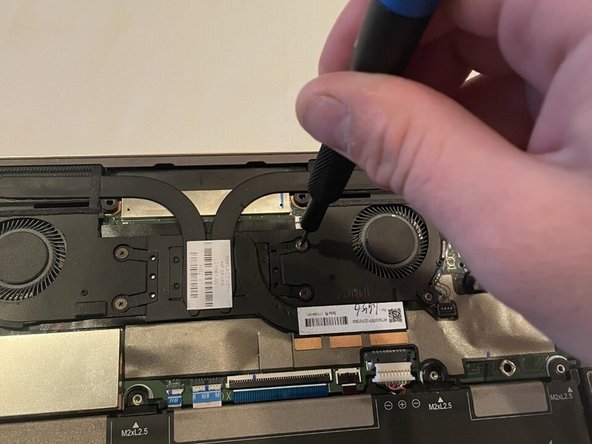
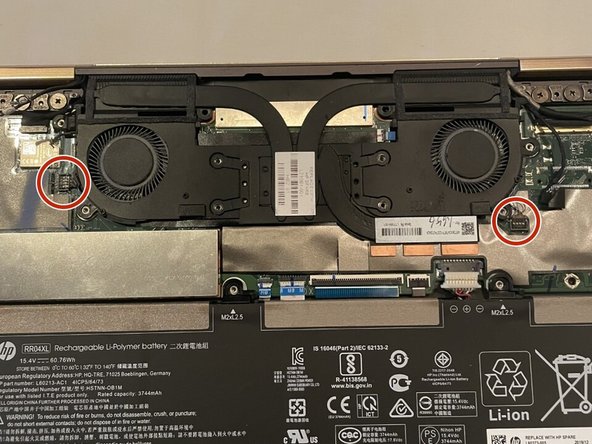
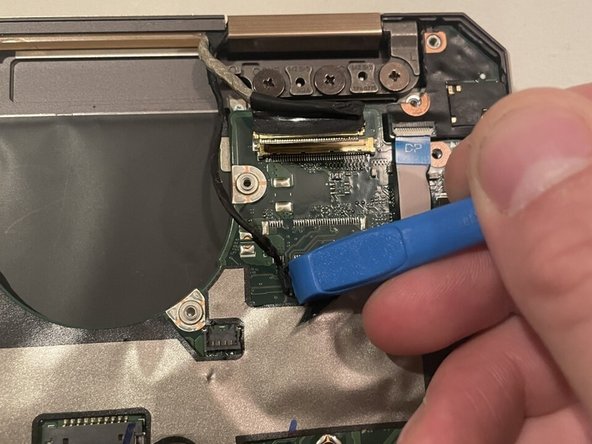
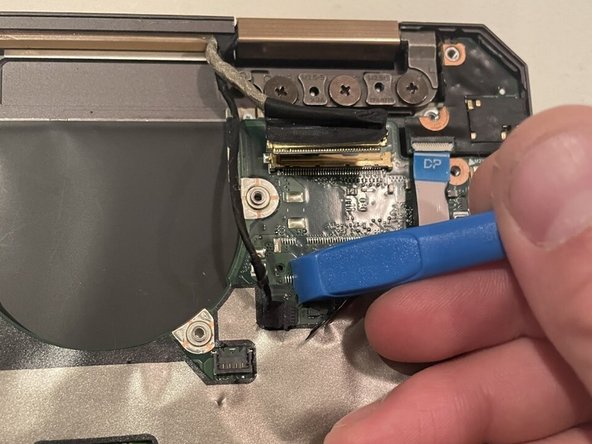
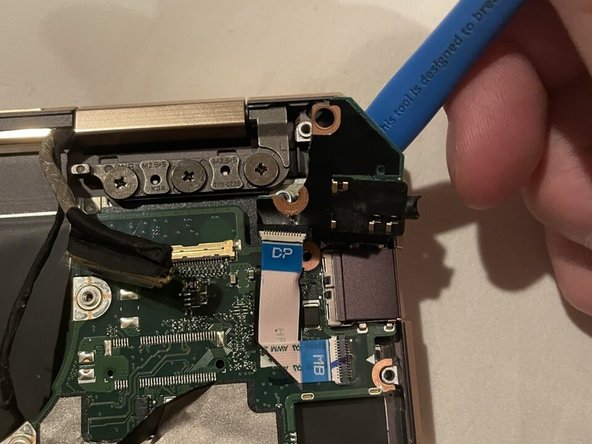
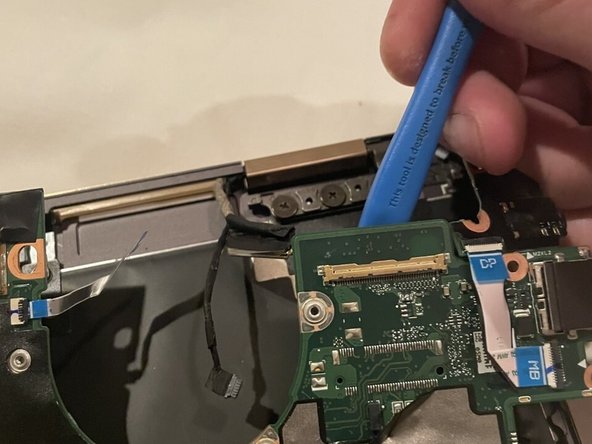
    • Remove the eight 3 mm screws securing the motherboard using a Phillips #00 screwdriver.

  10. HP Spectre x360 13-aw0xxx Charging Port Replacement: 手順 10、 3の画像 1 HP Spectre x360 13-aw0xxx Charging Port Replacement: 手順 10、 3の画像 2 HP Spectre x360 13-aw0xxx Charging Port Replacement: 手順 10、 3の画像 3
    • Disconnect the display cable from the motherboard using a small pry tool.

  11. HP Spectre x360 13-aw0xxx Charging Port Replacement: 手順 11、 3の画像 1 HP Spectre x360 13-aw0xxx Charging Port Replacement: 手順 11、 3の画像 2 HP Spectre x360 13-aw0xxx Charging Port Replacement: 手順 11、 3の画像 3
    • Disconnect the smaller flip screen sensor cable from the motherboard.

  12. HP Spectre x360 13-aw0xxx Charging Port Replacement: 手順 12、 3の画像 1 HP Spectre x360 13-aw0xxx Charging Port Replacement: 手順 12、 3の画像 2 HP Spectre x360 13-aw0xxx Charging Port Replacement: 手順 12、 3の画像 3
    • Flip the ZIF connector lock bars up to release the ribbon cables.

    • Remove the ribbon cables.

  13. HP Spectre x360 13-aw0xxx Charging Port Replacement: 手順 13、 2の画像 1 HP Spectre x360 13-aw0xxx Charging Port Replacement: 手順 13、 2の画像 2
    • Start removing the I/O board by removing the piece in the upper right corner (opposite the charging port side).

    • Use a small opening tool to remove up the I/O board from the body.

  14. HP Spectre x360 13-aw0xxx Charging Port Replacement: 手順 14、 2の画像 1 HP Spectre x360 13-aw0xxx Charging Port Replacement: 手順 14、 2の画像 2
    • Using a small pry tool lift up on the larger portion of the motherboard to remove it from the body of the laptop.

    • The motherboard will be free from the laptop body and the new charging port and motherboard can be inserted.

終わりに

To reassemble your device, follow these instructions in reverse order.

作成者

1人の作成者と共同作成されました。

Jacob Wallace

メンバー登録日: 02/14/23

133 ポイント

1ガイドが承認済み

チーム

Western Carolina University, Team 1-6, Virtue Spring 2023 Western Carolina University, Team 1-6, Virtue Spring 2023人のメンバー

WCU-VIRTUE-S23S1G6

4 メンバー

5のガイドは作成済み

0 件のコメント

コメントを追加

統計データ:

過去 24時間: 5

過去 7 日: 23

過去 30 日: 83

今までの合計 1,116