はじめに
The charger port is the portion of the laptop that connects the power source to the battery of the laptop to charge it. Typically, this part of the laptop is used frequently and can wear to through is extensive usage. If this port does not work, the battery will not charge, and therefore the device will not turn on or hold power. This guide will show how to remove and replace a charger port with a new functional charger port. For more information on the effects a faulty battery port can cause please check out our troubleshooting page. Please make sure the device is turned off and unplugged prior to starting.
必要な工具と部品
-
-
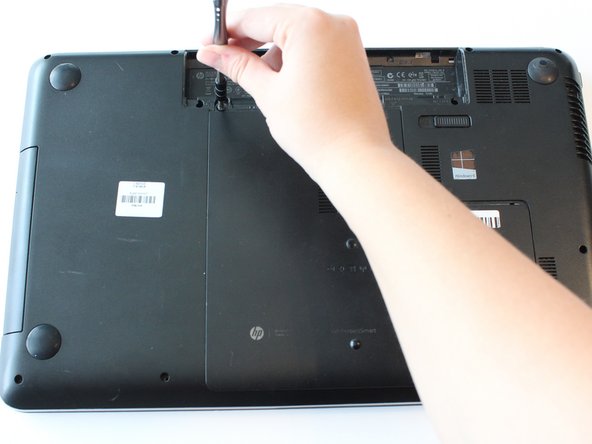
Remove the 6.25 mm screw in the left-lower hand corner of the battery port using a Phillips head screw driver.
-
-
-
-
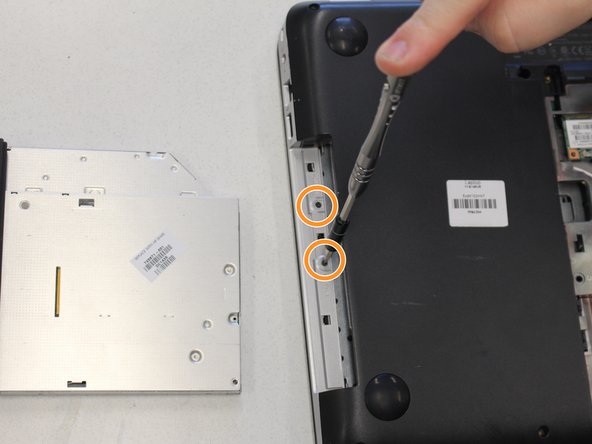
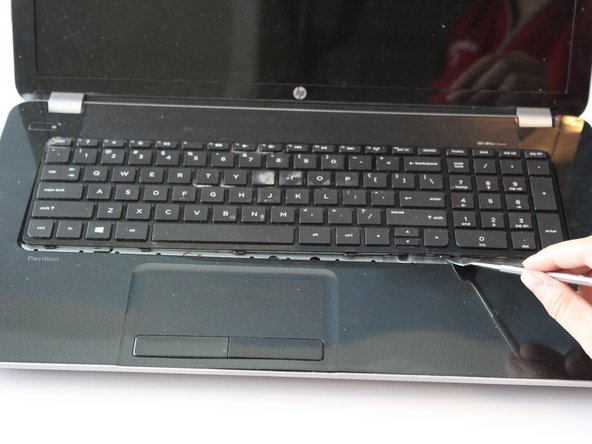
Remove three 6.5 mm Phillips screws located underneath the keyboard using a Phillips #0 screwdriver.
-
-
-
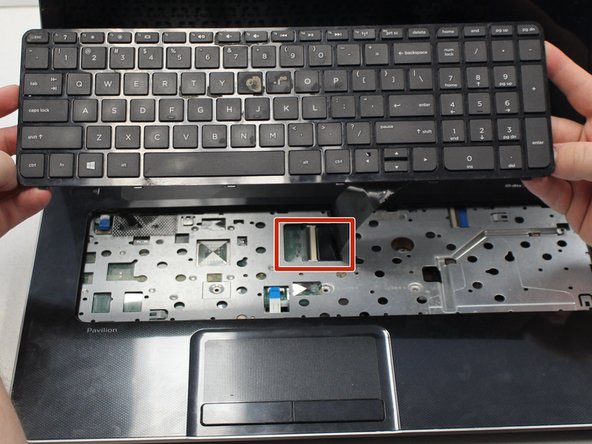
The charging port is attached to the motherboard and is on the right side of the device if it is facing you.
-
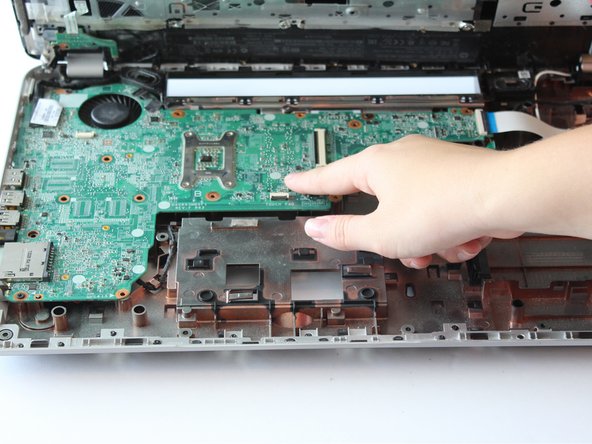
Remove the charging port from motherboard by hand.
-


To reassemble your device, follow these instructions in reverse order.
To reassemble your device, follow these instructions in reverse order.

チーム

University of Alabama, Team S2-G7, Bedsole Fall 2019 University of Alabama, Team S2-G7, Bedsole Fall 2019人のメンバー
UA-BEDSOLE-F19S2G7
3 メンバー
5のガイドは作成済み