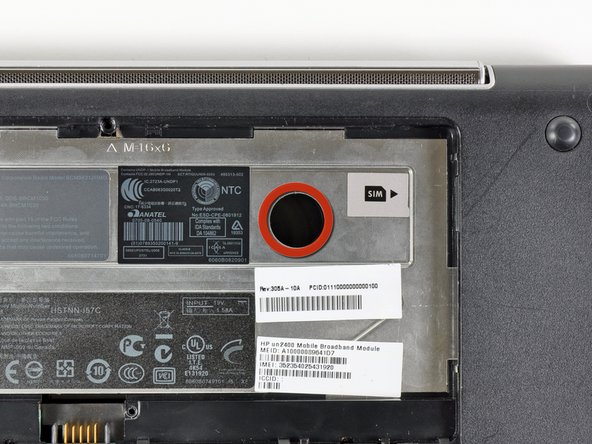
To facilitate the removal of the keyboard, it is recommended to push the keyboard outwards with one hand through the opening (highlighted in the third picture) located on the backside of the Mini 1000.
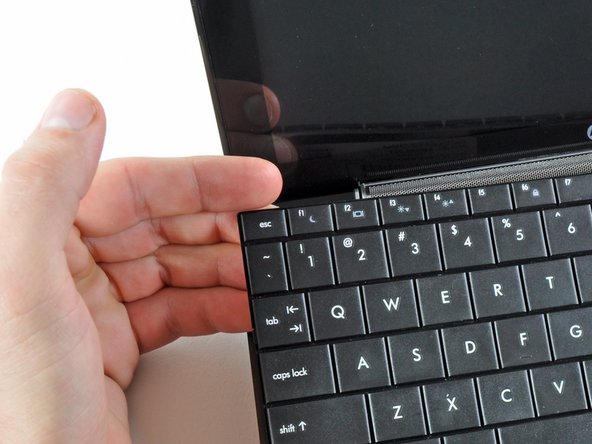
While pushing through the opening with one hand, grasp the left upper edge with the other hand and slightly pull the keyboard towards you.
Once an opening has been established, grasp the keyboard and slowly lift it upwards along the upper perimeter of the top edge.
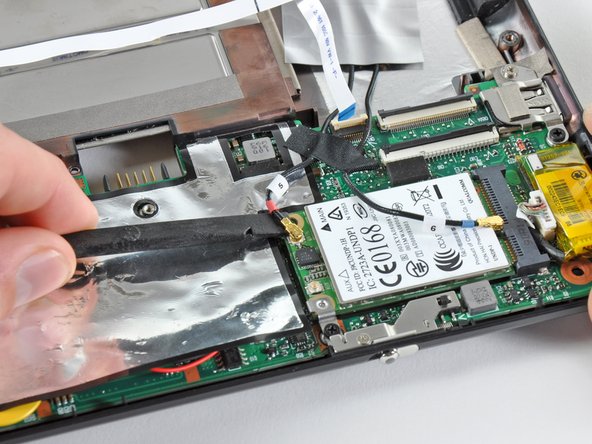
Pry the Wi-Fi antenna connectors (2 total) up off the Wi-Fi board.
During reassembly, remember to correctly connect the antenna cables to their respective terminals. The green labeled antenna is connected to the "MAIN" terminal and the white labeled antenna is connected to the "AUX" terminal.
Upon removing the Phillips screw that secures the Wi-Fi board to the motherboard, the Wi-Fi board should pop up from its top side nearest the antenna sockets.
Grasp the Wi-Fi board and lift it straight away from its socket on the motherboard.
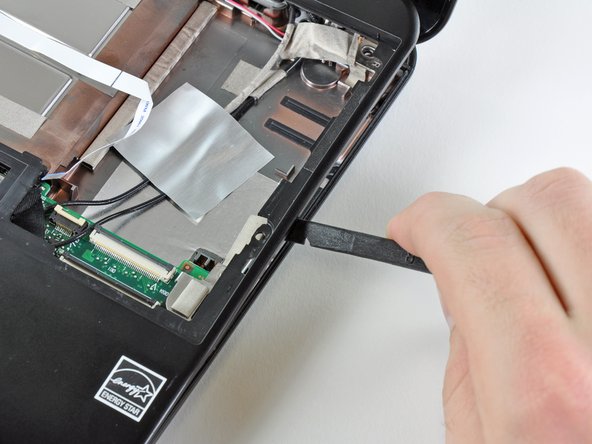
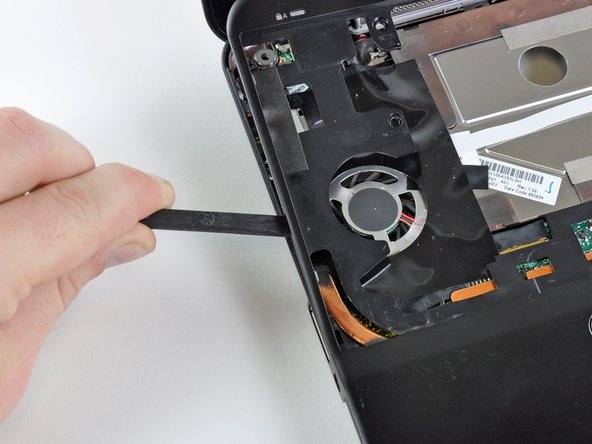
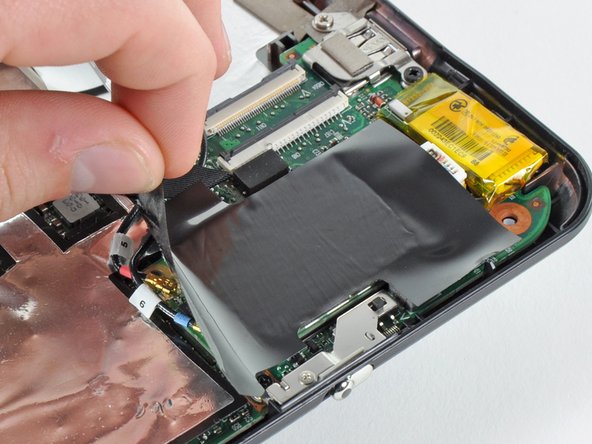
Use the flat end of a spudger to disconnect each of the following connectors from their respective sockets:
Speaker cable
Microphone cable
Fan cable
Power cable
Display data cable
Push the connectors out of their sockets parallel to the face of the motherboard toward the display assembly. Do not lift up on the cables as you disconnect them, especially the display data cable, as their sockets may break off the motherboard.
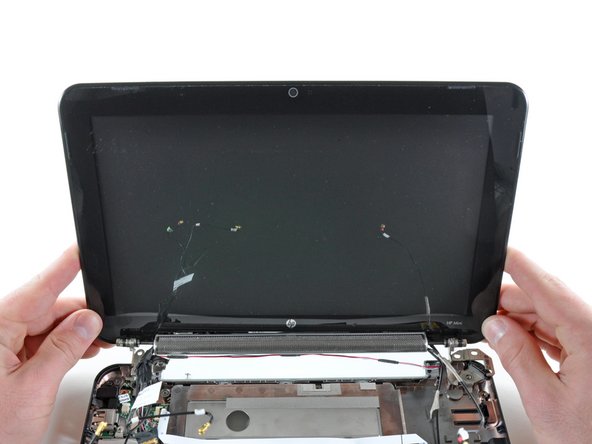
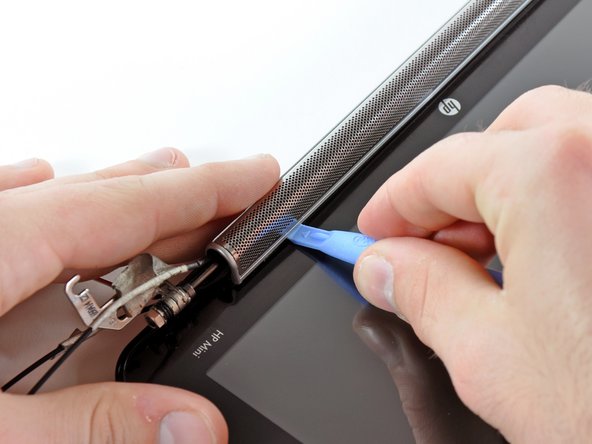
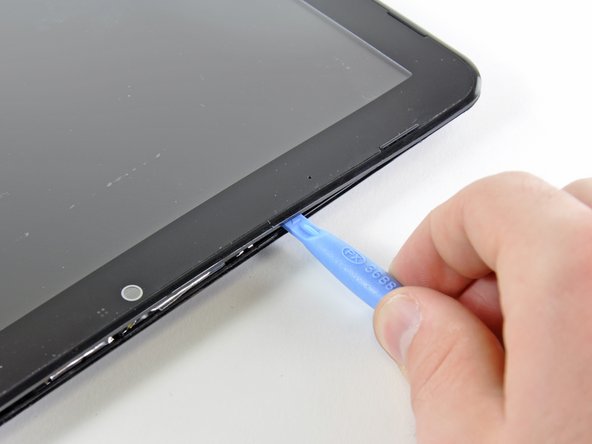
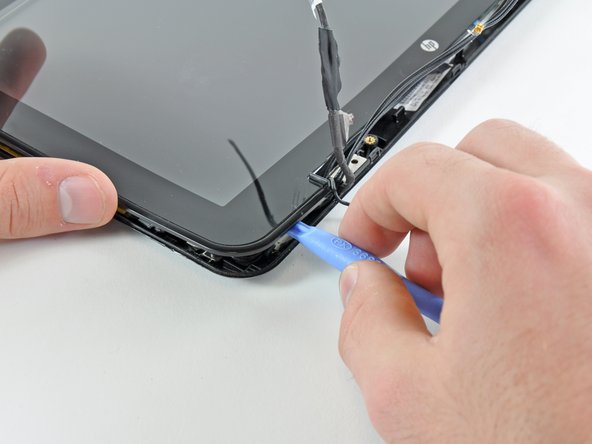
In the following steps you will pry the front display bezel off the rear section of the display. The locations of the retaining clips are highlighted in red.