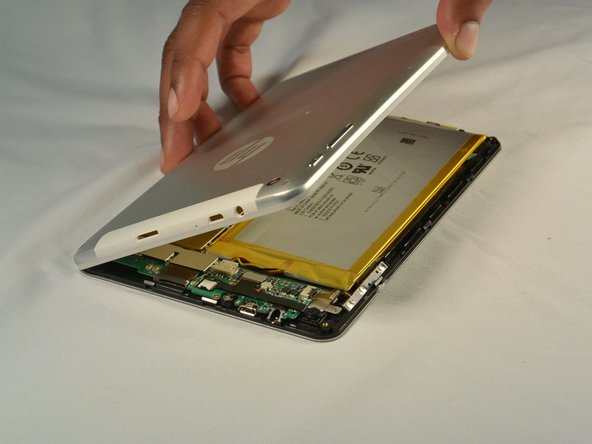
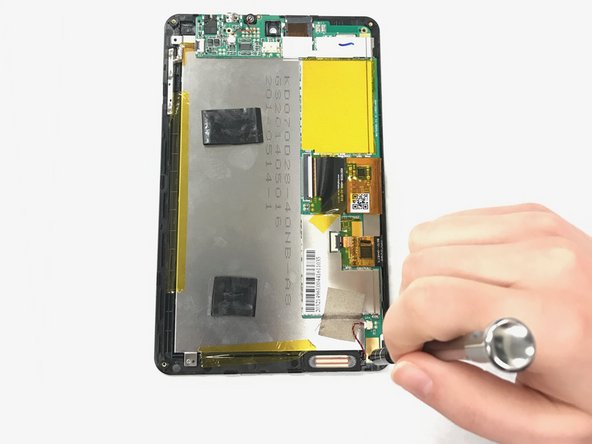
メインコンテンツにスキップ

HP 7 Plus 1302 Charging Port Replacement

必要な工具と部品

  1. HP 7 Plus 1302 Charging Port Replacement, Back Cover: 手順 1、 1の画像 1
    • Using the T5 Torx Screwdriver, remove the T5x3mm screws located in all 4 corners.

    • Device should be turned off and unplugged before starting the replacements.

  2. HP 7 Plus 1302 Charging Port Replacement: 手順 2、 2の画像 1 HP 7 Plus 1302 Charging Port Replacement: 手順 2、 2の画像 2
    • Use the plastic opening tool to push in between the front and the back of the tablet.

    • Slide the plastic opening tool around all 4 sides of the tablet to separate the back cover.

    • Be careful when you are trying to remove the back as it can damage the screen if you force it too much.

  3. HP 7 Plus 1302 Charging Port Replacement: 手順 3、 2の画像 1 HP 7 Plus 1302 Charging Port Replacement: 手順 3、 2の画像 2
    • Continue sliding the plastic opening tool around the tablet until all 4 sides are separated from each other.

    • Remove the back cover.

  4. HP 7 Plus 1302 Charging Port Replacement, Battery: 手順 4、 2の画像 1 HP 7 Plus 1302 Charging Port Replacement, Battery: 手順 4、 2の画像 2
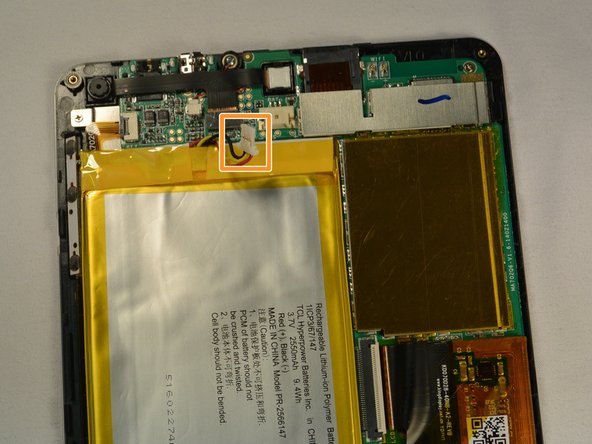
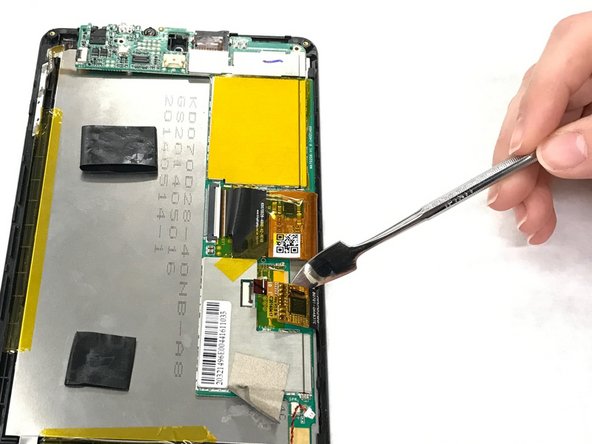
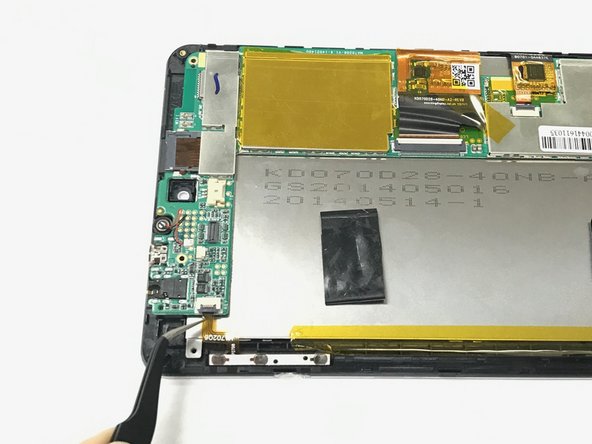
    • Push out the battery connector using the spudger.

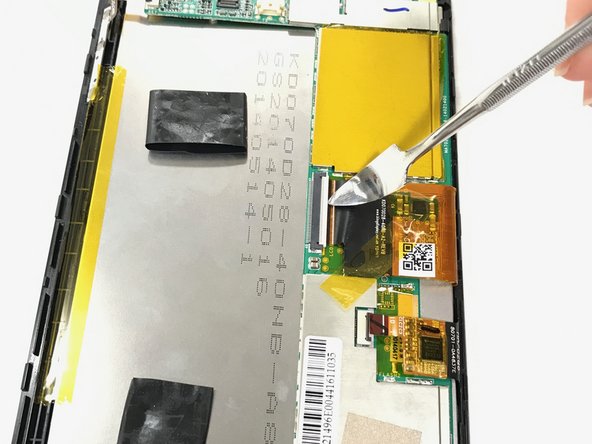
    • Swing the battery connector clear of the connector socket.

  5. HP 7 Plus 1302 Charging Port Replacement: 手順 5、 1の画像 1
    • Lift the battery from the device.

  6. HP 7 Plus 1302 Charging Port Replacement, Motherboard: 手順 6、 2の画像 1 HP 7 Plus 1302 Charging Port Replacement, Motherboard: 手順 6、 2の画像 2
    • Pry the connector that attaches the front and back camera with a metal spudger.

  7. HP 7 Plus 1302 Charging Port Replacement: 手順 7、 2の画像 1 HP 7 Plus 1302 Charging Port Replacement: 手順 7、 2の画像 2
    • Pull the camera from the connectors.

  8. HP 7 Plus 1302 Charging Port Replacement: 手順 8、 2の画像 1 HP 7 Plus 1302 Charging Port Replacement: 手順 8、 2の画像 2
    • Identify the three T5x1mm screws and remove them with a Phillips #000

  9. HP 7 Plus 1302 Charging Port Replacement: 手順 9、 2の画像 1 HP 7 Plus 1302 Charging Port Replacement: 手順 9、 2の画像 2
    • Unplug the connector with the tweezers.

    • Remove the tape.

  10. HP 7 Plus 1302 Charging Port Replacement: 手順 10、 2の画像 1 HP 7 Plus 1302 Charging Port Replacement: 手順 10、 2の画像 2
    • Flip the ZIF connector with the metal spudger.

    • Pull the ribbon connector out.

  11. HP 7 Plus 1302 Charging Port Replacement: 手順 11、 3の画像 1 HP 7 Plus 1302 Charging Port Replacement: 手順 11、 3の画像 2 HP 7 Plus 1302 Charging Port Replacement: 手順 11、 3の画像 3
    • Pull the orange tape with the tweezers.

    • Flip the ZIF connector with the spudger.

    • Pull the ribbon connector with the tweezers.

  12. HP 7 Plus 1302 Charging Port Replacement: 手順 12、 1の画像 1
    • Remove the gray tape below the ribbon connector.

  13. HP 7 Plus 1302 Charging Port Replacement: 手順 13、 2の画像 1 HP 7 Plus 1302 Charging Port Replacement: 手順 13、 2の画像 2
    • Flip the ZIF connector.

    • Pull the ribbon connector out with the tweezers.

  14. HP 7 Plus 1302 Charging Port Replacement: 手順 14、 2の画像 1 HP 7 Plus 1302 Charging Port Replacement: 手順 14、 2の画像 2
    • Pull the circuit board off.

  15. HP 7 Plus 1302 Charging Port Replacement, Charging Port: 手順 15、 1の画像 1
    • Desolder the four points on the charging port using the soldering iron.

    • Soldering iron will be hot be careful.

    • For more instructions about how to use the Soldering iron click here.

終わりに

To reassemble your device, follow these instructions in reverse order.

ある他の人がこのガイドを完成しました。

作成者

3人の作成者と共同で作成されました。

Damaris Torres-Crespo

メンバー登録日: 01/30/17

204 ポイント

2のガイドは作成済み

チーム

IUPUI, Team 1-4, Baechle Spring 2017 IUPUI, Team 1-4, Baechle Spring 2017人のメンバー

IUPUI-BAECHLE-S17S1G4

4 メンバー

8のガイドは作成済み

0 件のコメント

コメントを追加

統計データ:

過去 24時間: 1

過去 7 日: 7

過去 30 日: 7

今までの合計 438