メインコンテンツにスキップ

HP 15-f004dx Optical Drive Replacement

必要な工具と部品

  1. HP 15-f004dx Optical Drive  Replacement, Battery: 手順 1、 1の画像 1
    • After testing the battery and discovering that it needs to be replaced, you will begin by placing the computer upside-down on a flat surface.

  2. HP 15-f004dx Optical Drive  Replacement: 手順 2、 2の画像 1 HP 15-f004dx Optical Drive  Replacement: 手順 2、 2の画像 2
    • Locate a switch in the upper left corner with a lock symbol next to it.

    • Slide the switch to the right until you see an unlocked symbol on the opposite side.

  3. HP 15-f004dx Optical Drive  Replacement: 手順 3、 2の画像 1 HP 15-f004dx Optical Drive  Replacement: 手順 3、 2の画像 2
    • There is another switch on the opposite side of the computer with a battery symbol next to it.

    • Slide this switch to the left and the battery should detach from the computer.

    • To completely remove the battery, simply pull the battery away from the computer.

  4. HP 15-f004dx Optical Drive  Replacement, Optical Drive: 手順 4、 2の画像 1 HP 15-f004dx Optical Drive  Replacement, Optical Drive: 手順 4、 2の画像 2
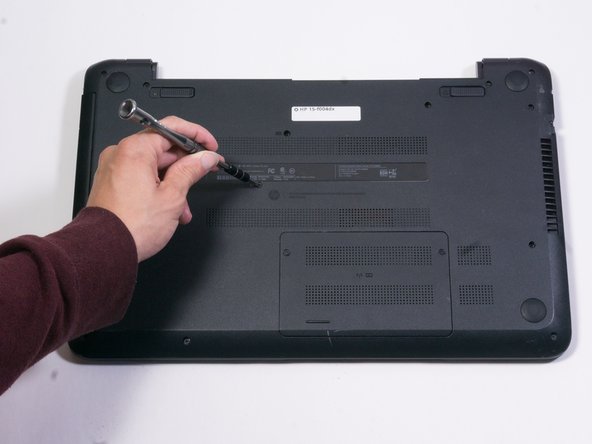
    • Use a J1 or PH1 screwdriver to remove the 6.5mm screw that secures the optical drive.

  5. HP 15-f004dx Optical Drive  Replacement: 手順 5、 1の画像 1
    • Once the optical drive screw has been removed, use a plastic opening tool to loosen the optical drive.

    • If the battery port is facing away from you, the optical drive will be on the left hand side of the device.

  6. HP 15-f004dx Optical Drive  Replacement: 手順 6、 1の画像 1
    • Gently remove the optical drive once it has been loosened.

終わりに

To reassemble your device, follow these instructions in reverse order.

作成者

3人の作成者と共同で作成されました。

Dylan Kahle

メンバー登録日: 09/07/18

351 ポイント

3のガイドは作成済み

チーム

Appalachian State University, Team S1-G1, Menagarishvili Fall 2018 Appalachian State University, Team S1-G1, Menagarishvili Fall 2018人のメンバー

APSU-MENAGARISHVILI-F18S1G1

5 メンバー

5のガイドは作成済み

0 件のコメント

コメントを追加

統計データ:

過去 24時間: 1

過去 7 日: 4

過去 30 日: 8

今までの合計 321