はじめに
This guide will teach you how to remove the HP 14-fq1025nr ports and replace them with new ones. Computer ports allow for external devices to be plugged into the computer and allow input devices like mice to be used as well as external storage devices like flash drives to be accessed by the computer. Faulty ports may result in devices not being recognized by the computer. For additional information and help for troubleshooting the ports, refer to our troubleshooting page. The ports are soldered down to the motherboard itself; therefore, to avoid damaging the motherboard, this guide will primarily go over replacing the motherboard in order to replace the ports.
WARNING: The computer uses a lithium-ion battery which contains toxic substances / flammable substances. Handle with caution.
必要な工具と部品
-
-
-
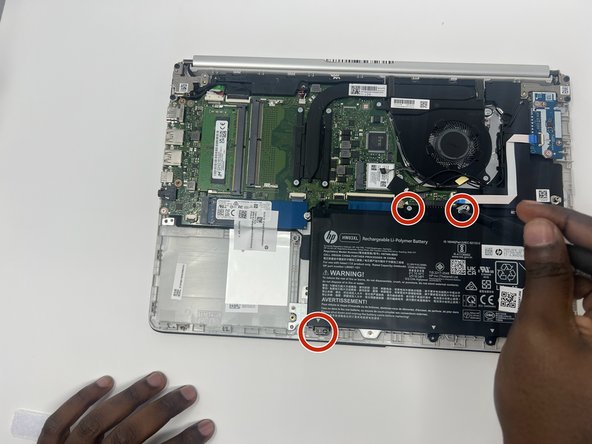
Remove the four gray 3 mm screws holding down the battery using a Phillips #0 screwdriver.
-
-
-
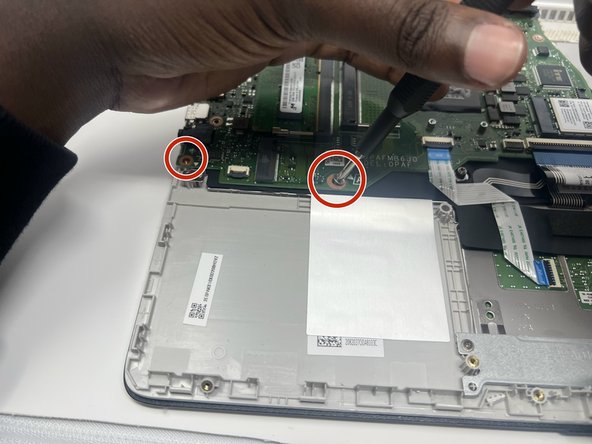
Remove the five 3 mm gray screws from around the motherboard using a Phillips #00 screwdriver.
-


To reassemble your device, follow these instructions in reverse order.
To reassemble your device, follow these instructions in reverse order.

チーム

Utah Tech University, Team 1-6, McMurrin Fall 2022 Utah Tech University, Team 1-6, McMurrin Fall 2022人のメンバー
UTAHTECH-MCMURRIN-F22S1G6
3 メンバー
9のガイドは作成済み