はじめに
このガイドでは、GoProの残りのパーツからレンズアセンブリを外します。レンズアセンブリに到達するにはまず他のパーツを取り出さなければなりません。GoPro Hero5 Blackは防水機能があり、多量の接着剤が使われています。このガイドを完成させると接着剤が取れているため、GoProの防水機能は失っています。ご留意ください。
必要な工具と部品
-
-
レンズカバーが取り出せるまで、左右にひねります。
レンズを回すには爪などをレンズカバーと本体との隙間に入れて、手前に引き出してから回転させます。
-
-
-
iOpenerの利用方法を参照して、これを温めてから使用してください。
-
温まった iOpenerをGoProのフロント側に約1分載せて、フロントプレート裏に留められた接着剤を柔らかくします。
-
-
-
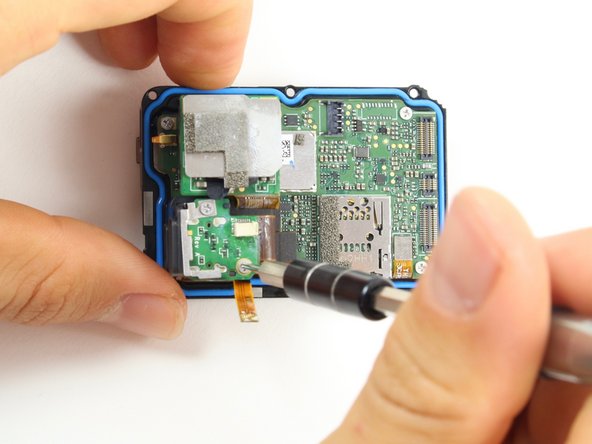
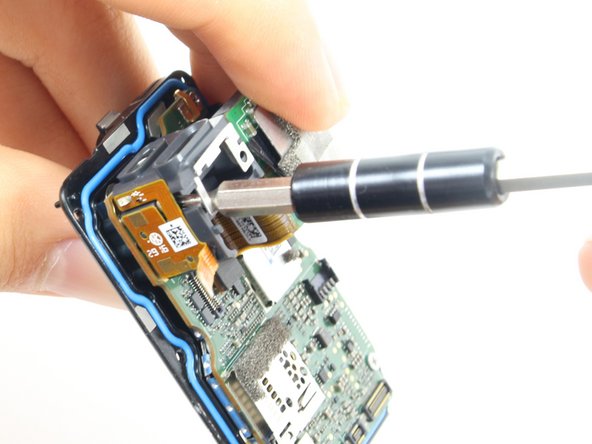
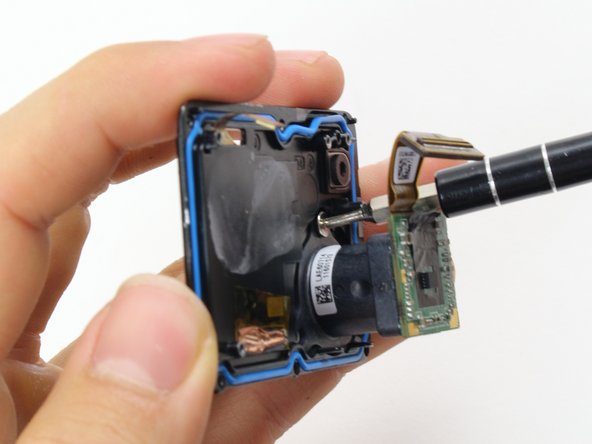
スパッジャーを使って、ゆっくりとマザーボードアセンブリをGoProのLCD側から開口します。
Little FYI ; pry slightly on the side with the LCD. Once it pops, work the other slightly. Then pull the board up and out but remember the cables. THE PICTURE ABOVE WHERE THE METAL SHIELD IS IS THE CAMERA LENS! CABLES ARE ON THE SIDE WHERE YOU BEGIN PRYING.
-
-
-
-
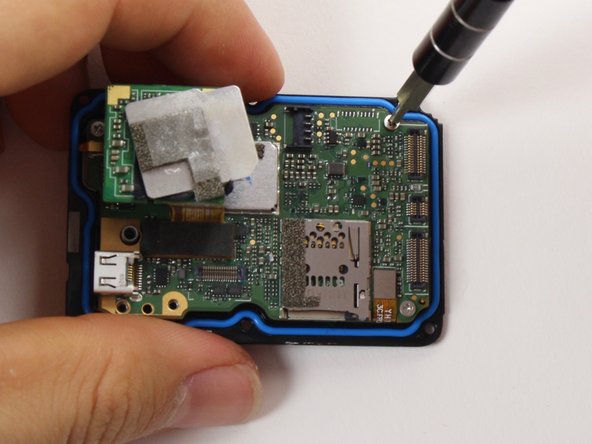
スパッジャーの平面側先端を使って、マザーボードのソケットからまっすぐバッテリーハウジングのパワーケーブルを引き上げて外します。
-


デバイスを再組み立てする際は、これらのインストラクションを逆の順番に従って作業を進めてください。
デバイスを再組み立てする際は、これらのインストラクションを逆の順番に従って作業を進めてください。
16 の人々がこのガイドを完成させました。
以下の翻訳者の皆さんにお礼を申し上げます:
100%

Midori Doiさんは世界中で修理する私たちを助けてくれています! あなたも貢献してみませんか?
翻訳を始める ›
チーム

Cal Poly, Team 18-6, Forte Fall 2016 Cal Poly, Team 18-6, Forte Fall 2016人のメンバー
CPSU-FORTE-F16S18G6
4 メンバー
22のガイドは作成済み
7 件のコメント
RageCams has interchangeable lens mod for hero5
why can't You show how the lens is mount to that assembly? That's the point of it... can we change lenses that way or not?
Exactly. Can the actual lens be unscrewed from the mount or it glued / fixed?
contact -
The lens is heavily glued onto the assembly. It would be far easier to replace the entire assembly than trying to remove that glue.
the guy who wrote the guide apparently has never heard of pliers. it comes right out, but no idea what the threading is.
Actually the lens is just screwed into that last part. I took a pincer and gave it a slight tug and it unscrewed just fine. So if you bought just the lens replacement you can screw the new lens right in!
Any idea what the threading is?