はじめに
The Garmin fenix 6X Sapphire is a fitness watch identified by Garmin as part numbers 010-02157-10, 010-02158-10, and 010-02159-10, depending on the size of the case. The battery provides power to the watch. If you’ve identified that your battery has gone bad, then this guide will instruct you on how to replace it.
First you will need to remove the motherboard in order to access the battery. You will need scissors to disconnect the battery and a soldering iron to reattach the battery. Make sure you identify which wires connect to which terminals on the watch before you remove them. Take extreme care when soldering as to not drip solder on any other parts of the watch. Also take extreme care to not tear the ribbon at the bottom when taking out the battery. Be careful to not damage the battery when removing it.
必要な工具と部品
-
-
Orient the watch so that the screen is face up.
-
Remove the five 6 mm black screws from the perimeter of the watch face using the T5 Torx screwdriver.
-
-
-
-
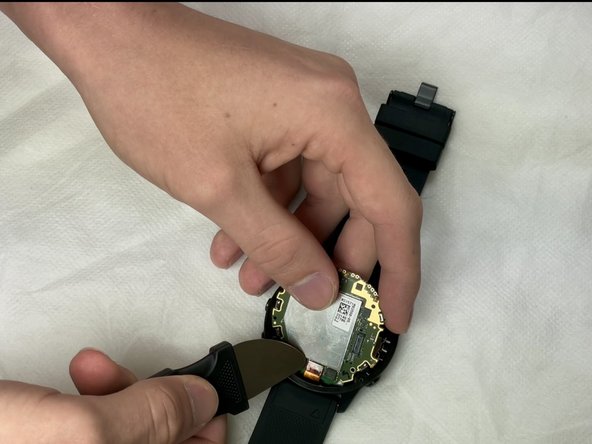
Remove the four 5mm silver screws on the outer part of the motherboard using the T5 Torx screwdriver.
-
-
-
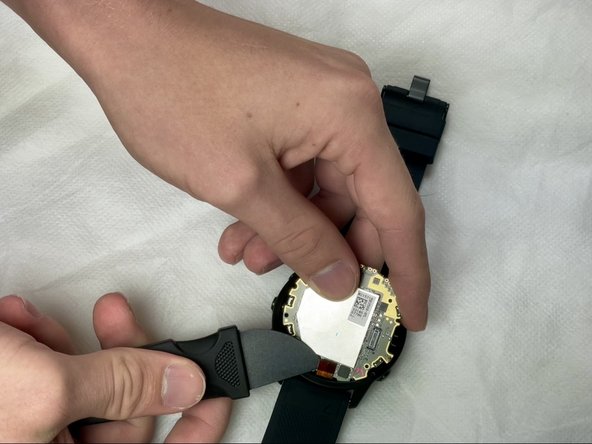
To remove the battery, you will need to pry it from the glue that holds it in the bottom of the watch using a jimmy.
-
When the battery is disconnected from the glue, slowly pull it up out of the watch, while keeping in mind that it is connected to some leads.
-


To reassemble your device, follow these instructions in reverse order.
To reassemble your device, follow these instructions in reverse order.
4 の人々がこのガイドを完成させました。

チーム

Clemson, Team 1-5, Hunter Spring 2022 Clemson, Team 1-5, Hunter Spring 2022人のメンバー
CLEM-HUNTER-S22S1G5
4 メンバー
8のガイドは作成済み
2 件のコメント
Es wäre viel einfacher den Akku von der Rückseite zu entfernen. So kann die Elektronik im Gehäuse gelassen werden.
Bei meiner Fenix 6 Titan Saphire vom Dezember 2019, ist die Batterie nicht mehr verlötet und der Stecker der Ersatzbatterie passt wunderbar, obwohl das Kabel etwas länger war. Die Platine ist außerdem nur mit 2 Schrauben gesichert und an der oberen rechten Ecke mit etwas Kleber am Gehäuse fixiert.