はじめに
The GamStop Universal System is a device that allows you to connect multiple systems to your television, while easily switching between the systems.
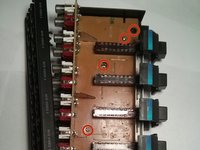
The motherboard contains the majority of the important technology in order to allow multiply gaming platforms to run simultaneously. Therefor this guid requires more time, patients and has a higher difficulty in order to properly complete the replacement of the motherboard.
必要な工具と部品
-
-
Remove the 3 front panel screws on the bottom of the device using the Phillips #00 screwdriver.
-
-
-
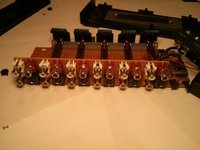
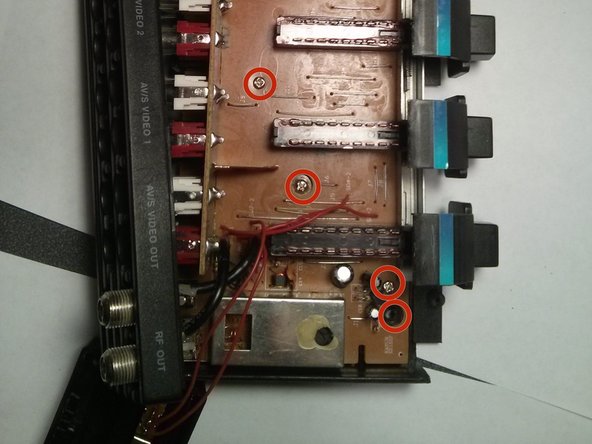
Now the circuit board should be able to be removed from the casing of the device except for two wires that are attached to the casing.
-
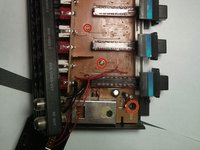
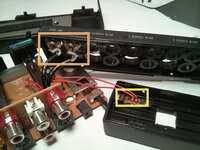
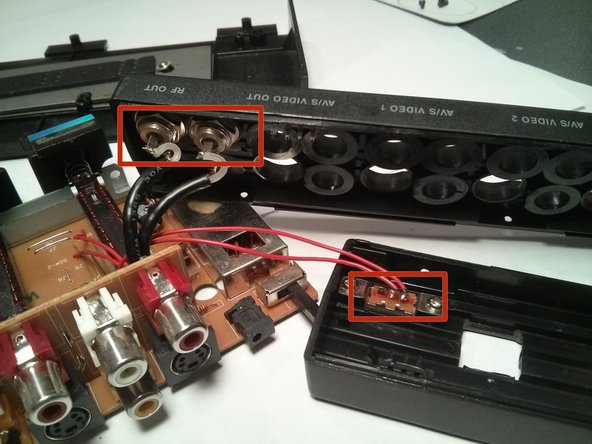
Detach the black wires from the casing, by carefully pulling them out of the cable ports.
-
Using pliers or a similar tool, detach the red wires from the small circuit board that is attached to the case of the device.
-


The device should now be working properly. If the device does not function properly the replacement motherboard may be faulty, or the wires may not have been properly connected.
Take your e-waste to an R2 or e-Stewards certified recycler.
ある他の人がこのガイドを完成しました。
チーム

UMass Dartmouth, Team 4-6, Vijaybhaskar Fall 2013 UMass Dartmouth, Team 4-6, Vijaybhaskar Fall 2013人のメンバー
UMASSD-VIJAYBHASKAR-F13S4G6
4 メンバー
2のガイドは作成済み