はじめに
Wire connections broken in the motherboard. Blown fuses in the circuit terminals.
必要な工具と部品
-
-
-
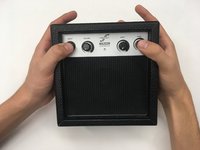
Place the speaker with its front side facing down.
-
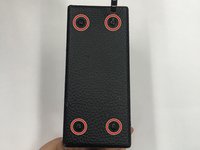
Use a Phillips #0 screwdriver to remove the two 25 mm screws from the left and right sides of the battery cartridges.
-
Open both lids to the battery cartridges.
 FixBotに聞いてみる
-
-
-
As you begin to lift the back panel off the amplifier, push the battery terminals through the open slots of the battery cartridges.
-
Use your fingers to prop the back panel and lift it away from the amplifier.
-
Lift the back panel off completely and set it to the side.
-
-
-
-
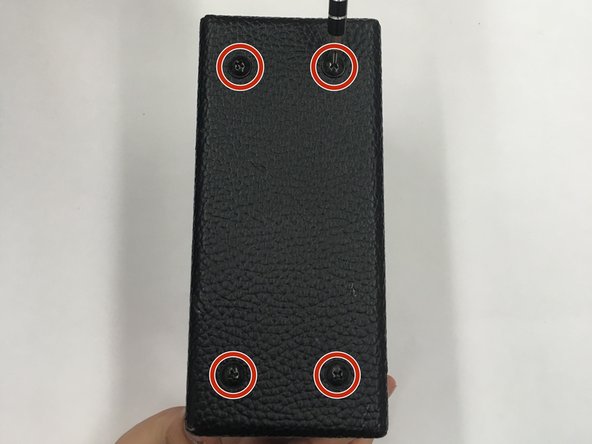
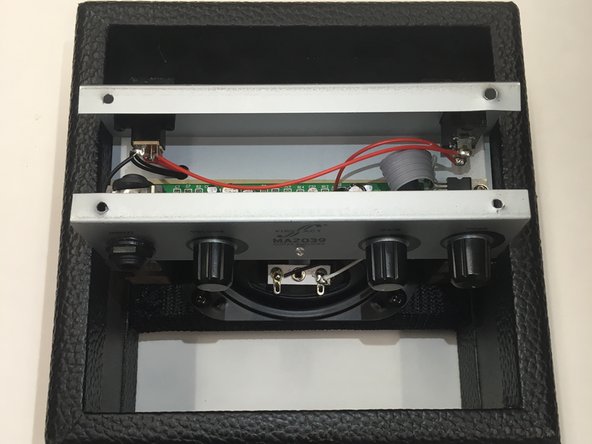
Unscrew four 25 mm screws with a Phillips #0 screwdriver from the top of the amplifier.
-
Press firmly on the input jack and tone adjustment knob of the silver compartment to free it from its resting position.
-
-
-
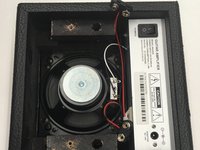
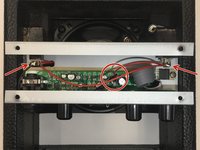
Rotate the silver compartment so that you have a clear visual of the motherboard and its components.
-
Check the wiring components for blown fuses or damaged connections.
-
-
-
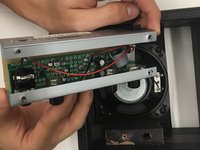
Lift the silver compartment to see where the wires are further connected.
-
Make sure that the terminals from the circuit to the amplifier are connected securely.
-
Check to see if there is loose wiring from the motherboard.
-
-


To reassemble your device, follow these instructions in reverse order.
チーム

Linn Benton Community College, Team S1-G5, Johnson Spring 2018 Linn Benton Community College, Team S1-G5, Johnson Spring 2018人のメンバー
LBCC-JOHNSON-S18S1G5
3 メンバー
6のガイドは作成済み