はじめに
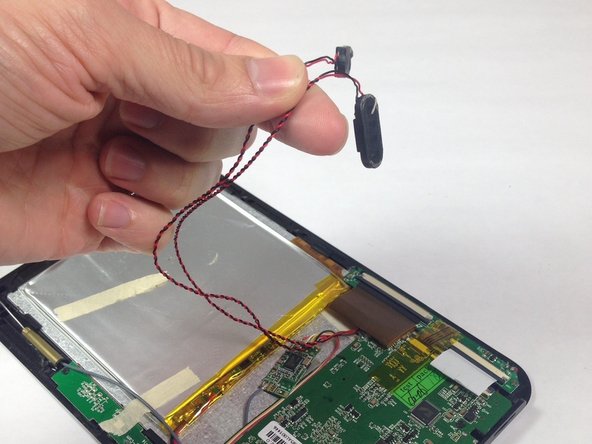
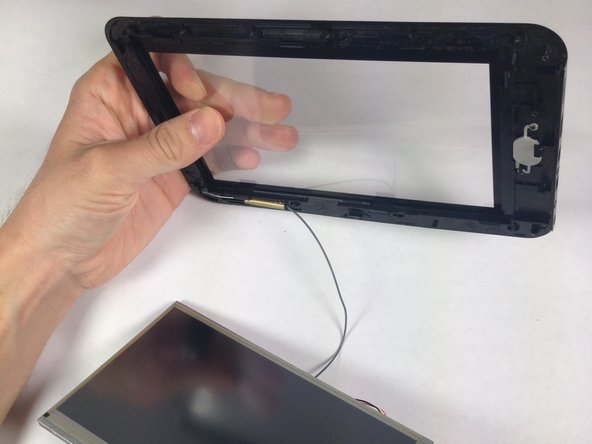
This replacement guide will help you replace a broken or cracked screen on the Emetic eGlide 4 to ensure maximum viewing capabilities. The screen is attached to the front case as well as the motherboard. The other electrical components of the device must be removed prior to removing the screen. The screen is then removed from the front case, and then the screen's circuit board is disconnected from the mother board.
必要な工具と部品
-
-
-
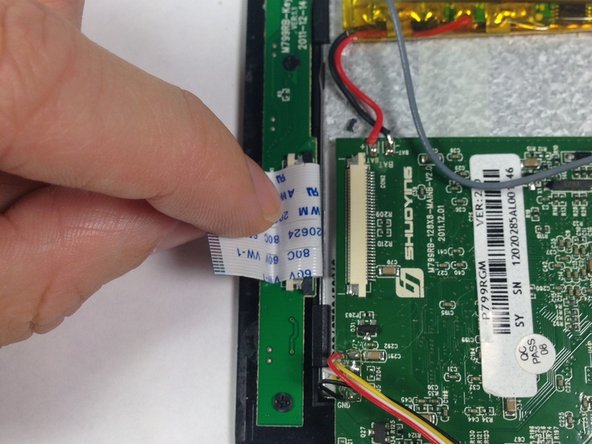
Slide the grey ribbon wire connector clip away from the ribbon wire port on the motherboard using the pointed tip of a spudger.
-
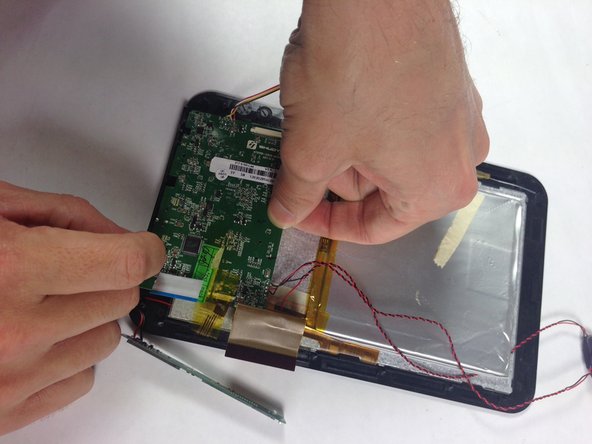
Remove the gold ribbon wire from the ribbon wire port on the motherboard.
-


To reassemble your device, follow these instructions in reverse order.
To reassemble your device, follow these instructions in reverse order.
チーム

Baylor, Team 5-8, Williams Spring 2015 Baylor, Team 5-8, Williams Spring 2015人のメンバー
BU-WILLIAMS-S15S5G8
3 メンバー
6のガイドは作成済み